How to Set Craftsman Garage Door Opener
Introduction
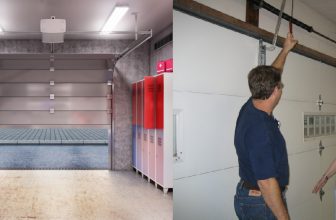
A craftsman garage door opener is a special garage door opener that has been designed to work specifically with the brand of garage doors. A craftsman garage door opener can be installed on any garage door, including sectional steel doors, wood, and custom-made steel door. The key to installing a craftsman garage door opener lies in selecting the correct type of follower’s arm for your particular model and the size of your doors.
You need to get the right size garage door opener for your door, and make sure the opener is compatible with your door’s roller track. It’s also important to get the right size sprocket wheel for your opener, to avoid damaging the opener or the door.
Why Use A Craftsman Garage Door Opener?
As with all great companies, they come along from time to time that revolutionizes the industry for one reason or another. The Craftsman garage door opener is not only a huge favorite of most consumers who choose it over other brands out there but also for professional installers who have worked in this business for years and have seen just about everything. Most people are familiar with the Craftsman brand because it is one of the most popular home improvement brands out there. Because of this, it’s not surprising that the garage door opener has become so well-known and that people love it.
If you set one next to your competitor’s models, you’ll see why away at first glance as Craftsman Garage Door Opener really are top-notch in quality. These are the most popular Craftsman garage door openers.
For professionals, this fact is more important than anything else. They want to count on certain things if they will be called out at 2 am on Sunday or after work on Tuesday evening because customers need their door doing up. If a maintenance specialist can’t count on the reliability of his equipment, he has big problems that will come back and bite him in the end. So, let’s take a look at why you should choose this Craftsman Garage Door Opener model over any other out there as I walk through how to set it.
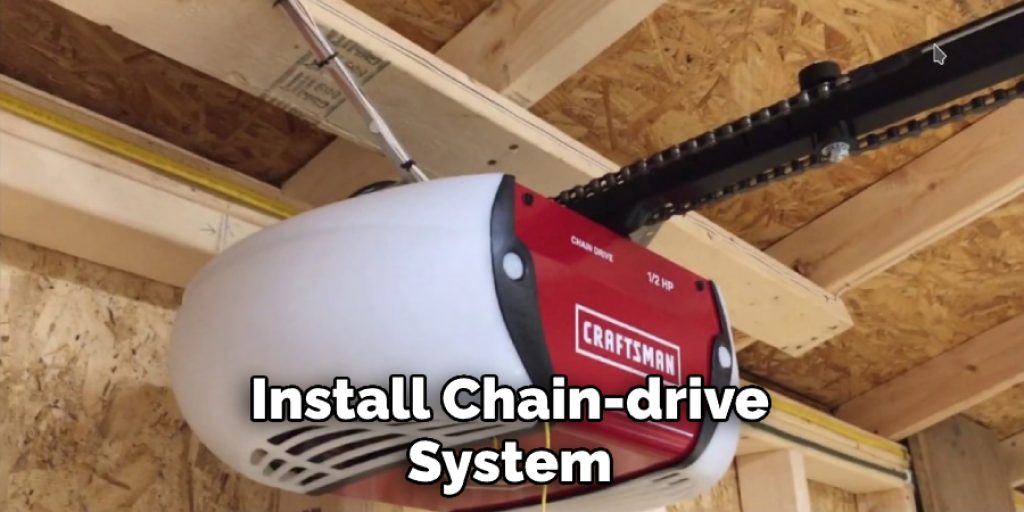
This Craftsman garage door opener is one of the best-manufactured products out there, period. That is not just my opinion either. These things have been around for almost 2 decades now, with over 10 million units sold worldwide – making them by far the most popular choice among consumers who want something reliable for their home or business. The garage door opener Craftsman 3/4 HP chain drive model comes with an easy to install chain-drive system, making it one of the simplest and most reliable garage door openers out there.
This is because they’re built by professionals, not just to suit their needs, but those of consumers as well.
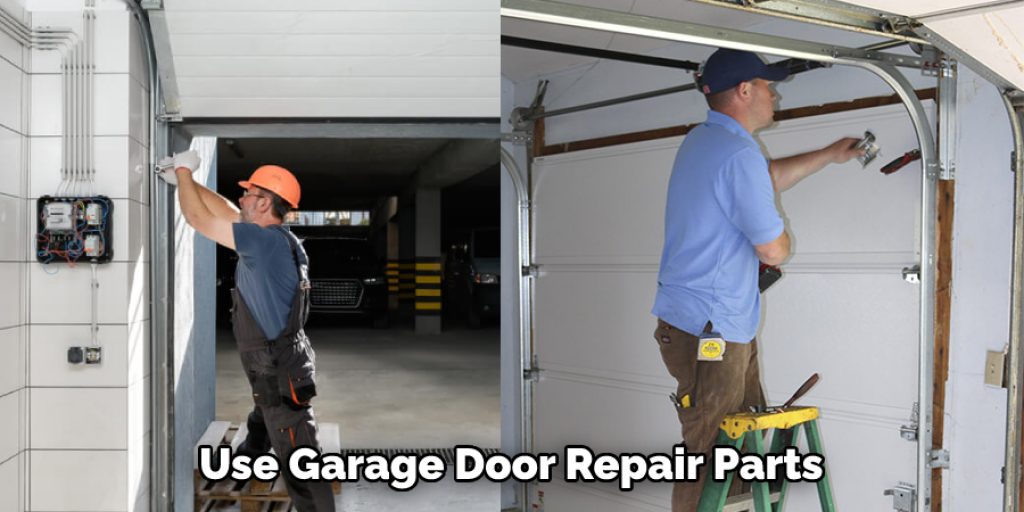
All major components are used by mechanics and builders every day in one way or another, from the motors and gears to the switches they use for other craftsman garage door repair parts.
These things are as solid as it gets too with a proven track record that can stand up to any demand you or your customers could throw at them; unlike models from other companies who’s products break down all too often which is why you’ll never hear of anyone getting stuck outside after these Craftsman Garage Door Opener have been installed.
Step-wise Guide on How to Set Craftsman Garage Door Opener
- You should first manually open the door to a 90-degree angle and note on the spot where it stops.
- Next, you need to measure that distance from the wall if you want your door opening up towards the wall or away from it. Usually, doors open normally at 90 degrees but sometimes they may be different due to installation issues.
- After determining where your door will stop when it is closed, install reinforcement brackets on both sides of the track for pivots and springs by drilling holes into them using a drill bit that corresponds to the diameter of drive shafts inside brackets and also using lag screws or carriage bolts into them according to their use and size of spring being used. If bottom pivots are not used, you need to install the upper track bracket because it is strong enough to hold spring.
- Magnetic Rollers: You can easily fix them into place by using a bolt and adjusting nuts or just sliding a flat blade screwdriver between the bottom of the magnetic roller and bracket if your door needs adjustment in case they don’t align properly into position.
- Measure the distance between the top end of the spring adjuster bar on one side with the top end of another side, as well as the total length needed for another roller added together so that you get the correct size of the extension kit from the manufacturer’s website or local hardware store. If your first roller is not even with a brace, add 1/2 inch less when measuring length for the second roller so each will be equidistant apart.
- After you have installed the extension kit and springs, you need to check the distance between the top of braces on each side as well as the length needed for the second roller so that they are equidistant apart from one another and connect them at the center with a wood or metal brace. This is done because if bottom pivot points are not used, upper track brackets require support when springs are added onto them, and too much uneven weight placed onto the bracket may damage door opener installation hardware. So make sure there is enough support to hold the spring in place without damaging door opening hardware.
- Check the belt condition by placing the screwdriver’s tip evenly against both sides of the moving part so that no movement occurs while holding it up there for about 5 seconds. If it moves, then you need to tighten the motor as the belt needs replacement or if nothing happens, then check the condition of the spring adjuster bar by pressing against it with a hand at both ends and make sure they are securely in place that the roller doesn’t come off when pressed onto them and cause damage because door openers are delicate machines.
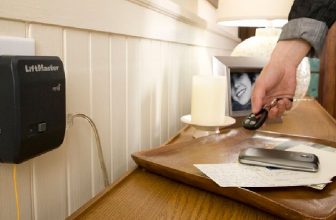
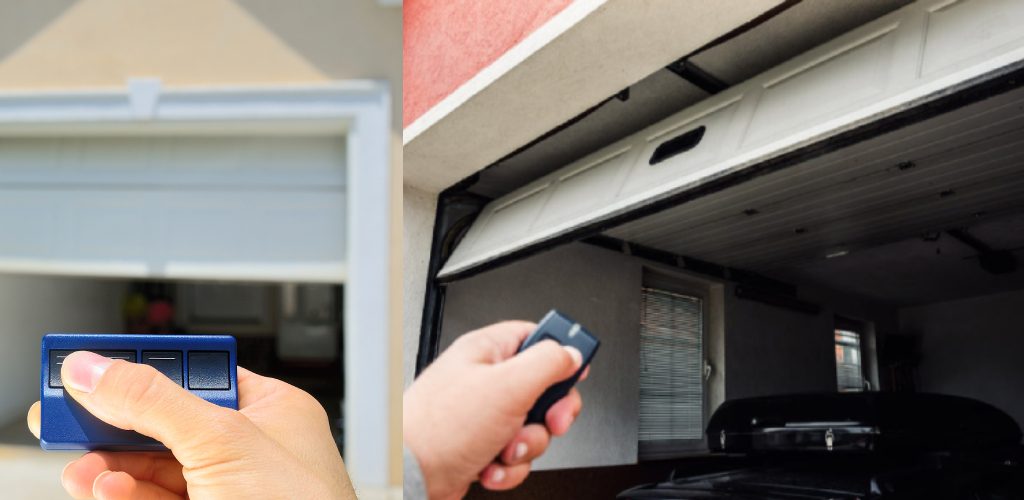
- Next thing is to check on remote control keys for an error code before proceeding further so that you have to fix any problems before installation is completed since these may be reasons behind your opener failing to close or open the door properly after all wiring connections and other procedures involved in the proper setup has been attempted without fail but still no luck.
- After testing all remotes and keys provided with the motor for any errors, you need to open the battery compartment of control and ensure that batteries are in proper condition and working well, as weak or dead cells will not send electrical signals properly when used. It is best to install alkaline batteries instead of rechargeable ones here as they will last longer than other types of batteries and provide a consistent performance when put under load by going up and down every day.

Precautions While Performing How to Set Craftsman Garage Door Opener
One should be careful while setting the Craftsman garage door opener. This is because of the following reasons:
- The garage door opener will become extremely heavy due to the large motor and rollers. If you do not maintain precaution, you may get hurt by this sudden drop in weight.
- It is always advisable to read the instructions that come along with your garage door before attempting any repairs or modifications to it to avoid unwanted damages to your property and injuries if any accident breaks out during the process of repair or modification into your garage.
- Always use a ladder for safety while working on anything attached to the ceiling, walls, or ground level.
- Always wear rubber gloves when you are working on things that have sharp edges or corners.
- Do not stand under the object if it falls from the ceiling because it can cut your head or neck muscles, leading to permanent disability, paralysis of injury, and even death if proper care is not taken while handling such objects.
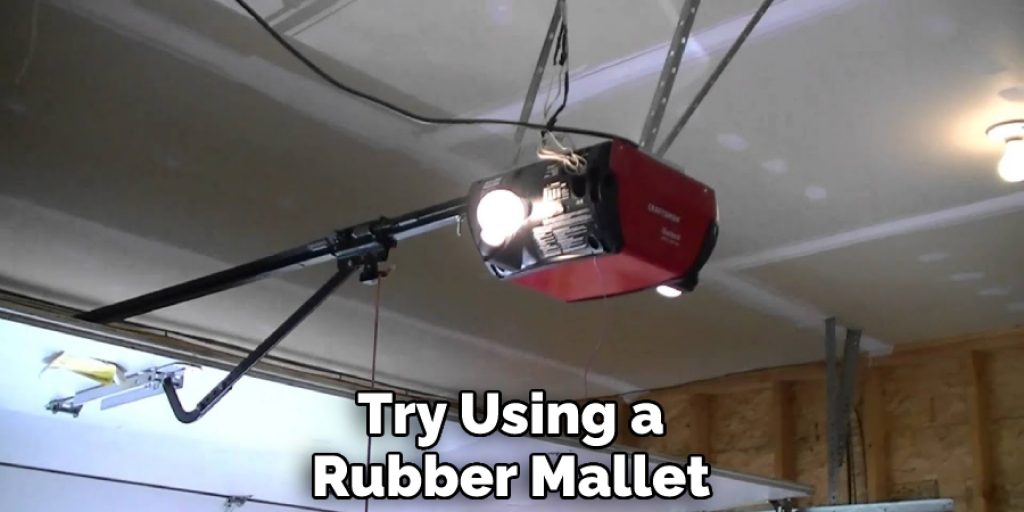
- Try using a rubber mallet for pulling up garage door springs to avoid any injuries caused by strong spring pressure while mounting a new one in your garage door opener system.
- Before installing window units, make sure you know whether they will fit into the desired location where you want them to be installed or not (in case you are replacing an existing unit).
- Exercise extreme caution when dealing with glass placed in the doors and windows of a garage.
How Do I Program an Old Craftsman Garage Door Opener?
An old Craftsman garage door opener is quite easy to program. Unfortunately, it only has two buttons on the wall-mounted remote, and programming is limited to turning the chirp feature on or off. You’ll need to use a codeplug from another Craftsman remote if you want to reconfigure any of its other features, either because your old unit doesn’t have them or they don’t work as expected.
You can find Craftsman “rolling code” remotes at stores like Home Depot for about $30-$40, so programming should cost no more than that unless you also need a new battery for your current control panel. If it turns out that you do need one, see my article on Overhead Door Parts. If the new remote comes with a codeplug, you can save a few bucks by using it instead of buying one separately. If not, get the part number for your opener from this article and buy one on eBay or elsewhere.
A word of warning: Craftsman garage door openers tend to be slightly older than those made by other manufacturers, so if yours does not have features common on more recent models (like keypads and outside controls), don’t expect to find replacements at a typical store. You might find them online. However, look around at places like Sears parts direct, Home Depot’s website, or Online Overhead Parts.
There are two kinds of codeplugs: one has a set of “chips” containing canned remote codes and must be installed in a specific order, while the other has a set of DIP switches and is more flexible. Since your old Craftsman garage door opener probably won’t have any features to program like left-hand/right-hand button or 3-button mode (where both buttons act as “max” and open the door), you’ll probably want to use a codeplug with DIP switches.
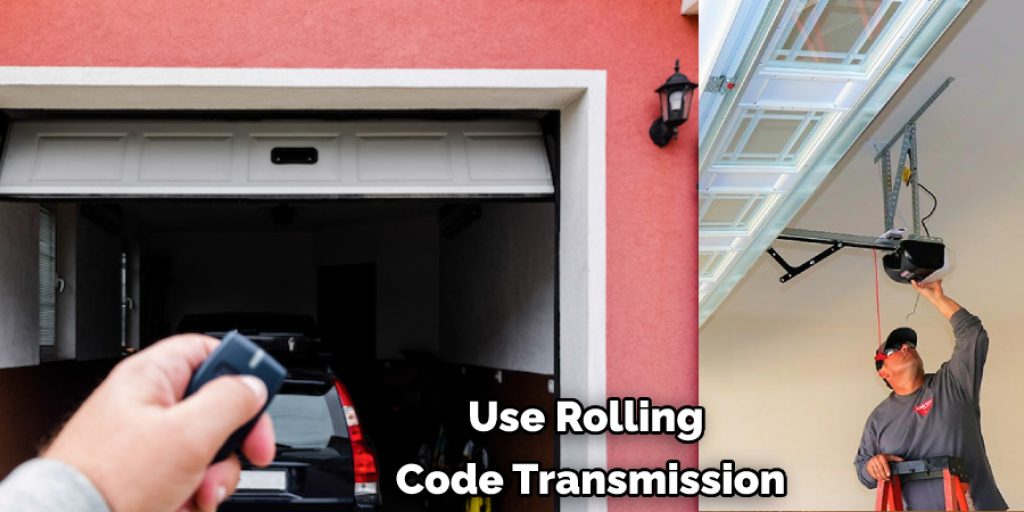
Limited Programming with Rolling Code Remotes:
If you already have an RC transmitter for another Craftsman device using rolling code transmission, it will work as a replacement if it has the same frequency range. If not or if yours doesn’t work, follow these steps:
- Switch off the power to the garage door.
- Open the side of the control panel and remove the battery for a few seconds or until it has no stored power (a previous reader thought this step wasn’t necessary, but another disagreed). If you have replacement parts in stock, put them on now.
- Push and hold both buttons on your old remote at once. The light should flash off, then back on again within about a second, and then start flashing more slowly. Release one button and press it again after about 4 or 5 seconds (the manual says 3, but I found that many users had problems with their Craftsman door opener if they waited that long). Allow 20-30 seconds between each additional button pressed. When all are installed, let go of both.
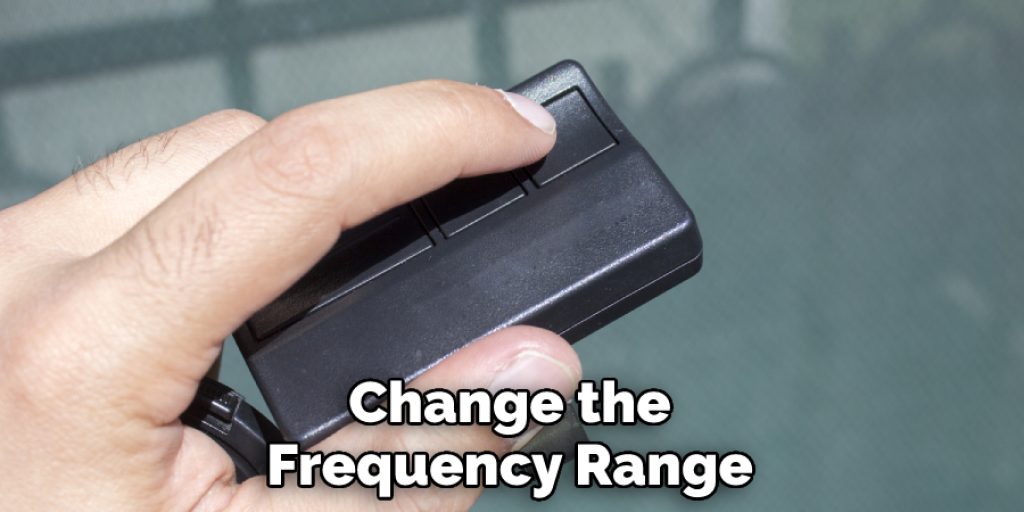
- If it doesn’t work, change the frequency range and try again; if that fails, reverse the order you installed the buttons or buy a new remote on eBay and use its codeplug instead. When you get it working, feel free to record the fresh code(s) in case your door opener ever needs replacing, or you want another RC device to control your garage door.
How Do You Reset the Code on a Craftsman Garage Door Opener?
By following these steps in order, you should be able to get your Craftsman garage door opener working again by just reprogramming it using the buttons on top:
- Press and hold down both the “#” button and “Mode/Set” button at the same time for two minutes until either light blinks multiple times. At this point, release both buttons when the light blinks every 2 seconds.
- Press and hold down the “Mode/Set” button for seven seconds until all lights flash twice, then release it.
- Wait ten seconds and press and release the “#” button until you hear a clicking sound or see the light blink twice. Then, repeat the previous step two more times to ensure communication with the garage door opener has been established by pressing “#” three times total.
- Press and hold down the “Mode/Set” button again for seven seconds until both lights stay on at this point, then release it. Once the second light stops blinking, your code is reset, and you should be able to open your Craftsman garage door opener again using either remote that comes with it.
Conclusion
Lastly, I hope that this article has helped learn how to set craftsman garage door opener. Thank you and have a nice day!
You may read also – How to Clone a Garage Door Opener
Angela Ervin
Angela is the executive editor of DIY quickly. She began her career as an interior designer before applying her strategic and creative passion to lifestyle and home. She has close to 15 years of experience in creative writing and online content strategy for housekeeping, home decorations as well as other niche efforts. She loves her job and has the privilege of working with an extraordinary team. She lives with her husband, two sons, and daughter in Petersburg. When she's not busy working she spent time with her family.