How to Clean a Rosewood Fretboard
Are you a guitar player looking for the best way to keep your rosewood fretboard in a ship-shape? It’s important to care for your instrument if you want it to stay sounding great, but fretboard cleaning can often be intimidating.
Fear not! Cleaning a rosewood fretboard is easier than ever with the right tools and techniques. In this blog post, I’ll show you exactly how to clean a rosewood fretboard so you have one less thing to worry about when taking care of your beloved instrument.
What is a Rosewood Fretboard?
Before we dive into the cleaning process, let’s first understand what a rosewood fretboard actually is. If you’re not familiar, a fretboard is the part of the guitar that contains the frets and is attached to the neck of the instrument. A rosewood fretboard, as its name suggests, is made from rosewood, a type of hardwood known for its durability and rich color. Many guitarists prefer rosewood fretboards for their smooth feel and warm tone.
Materials Needed
To properly clean your rosewood fretboard, you’ll need a few basic materials:
- Soft, Lint-free Cloth
- Fretboard Cleaner or Lemon Oil
- Toothbrush (Optional)
- Guitar Polish (Optional)
- Guitar String Cleaner (Optional)
11 Step-by-step Guides on How to Clean a Rosewood Fretboard
Step 1: Loosen the Strings
Before you start cleaning, it’s important to loosen the strings on your guitar. This will give you better access to the fretboard and prevent any damage to the strings. It’s also a good idea to remove the strings entirely if you plan on doing a deep clean.
You can use a string winder to easily loosen and remove the strings. It’s important to note that removing and replacing the strings may affect the guitar’s intonation, so be sure to tune your guitar once you’re done cleaning.
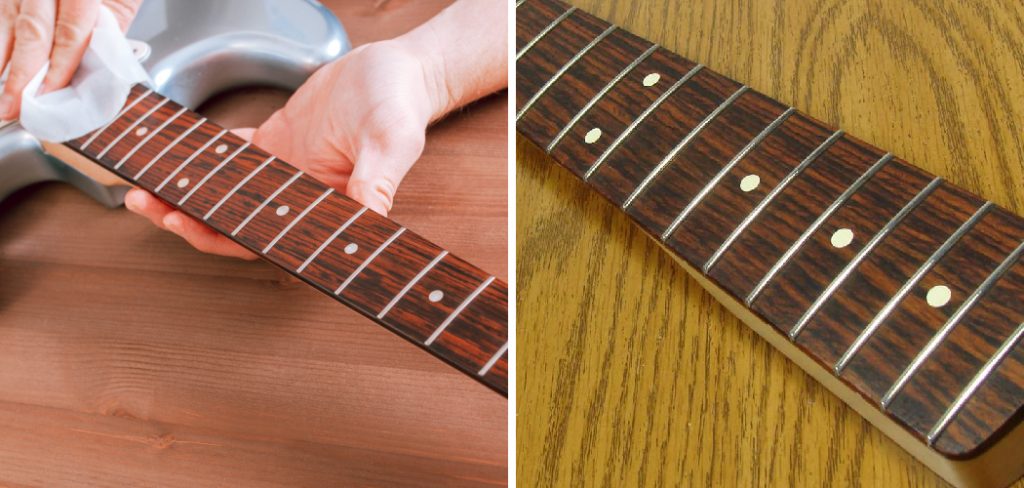
Step 2: Wipe Down the Fretboard
Using a soft, lint-free cloth, gently wipe down the entire fretboard. This will remove any loose dirt or debris from the surface. Be sure to wipe in the direction of the wood grain to avoid scratching the fretboard. Otherwise, the cloth may snag on the frets and cause damage. It’s important to note that if your fretboard is particularly dirty, you may need to use a toothbrush to help loosen any stubborn grime.

Step 3: Apply Fretboard Cleaner or Lemon Oil
Now it’s time to apply a small amount of fretboard cleaner or lemon oil onto the fretboard. These products are specifically designed for cleaning and conditioning guitar fretboards and will help remove any built-up dirt and grime. Be sure to use only a small amount, as you don’t want to saturate the wood. Otherwise, it may cause damage to the fretboard over time.
Step 4: Let the Cleaner Sit
Once you’ve applied the cleaner, let it sit for a few minutes. This will give it enough time to penetrate and break down any stubborn dirt or oils on the fretboard. It’s important to not let the cleaner sit for too long, as it may dry out and leave a sticky residue. It’s best to follow the instructions on the product label for recommended wait times.
Step 5: Begin Wiping
Using a clean cloth, gently wipe away the cleaner in the direction of the wood grain. You should see all the dirt and grime being lifted off the fretboard, leaving it looking clean and revitalized. If your fretboard is still dirty, you may need to repeat this step a few times until it’s completely clean. But be careful not to overdo it, as excessive wiping may cause damage. You can always use a toothbrush to help get into hard-to-reach areas.
Step 6: Clean the Frets
While you’re cleaning the fretboard, it’s a good idea to also clean the frets. You can use a string cleaner or polish specifically designed for guitar strings to remove any grime or oxidation. Simply apply a small amount onto a cloth and gently rub it over each fret.
This will not only make your fretboard look cleaner, but it will also improve the playability of your instrument. It’s important to note that you shouldn’t use any harsh chemicals or abrasive materials on your frets, as they can cause damage.
Step 7: Remove Excess Cleaner
After you’ve finished cleaning, use a clean cloth to remove any excess cleaner or oil from the fretboard. It’s important to not leave any residue behind, as this can cause buildup and potentially damage the wood over time. Make sure to wipe in the direction of the wood grain and take your time to ensure the fretboard is completely dry. Otherwise, you may end up with a sticky or greasy fretboard.
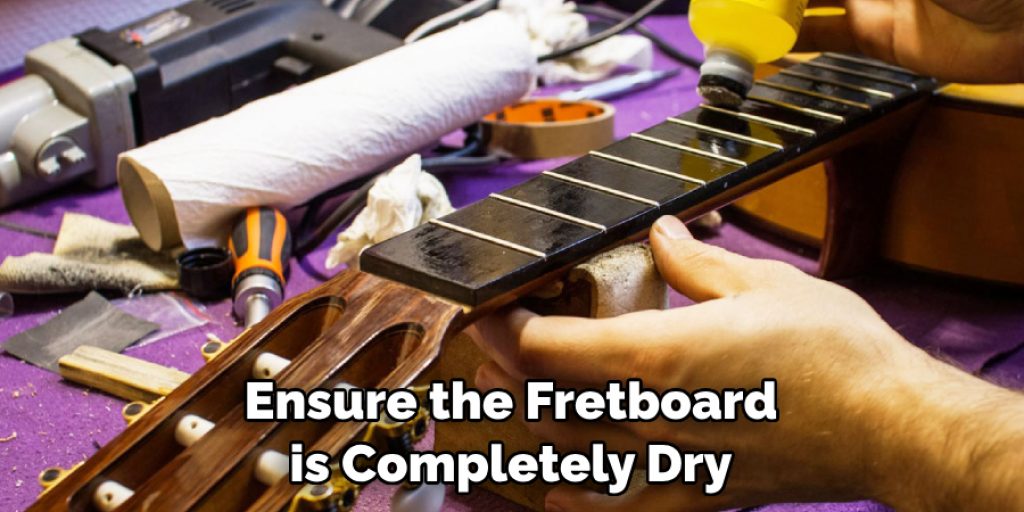
Step 8: Let it Dry
Before you replace the strings, it’s important to let the fretboard dry completely. You can speed up this process by using a dry cloth to gently wipe away any remaining moisture. It’s important to not skip this step, as putting on new strings when the fretboard is still wet may cause damage. You may also want to let the guitar sit for a few hours to ensure it’s completely dry before playing.
Step 9: Apply Guitar Polish (Optional)
If you want to give your guitar an extra shine, you can use a guitar polish to buff the fretboard and make it look like new. Simply apply a small amount onto a cloth and gently rub it over the fretboard in circular motions. Make sure to follow the instructions on the product label and be careful not to use too much, as it can leave a greasy residue.
Step 10: Re-string Your Guitar
Now that your fretboard is clean and dry, it’s time to put on new strings. Be sure to tune your guitar carefully as the new strings may stretch and affect the intonation. If you’re not familiar with how to properly re-string a guitar, there are many tutorials available online. You can also take this opportunity to clean and polish the rest of your guitar while the strings are off.
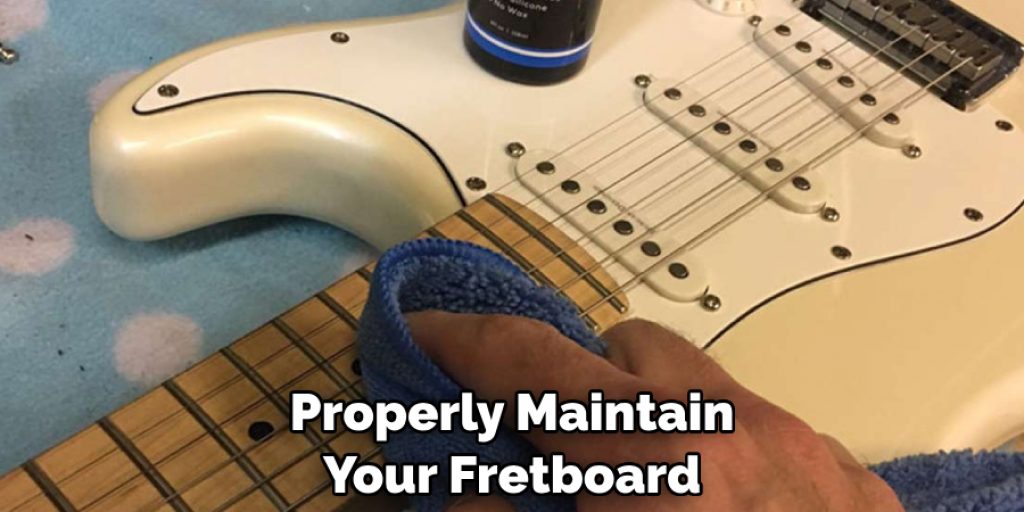
Step 11: Maintenance
To keep your rosewood fretboard looking and feeling its best, it’s important to regularly clean and condition it. This will help prevent any buildup of dirt and oils that can cause damage over time. It’s recommended to clean your fretboard every time you change your strings or at least once a month if you play frequently.
By following these steps on how to clean a rosewood fretboard and properly maintain your fretboard, your guitar will not only look great but also sound better and last longer.
So don’t neglect this important aspect of guitar care and make sure to give your rosewood fretboard the TLC it deserves! No matter how much you love playing your guitar, it’s important to take care of it and keep it in top condition.
Frequently Asked Questions
Q1. Can I Use Household Cleaners to Clean My Rosewood Fretboard?
A1. It’s not recommended to use household cleaners on your guitar as they can contain harsh chemicals that may damage the wood or finish of your instrument. It’s best to use products specifically designed for cleaning guitar fretboards.
Q2. How Often Should I Clean My Rosewood Fretboard?
A2. It’s recommended to clean your fretboard every time you change your strings or at least once a month if you play frequently. This will ensure that any buildup of dirt and oils is removed, keeping your fretboard in top condition.
Q3. Can I Use Lemon Oil on My Rosewood Fretboard?
A3. Yes, you can use lemon oil to clean and condition your rosewood fretboard. However, be sure to only use a small amount and avoid saturating the wood, as this can cause damage over time.
Q4. How Do I Know if My Fretboard Needs to be Cleaned?
A4. If you notice a buildup of dirt or grime on your fretboard, it’s time for a cleaning. You may also feel the fretboard becoming rough or sticky, which can affect playability and sound quality. Regular maintenance will help prevent these issues from arising in the first place.

Conclusion
There you have it, a comprehensive guide on how to clean your rosewood fretboard that will help you maintain its unique look and feel. Taking the proper steps each time you clean will pay off in the long run with a beautiful addition to your instrument. Not only will it boost the longevity of your guitar or bass, but it will produce amazing sound for years to come!
So take care of your rosewood fretboard and don’t forget to be diligent with regular cleaning as part of your maintenance routine. You’ll be able to show off an awesome-looking looking, shining fretboard in no time! Thanks for reading this article on how to clean a rosewood fretboard.
Angela Ervin
Angela is the executive editor of DIY quickly. She began her career as an interior designer before applying her strategic and creative passion to lifestyle and home. She has close to 15 years of experience in creative writing and online content strategy for housekeeping, home decorations as well as other niche efforts. She loves her job and has the privilege of working with an extraordinary team. She lives with her husband, two sons, and daughter in Petersburg. When she's not busy working she spent time with her family.