How to Clean G Pen
The G Pen is a vaporizer pen that has become extremely popular in recent years. It’s discreet, easy to use, and offers a unique vaping experience. In addition, the unit is relatively inexpensive when compared with other vaporizers on the market today.
However, it does require some cleaning to keep it running smoothly for daily use. This article will cover how to clean your G Pen so you can enjoy the best possible vaping experience!
8 Reasons Why You Need To Clean G Pen
1. To fix cleaning/airflow issues:
If your G Pen is clogged or airflow is not how it used to be, try cleaning the unit. It may just be residue from previous herb use that needs to be cleaned out. Running a few cycles of water through the mouthpiece and heating chamber should solve any issues with performance and ensure that you are getting an optimal vaping experience.
2. To keep the unit functioning like new:
If you are a daily user of the G Pen or use it several times each day, you should try cleaning your unit once per week. It is an easy task that will keep excess buildup from getting in the way of your vaping experience and ensure that all parts continue to function smoothly for many months.
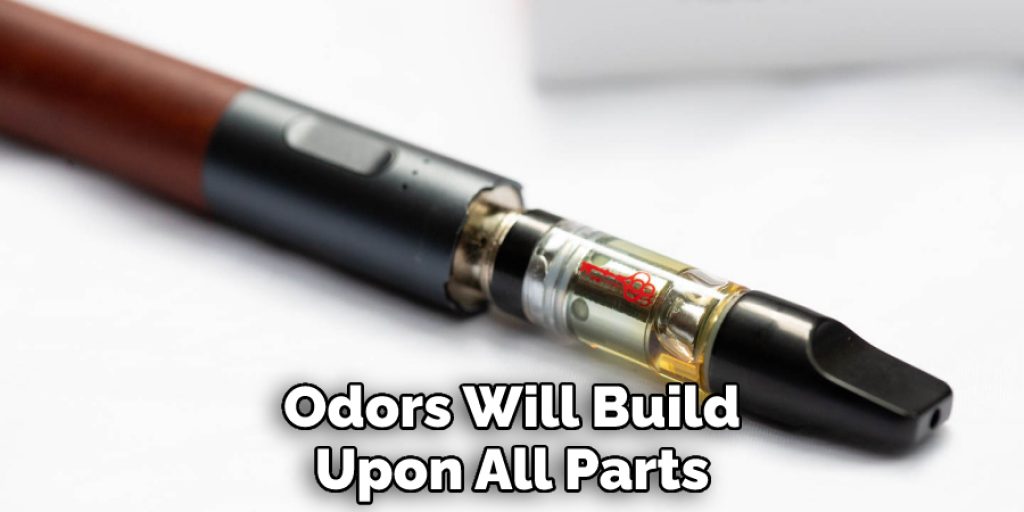
3. To remove odors and residue:
If you have been smoking or vaping in the G Pen after someone smokes, chances are it has picked up some odor from previous use. Odors will build upon all parts of the unit as time goes on, resulting in unpleasant tasting vapor. So if your G Pen smells like a dirty ashtray, clean it!
4. To enjoy a better flavor experience:
Cleaning will also remove residues and buildup from previous use as well as your own saliva. After a few days or weeks of use, it is common to find that the G Pen doesn’t taste very good anymore. However, by cleaning the unit, you can restore the original flavor and ensure that all parts are functioning properly, so you get a smooth vaping experience.
5. To prevent overheating:
When you use a G Pen for an extended period of time without cleaning it, there is a risk that the herb will become too gunked up to vaporize well and cause the unit to overheat. This can lead to burning the herbs and damaging your unit. By keeping it clean, you’ll ensure that you have the best possible experience with your G Pen every time.
6. To extend the life of your unit:
Keeping any piece of equipment clean will help prevent premature failure and keep it working properly for a longer period of time without having to purchase a replacement prematurely. While this may not be a big deal for some, cleaning regularly is a good idea if you intend to keep the G Pen for many years.
7. To Prevent Rust building:
Over time, due to moisture or other factors, you may find that the heating chamber and mouthpiece start to develop a small amount of rust. If this happens, it is best to clean your unit right away so that you can prevent additional rust from developing. If you wait too long, there may not be enough cleaning solutions to remove the rust without damaging the unit.
8. To remove buildup from chambers:
When you use your G Pen regularly, it is likely that you will notice build-up in the heating chamber. This is because over time, residue can build up and gunk up the works of your G Pen, making it hard to vaporize properly. By cleaning out the heating chamber regularly with hot water, you can keep the unit clean and have better vaporization.
7 Steps on How To Clean G Pen
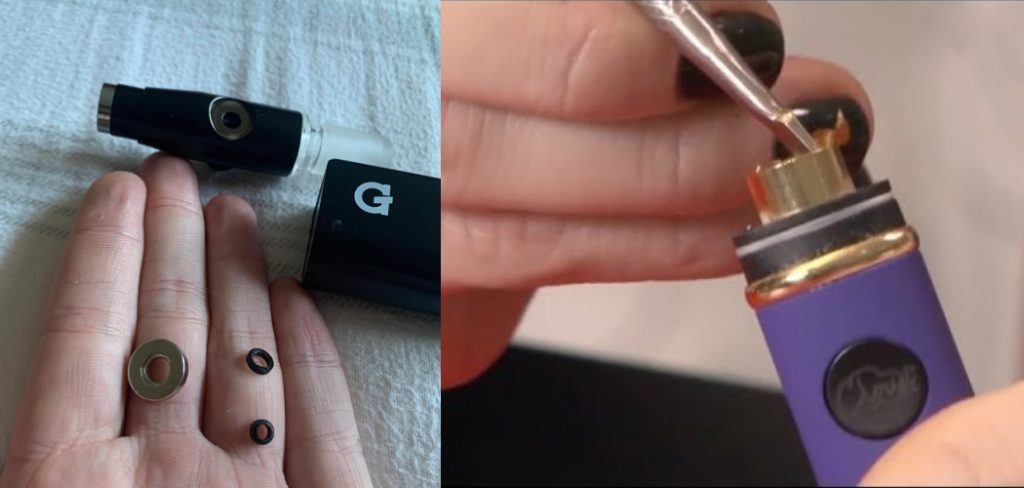
Step 1: Open Up Your G Pen
The bottom of the vaporizer will need to be unscrewed from the bottom and top. The mouthpiece containing the ceramic heating element should then be taken off as well.
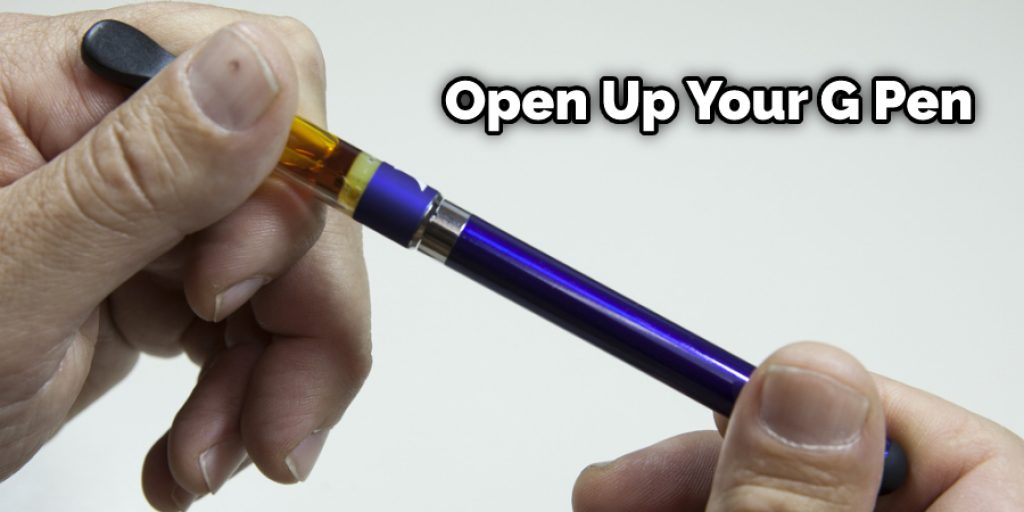
Next, next, wipeout any residue that has been deposited on the walls of your atomizer with a cotton swab dipped in rubbing alcohol. Be sure not to get any liquid into the atomizer’s center or on the heating element itself as it may damage the unit.
Step 2: Remove The Heating Element
Use a cotton swab dipped in rubbing alcohol to remove any residue built up around your heating element. Be sure not to get any liquid onto the ceramic part of your heating element and avoid touching the metal rod inside the heating element with your cotton swab. If the rod becomes corroded or damaged, it may affect your vaporizer’s performance and could even damage the unit.
Step 3: Reassemble Your G Pen
After your mouthpiece and atomizer are clean, rinse them off with warm water. Make sure that all of the pieces are completely dry before putting them back together. Be sure not to over-soak your atomizer, or it may damage the unit.
Step 4: Bevosu Cleaning Solution
After cleaning your device, make sure that all pieces are completely dry before putting them back together. You can use a cotton swab dipped in rubbing alcohol to remove any excess liquid, but don’t let your G Pen remain wet, or it could damage the unit. You can then soak your mouthpiece and atomizer in a solution of 1/2 cup water with one teaspoon Bevosu cleaning solution added for thirty minutes.
Step 5: Clean The Bottom Of Your G Pen
After cleaning the top of your G Pen, you’ll also need to clean out any residue built up on the bottom of the vaporizer. Use a soft-bristle toothbrush to gently remove any residue from the bottom of your G Pen.
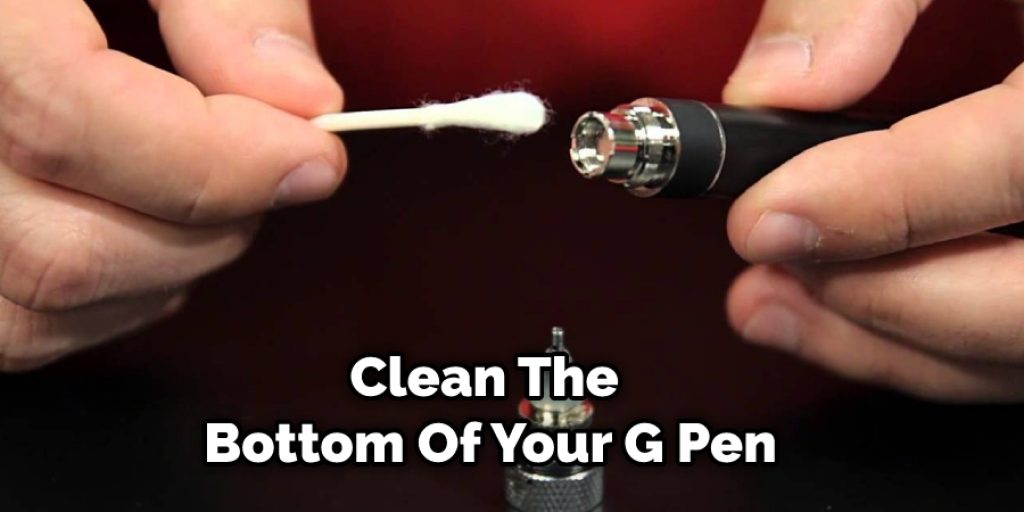
If you have excess buildup, you can add a small amount of rubbing alcohol on the bristles first and then use it to remove any leftover debris. Be sure not to get any liquid into the center of your atomizer or brush to scrape out any residue and dirt from the atomizer. Be careful not to get the brush too far down into your atomizer, or you may damage the metal rod inside it.
Step 6: Let Your G Pen Dry
Once you have finished cleaning your G Pen, let it dry completely before using it again. The G Pen is ready to use when no more water droplets appear on the surface of your device, and it’s no longer warm to the touch.
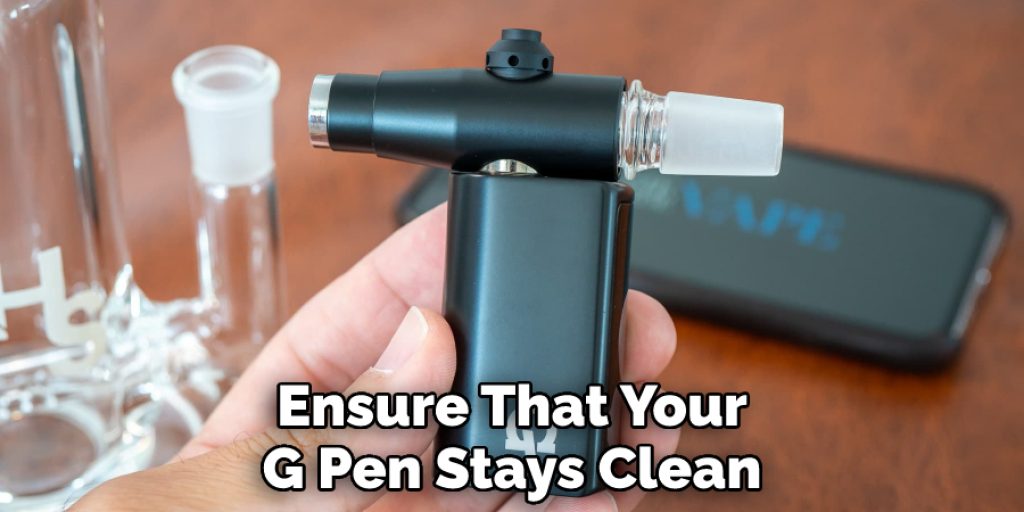
Step 7: Store Your Device
To ensure that your G Pen stays clean, store it in an upright position with all parts securely screwed together. In addition, the G Pen should be stored and transported in a clean, dry place where it will not come into contact with dirt or dust. If your device is wet or exposed to water, simply let it air-dry before storing or transporting it again.
Frequently Asked Questions
How Do You Unclog a G Pen?
There are two ways to unclog a G pen. First, you can try the method where you take a needle and remove the part of the cartridge that is causing the clog. The second way is to use a knife or razor blade to cut out the jammed piece of paper from inside the cartridge.
Can You Use G Pen for Wax?
G pen is a vaporizer that was designed for concentrates. It can be used to vape oils, waxes, and other substances but not for flower or e-liquid.
The G pen works by heating the material in the chamber to a temperature just below the point of combustion. The heating element warms up very quickly with little chance of combustion and any combustible materials inside the device.
Therefore, it is impossible to use this device for flower or e-liquid since there is no way to regulate how much heat is applied to these substances without causing combustion.
How Do You Clean a G Pen Tank?
There are many ways to clean a G pen tank.
1. Make sure the tank is empty before cleaning it.
2. Unscrew the bottom of the tank and pour water in until it covers the coil inside, then let sit for about 5 minutes and swish around with your hand or using a brush.
3. Use warm water and baking soda (about 1/4 cup) to dissolve any residual buildup that may be on the coil or glass piece of the G pen tank. Let soak for about 10 minutes, then rinse with cold water until all residue has been removed from both components.
Conclusion
G Pens are great for vaping oils and concentrates, but they need to be cleaned on a regular basis. You should clean your vape pen after every use by following the simple steps below. This will prevent any buildup of residue that might affect how your vaporizer works over time.
If you have other questions or want more information about cleaning techniques, please let us know. We hope this post on how to clean g pen helps you maintain your G Pen, so it stays in good working condition as long as possible!
You may read also – How to Fix G-Pen Coil