How to Make a Plastic Box
If you need to store or transport something small and delicate, a plastic box is a perfect solution. They’re affordable, lightweight, and easy to find in various shapes and sizes. In addition, they can be easily customized with labels or dividers to make organizing your belongings a breeze.
In this article, we’ll show you how to make a plastic box using just a few simple steps. Whether you’re looking for a way to store your belongings or you need a container for a project, making your plastic box is a great option. You can choose the size and shape that best suits your needs, and it’s easy to do. Here are some steps to help you get started.
Tools and Supplies Needed
1. Hacksaw or other cutting tools
2. Drill with appropriate sized drill bits
3. Sandpaper
4. Wood Glue
5. MEKP glue
6. Plastic bag
Step by Step Guide: How To Make A Plastic Box
Step 1: Determine Where The DIY Organizer Boxes Will Go
Before you can begin building your boxes, you’ll need to know where they will go. Measure the space available and determine which dimensions you want for your box. You can customize it however you like!
Step 2: Measure The Size Of The Detailing
Now that you know where your box will go, it’s time to measure the inside of the space. This is especially important if you want a custom-fit DIY organizer box. Draw a diagram of the space and note any bends or angles in the wall to make sure your boxes fit perfectly.
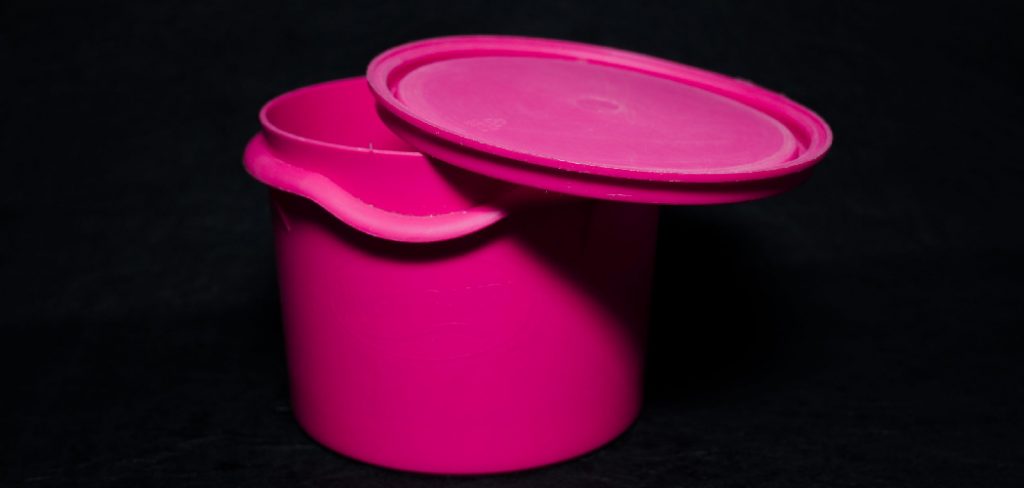
Step 3: Cut The Plastic Lid And Base To Size
Use a hacksaw or other cutting tools to cut the lid and base to size. The exposed edges can be sanded down, but keep in mind that the top and bottom will be covered up, so you won’t need to worry about them. The length of each piece should equal the width of both pieces combined.
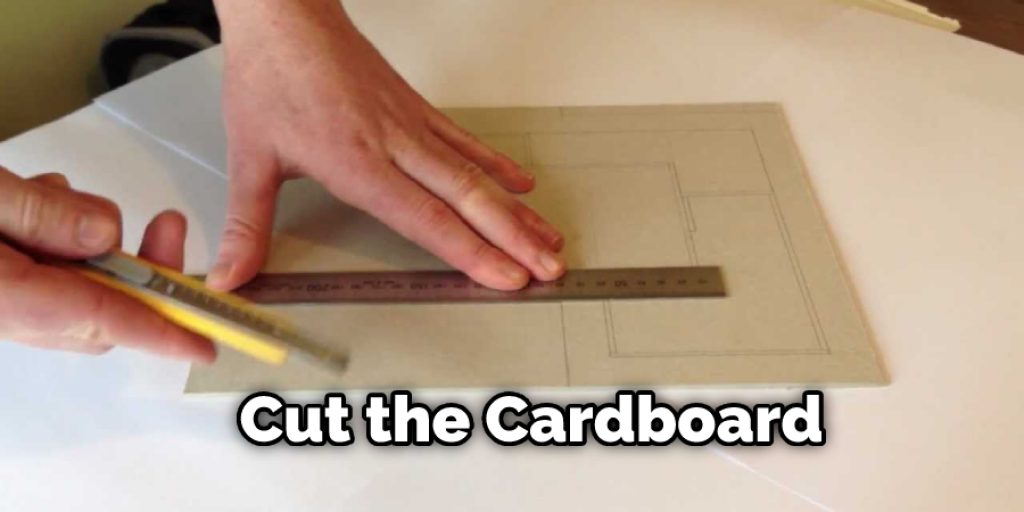
Step 4: Cut The Cardboard Or Plastic If Needed
If you’re using cardboard dividers, now is the time to cut them to size. Depending on your material, you can use either a hacksaw or a sharp utility knife. Make sure to cut the dividers at an angle to fit in the box easily. Plastic dividers will work in much the same way, but you can also use a utility knife or rotary tool with a cutting wheel.
Step 5: Glue The Box Together
Now that all of your supplies are cut to size and ready to go, it’s time to glue the boxes together. Apply a thin layer of wood glue inside each piece and connect them. For more stability, you can add a few dabs of adhesive in the center of the seams on both sides.
Step 6: Seal The Edges With A Plastic Bag
Next, place a plastic bag inside the box to protect it from adhesive. This step is optional, but it will help give the DIY organizer box a polished look and make it easy to wipe down surfaces. If you don’t have a protective cover available, you can skip this step entirely.
Step 7: Mount The Box To The Surface
To mount your DIY organizer boxes, you’ll need to use some appropriate hardware. If the surface is drywall, wood paneling, or another similar material, you can use screws. To attach them to concrete or brick walls, masonry anchors are your best bet. Make sure that whatever fastener you choose is appropriate for the type of wall you are working with.
Step 8: Mark and Score The Fold Lines
Now that your boxes are securely mounted, it’s time to score the fold lines on the bottom of each piece. First, use a straight edge or yardstick to measure out where you want them. Then, flip over the box and place a pin in the crease mark made by your ruler. Gently apply pressure until you see a scoreline, then repeat the process on all lines.
Step 9: Fold The Boxes Into Shape
Once all of the lines are scored, it’s time to fold everything into place. Place both hands on each side of the box and push down with moderate pressure until you hear a snap. The fold line should now be visible!

Step 10: Add The Finishing Touches
All that’s left to do is add the finishing touches! Using a protective cover, fabric or plastic lining, and/or adhesive will make your DIY organizer boxes look professional. Of course, you can also decorate them however you like.
Some Tips and Suggestions
1. When sawing the plastic, it is best to use a hacksaw instead of a handsaw. A handsaw creates more
2. If you’re using ABS, acetone can be used as an adhesive on plastic parts. Acetone melts them together and allows them to bond and form one piece. This works especially well with ABS but can also work with PVC.
3. Using ABS, the most common glue is ABS-glue or Acetone mixed with ABS.
4 A Dremel tool works well to drill holes in plastic boxes
5. If you don’t have access to a Dremel, use a regular drill bit that is slightly smaller than the screw you are using to go through with a manual
6. A Dremel is also very useful for sanding and smoothing out plastic parts after being glued together
7. When printing a design in ABS, it will be translucent when polished and hardened if the print is too thin. If this happens, use a file to remove the excess thickness from the print until you have your desired thickness.
Final Words
In this blog post, we have shown you how to make a plastic box. The materials you will need for this project include a piece of cardboard, a ruler, scissors, a pencil, and an x-acto knife. You will also need some hot glue and superglue. The first step is to measure and cut your cardboard into the desired shape for your box.
Be sure to leave enough room on each side so that the flaps can be glued down later. Next, use the ruler to draw a line on all four flaps from one corner to the other. We hope this blog post was helpful. By following our instructions, you can create a sturdy and functional plastic box in no time! If you have any questions or want to know more, then feel free to comment below!