How to Disconnect Garage Door Opener
Do you find it frustrating when your garage door opener is acting up and preventing you from accessing your garage? Don’t fear because disconnecting a broken or malfunctioning garage door opener is relatively simple. With the right steps, knowledge, and tools, anyone can learn how to disconnect garage door openers in no time.
This article discusses the different methods for safely and securely delinking an aging or damaged opener. Leveraging our expertise in repairing and replacing openers, we give comprehensive guidance on successfully accomplishing this task.
Step by Step Guidelines on How to Disconnect Garage Door Opener
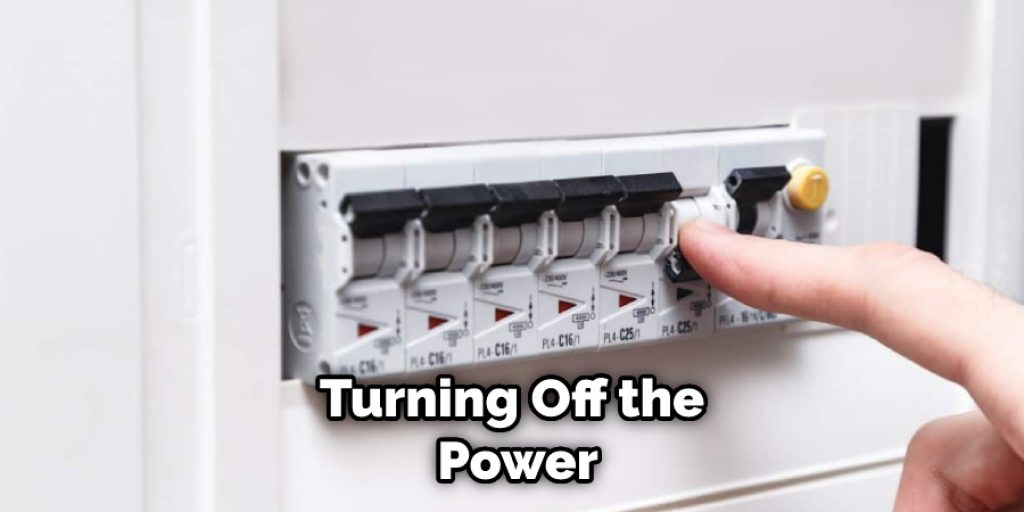
Step 1: Turn Off the Power Source
Before attempting to disconnect your garage door opener, ensure that you turn off the unit’s power source. This can be done by unplugging it or switching it off at the circuit breaker. Taking this step before working with any electrical appliances is important, as even a small spark can cause damage. So make sure to protect yourself and your equipment by turning off the power source first.
Step 2: Locate Cables and Wires
Once you have turned off the power source, locate all the wires and cables connected to the opener. Check where they are connected and gently pull them apart, taking care not to damage any of them in the process. You will find that the power cord is usually connected to the top of the unit, while other cables are likely attached to various parts of it. Carefully disconnect each one until all the wires and cables have been removed.
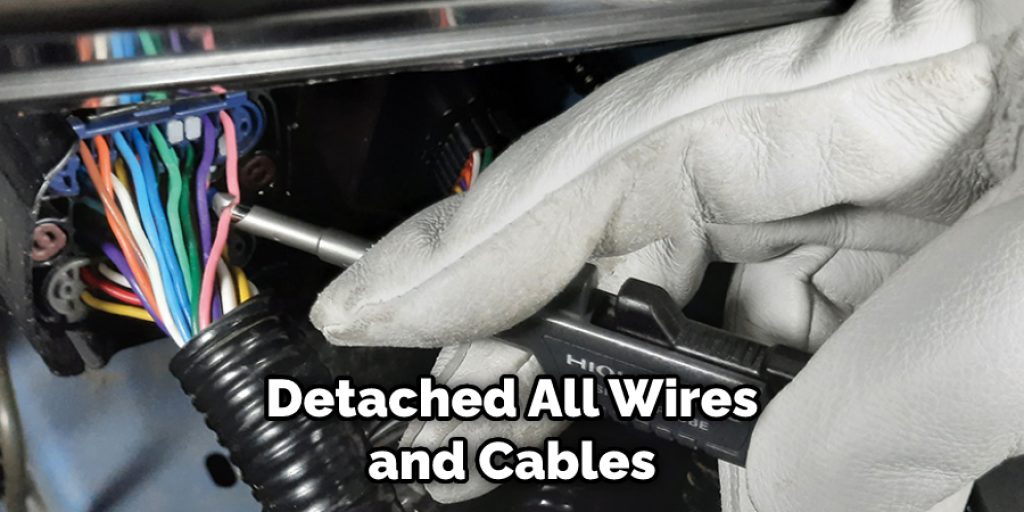
Step 3: Remove the Remaining Parts
Once you have detached all wires and cables, you can then remove all remaining parts connected to the opener. This includes screws or bolts that may be holding it in place and the wall-mounted control. Make sure that all components are removed before disposing of them safely.
Step 4: Disconnect Other Components
If your garage door opener is attached to other components, such as sensors or safety beams, you will need to disconnect these too. If possible, take a photo of the wiring configuration so that you can reconnect it correctly when reinstalling the opener.
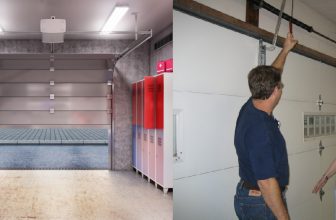
Step 5: Unmount the Opener
Once all components are disconnected, you can then safely unmount the opener from its support bracket. This may require a few tools, such as a wrench and screwdriver. Once detached, carefully place the unit somewhere safe and secure until ready to reinstall it.
Step 6: Empty the Track
Finally, you should also make sure to empty the track of any debris or obstructions. This can be done with a vacuum cleaner or brush, depending on the type of material. Doing this will ensure that when you reinstall your garage door opener, there are no issues, and it works efficiently.
By following these steps, you can safely and easily disconnect your garage door opener. Remember to take extra care when detaching any wires or components, as it is important to make sure you do not damage them in the process. Once finished, you can reinstall the opener if needed or store it away for further use.
Tips and Tricks to Disconnect Garage Door Opener
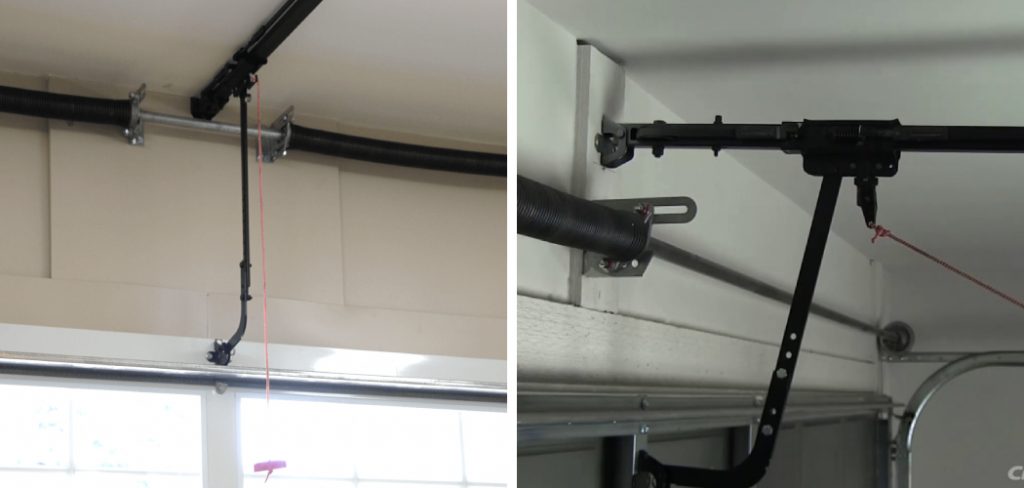
- Turn off the power to your opener by unplugging it or turning off the breaker that supplies power to your garage door opener’s outlet.
- For safety, be sure to install a safety release tape on the trolley track of your garage door opener. This will prevent any movement of the trolley when the power is off.
- Locate the chain on your garage opener and use a pair of pliers to unhook it from its fastenings.
- Disconnecting the drive chain will completely isolate your garage door opener from its power source, completely disconnecting it from the main power supply.
- To completely remove your garage door opener, be sure to unscrew all of the mounting screws and brackets that fasten it to the ceiling or wall in your garage.
- After you have done this, use a pair of pliers to unhook the tracks from their fastening points on the wall or ceiling.
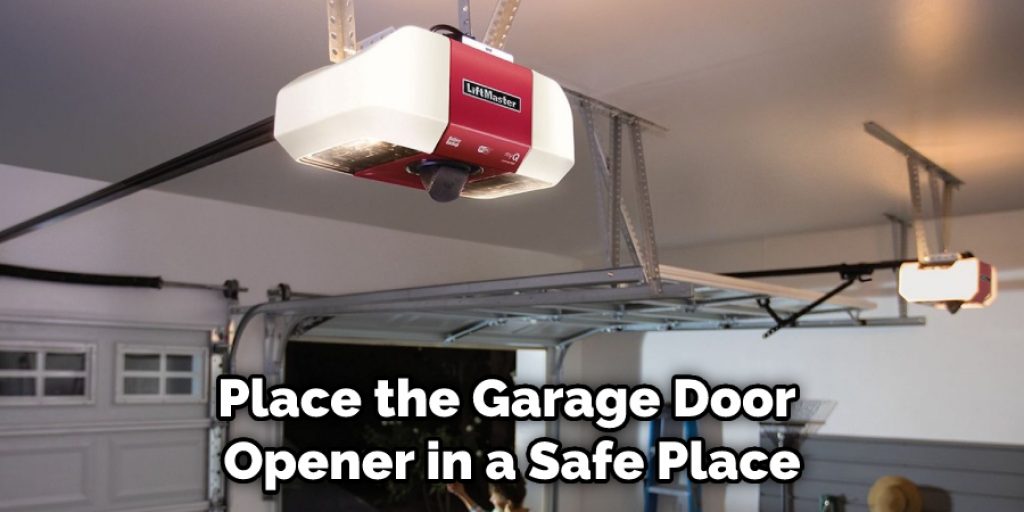
- Finally, place the garage door opener in a safe place for disposal or future use. It’s important to remember not to leave your garage door opener exposed as it may attract thieves if visible from the outside of your home.
With these tips and tricks, you can easily disconnect your garage door opener and safely remove it from your home.
It’s important always to follow safety protocols when disconnecting and disposing of your garage door opener, as improper installation or removal of the device can lead to injury or damage to property.
Always ensure you have a professional on hand if you are unsure or uncomfortable with any part of the process. Thanks for reading!
Things You Need to Consider for Disconnecting Garage Door Opener
- Give yourself enough time and prepare for the project. Disconnecting a garage door opener can be complicated, so ensure you have plenty of time to devote to the task without feeling rushed. Before beginning, research what type of opener you have and make sure you have all the necessary tools on hand.
- Be aware that disconnecting an electric garage door opener may involve working with electrical wiring. If you are uncomfortable with this, contact a professional to help you complete the task safely.
- Unplug the power supply that connects your unit to the wall outlet and then shut off any breakers providing power from your circuit breaker box. This will ensure no electricity flows to the device, keeping you safe from harm.
- Disconnect any wires that provide power to your opener and garage door sensors. Make sure you have labeled each wire so that you know where they need to be reattached when reconnecting the unit.
- After disconnecting all the wires, unscrew the brackets holding the opener to your garage door.
- Remove the unit and set it aside, as you will no longer need it for this project.
- Finally, disconnect any cables or springs attached to your garage door and remove them from the system entirely. Be sure to store these spare parts in a safe place for future use.
Considering these considerations, you are now prepared to disconnect the garage door opener. With the proper preparation and safety precautions are taken, this project should be relatively simple. Following these steps carefully, you can successfully disconnect your garage door opener and replace it with a new one. Good luck!
Precautions Need to Follow for Disconnecting Garage Door Opener
- Ensure that the power supply to the garage door opener is switched off before attempting to disconnect it.
- Wear protective gear, including a dust mask and safety glasses, when dealing with electrical wiring.
- Take note of the connections linking all wires to the control unit before you start working on them; this will make reconnecting them easier.
- Check whether the cables or wires used to connect the garage door opener are firmly in place and securely connected.
- Carefully disconnect each wire from its terminal, ensuring you have identified which wire is connected before removing it completely.
- If the wiring system has been damaged or corroded, replace it with new wiring or cables.
- If the control unit is old and showing signs of damage, such as rusting or broken parts, replace it entirely to protect yourself from electrical hazards.
- Make sure that all the connections are properly reconnected after disconnecting the garage door opener before switching on the power supply.
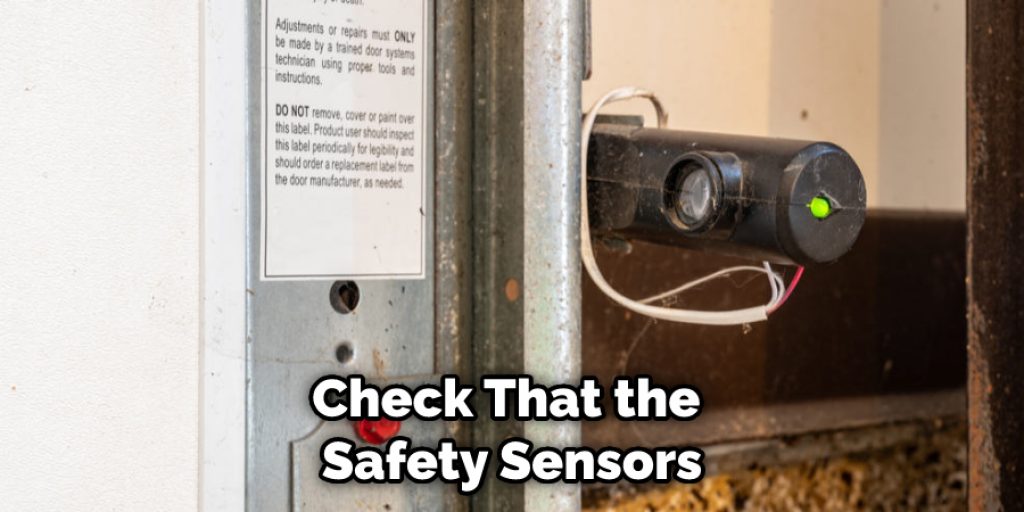
- Check that the safety sensors are functioning correctly, as these will detect if anything is blocking the garage door’s path and prevent it from closing.
- Test the system by manually or remotely operating the garage door several times to ensure everything is working properly. If any errors occur, refer to the user manual for troubleshooting.
Once all of these precautions have been taken, and the garage door opener has been successfully disconnected, you can now safely remove it from its mounting bracket without fear of any potential electrical hazards or other problems.
Furthermore, following these steps can avoid future malfunctions and ensure that your garage door remains reliable. With the garage door opener safely disconnected, you can now install a new one without worry!
Conclusion
Finally, keeping your garage door opener disconnected when not in use is a smart way to ensure the safety and security of your property. It also prevents any intruders from entering your home through the garage. A disconnect switch may be an essential component of your overall home security system, and installing one can be quite simple. Keep in mind that if you ever need help
with this project, it’s best to contact a professional for advice and assistance.
With the right knowledge on how to disconnect garage door opener, you’ll have a better understanding of how important this safeguard really is for protecting your home’s security. By installing a disconnect switch and ensuring timely maintenance of all parts of your door opener system, you can rest easier knowing that you are more likely to remain secure.