How to End Shoe Molding at Door Frame
Shoe molding is a great way to finish off the edges of door frames. It provides a neat and tidy look that adds visual appeal to any room. However, when it comes time to end shoe molding at door frames, many don’t know the best way to do it. This article will outline how to end shoe molding at door frames properly and why it is important to do so correctly.

There are several advantages to ending shoe molding at door frames. One of the main benefits is that it can help create a more seamless transition from one room to another. This will provide an even, cohesive look throughout the home and make it easier for people to walk through each doorway without a noticeable break in style or continuity. You can find step-by-step instructions on how to end shoe molding at door frame in this blog article.
Materials You Will Need
- Miter Saw
- Safety Glasses
- Pencil
- Tape Measure
- Shoe Molding
- Wood Glue
- Nails or Finish Nails
- Putty Knife
- Hammer
- Sandpaper
Step-by-step Instructions for How to End Shoe Molding at Door Frame
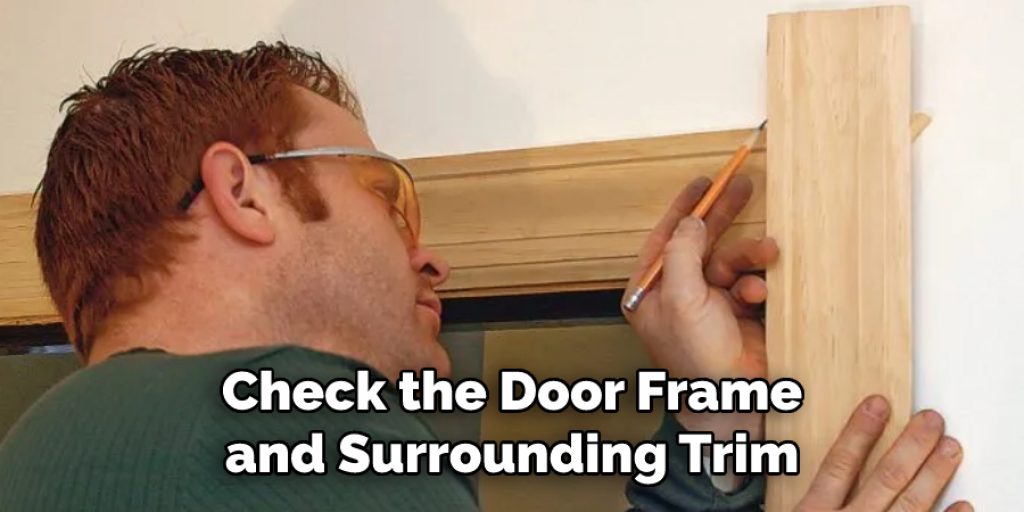
Step 1: Inspect the Door Frame
Before you start, check the door frame and surrounding trim to make sure it is free of nails and debris. Make any necessary repairs or replacements before moving on. Measure the length of the shoe molding needed to cover the gap between two pieces of trim. Using a miter saw, cut the shoe molding to fit.
Step 2: Attach the Molding
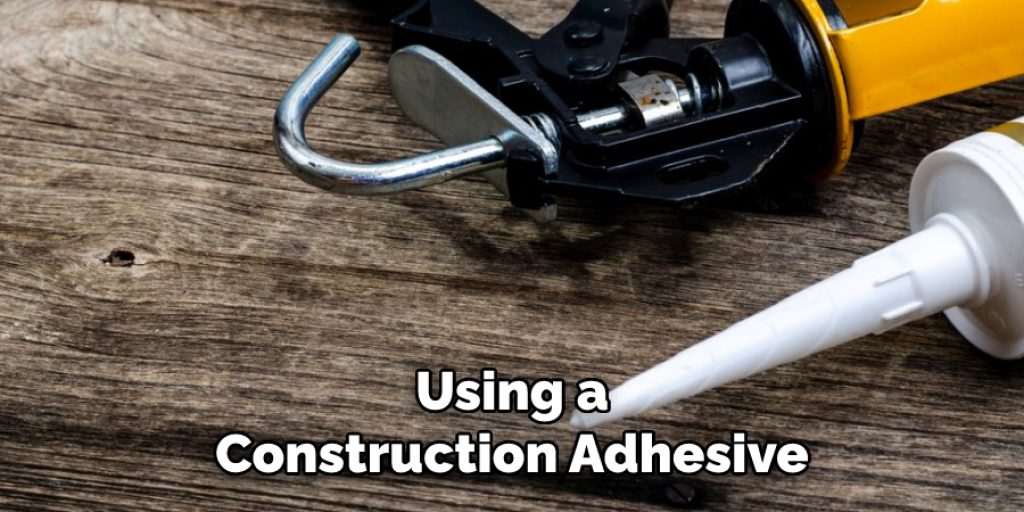
Place a small bead of construction adhesive along one side of the trim at least one inch away from the edge. Press the shoe molding firmly into place, making sure it is in contact with both sides of the trim. Use a nail gun to attach additional nails along the edges of the trim for added security.
Step 3: Sand the Molding
Once the adhesive and nails have dried, use sandpaper to smooth out any rough spots on the shoe molding. Use a foam brush or roller to apply an oil-based primer to the shoe molding. Once the primer has dried, apply two coats of paint to give it a finished look.
Step 4: Cut the Miters
Measure the length and angle of each end of the shoe molding and use a miter saw to cut 45-degree miters on both ends. Place a small bead of construction adhesive along one side of the trim at least one inch away from the edge. Press one end of the shoe molding firmly into place and hold until it is secure. Use a nail gun to attach additional nails along the edges of the trim for added security.
Step 5: Attach the Other End of the Molding
Place a small bead of construction adhesive along the other side of the trim at least one inch away from the edge. Press the other end of the shoe molding firmly into place and hold until it is secure. Use a nail gun to attach additional nails along the edges of the trim for added security. Once the adhesive and nails have dried, use sandpaper to smooth out any rough spots on the joints of the shoe molding.

Step 6: Apply Caulk
To make sure your shoe molding is properly sealed, apply a bead of caulk along the joints where the two pieces meet. Use a damp cloth to smooth out the caulk and make it look neat. By following these steps, you can easily end your shoe molding at the door frame and create a professional-looking finish. With a little patience and attention to detail, this project can be completed in no time.
Safety Precautions for How to End Shoe Molding at Door Frame
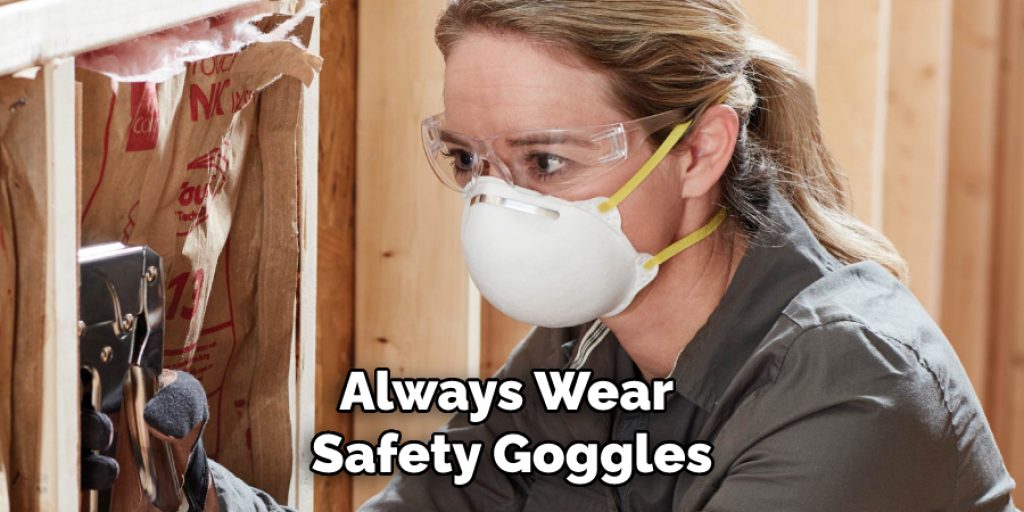
- Always wear safety goggles and gloves when working with tools or materials.
- Always be sure to unplug power tools when not in use, and keep them away from children and pets.
- Make sure to mark the area of the frame where you want to end the shoe molding before cutting.
- Measure the length of the frame and cut the shoe molding to fit, using a miter saw or jigsaw.
- Securely attach the shoe molding by pre-drilling and hammering in nails at every connection point.
- Use wood filler and sandpaper to fill any gaps between the frame and shoe molding.
- Apply stain and sealant to the shoe molding for extra protection against moisture and wear.
- Be sure to dispose of all materials in a safe manner, such as by recycling or composting, when finished.
By taking these safety precautions, you can confidently end your shoe molding at a door frame and enjoy beautiful results.
How Can You Prevent the Shoe Molding From Becoming Damaged Over Time?
Sealing your shoe molding with caulk properly is one of the best ways to protect it from becoming damaged over time. Caulking the area around the door frame and the shoe molding will ensure that water does not become trapped between them, which can cause rot or damage over time.
You should also use high-quality paint or varnish to seal the surface of the shoe molding and protect it from wear and tear. Additionally, you may want to use a corner guard on the inside corners of the door frame and the shoe molding in order to prevent them from becoming scuffed or marred. Doing these simple steps will help ensure that your shoe molding stays looking its best for years to come.
It is also important to note that shoe molding should be installed properly in order to ensure it remains intact and secure over time. Make sure to follow the manufacturer’s specific instructions when installing your shoe molding, as this will help ensure a better fit and provide additional protection against damage. Taking the time to install and maintain your shoe molding properly will help ensure it looks its best for many years to come.
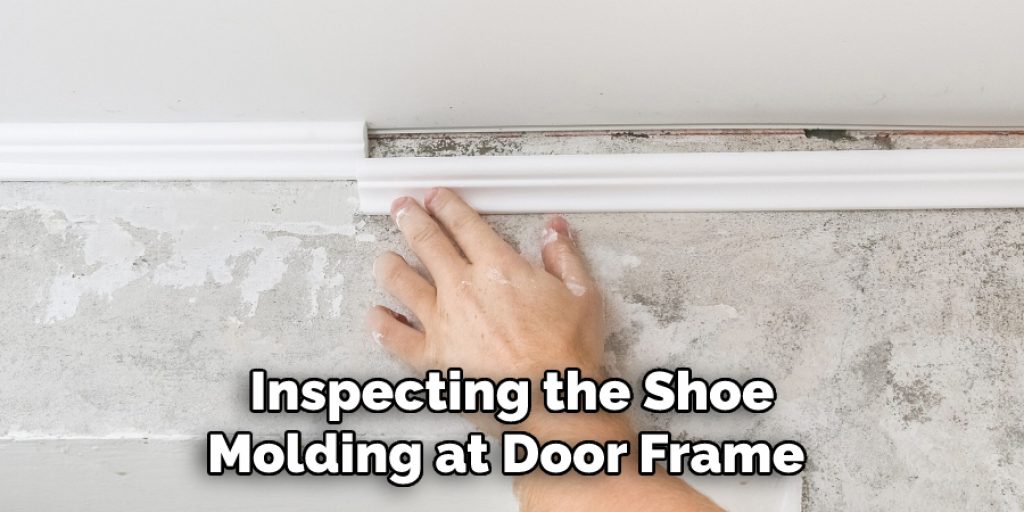
How Often Should You Inspect the Shoe Molding at the Door Frame to Make Sure It is Secure?
Inspecting the shoe molding at your door frame periodically is important to ensure it remains secure. How often you should inspect it depends on several factors, including what type of shoe molding you are using and where it is installed. Generally speaking, shoe moldings located in areas with high foot traffic may need an inspection every few months, while shoe moldings in less trafficked places may require an inspection every 6-12 months.
Inspecting the shoe molding involves looking for any cracks or splits that could indicate it is starting to loosen from its installation points. You should also check to make sure there are no gaps between the shoe molding and the door frame, as these gaps can also lead to the shoe molding becoming loose over time. If you discover any issues with the shoe molding, it is important to address them quickly by either reattaching it or replacing it if necessary.
How Can You Easily Remove the Shoe Molding if Necessary in the Future?
Removing the shoe molding is not as difficult as you might think. To remove it, start by prying one end of the shoe molding off from the wall or floor. You can use a flat-head screwdriver to do this. Once one end is detached, you should be able to pull up the rest of the trim in one piece. Be careful when prying the shoe molding off, as it may splinter or crack if you are too forceful.
Once the shoe molding is removed, you can easily replace it with a new trim that matches your existing door frame. You’ll need to measure the door frame and cut a piece of trim to size. If available, you’ll need to use a miter saw or power miter box to install the new trim. If not, you can cut the trim with a utility knife and straightedge.
How Should You Seal the Edges of the Shoe Molding at the Door Frame?
The answer to this depends on the kind of shoe molding you have. There are two main types: regular and quarter round, both with different applications. For regular shoe molding, you should use a miter saw or coping saw to cut the ends of the trim flush with each other.
Then, putty over the seams and sand them smooth. For quarter-round molding, you should cut the ends with a miter saw or coping saw and then glue them in place along the door frame using a construction adhesive.
Once both types of shoe molding are properly installed at the door frame, make sure to caulk around the edges to seal out any air or moisture from entering the space. This will help to prevent mold and rot from occurring. After that, you can paint or stain the shoe molding to match your desired look.
In conclusion, Ending Shoe Molding at the Door Frame depends on the trim used in your home. For regular shoe molding, miter cuts are best, and caulk should be used to seal the edges. For quarter-round molding, glue is necessary for a secure fit, and caulk should also be used around the edges.
How Should You Clean the Shoe Molding After It Has Been Applied to the Door Frame?
When you have applied the shoe molding to the door frame, it is important to ensure that it is clean before any additional steps are taken. The best way to do this is by using a broom, dustpan, or vacuum cleaner with a soft-bristled brush attachment to remove any loose particles.
If necessary, you can also use a damp cloth to wipe away any dirt or dust gently. Be sure to avoid using harsh chemicals that could damage the finish of the molding. Once it has been cleaned, you will be ready to end your shoe molding at the door frame.
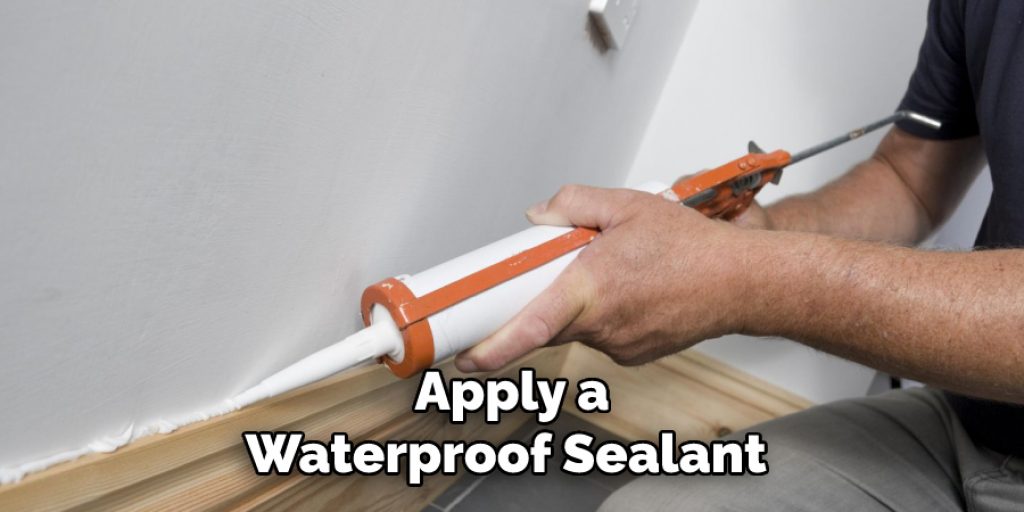
For additional protection against possible water damage, you may want to apply a waterproof sealant to the shoe molding and door frame. This will help to protect the molding from any future water damage and make it last longer. Following these steps will ensure that you have properly ended your shoe molding at the door frame. By taking appropriate measures to clean and protect your new molding, you can help ensure that it looks great and lasts for years.
Do You Need to Call Any Professional to End Shoe Molding at Door Frame?
Yes. Depending on the size, amount of molding, and complexity of the project, you may need to call a professional for the job. Professional installers are experienced with cutting and installing trim in difficult areas like door frames. They will also be able to make sure that the pieces fit together properly and securely.
Furthermore, they have access to specialized tools and knowledge that you may not have. This can make the job safer, faster, and easier than trying to do it yourself. It is also important to consider if any modifications need to be made in order for the pieces of trim to fit correctly. A professional will know what changes need to be made and how best to execute them, saving you time and frustration.
All in all, it is usually best to call a professional for any complex trim installation projects like ending shoe molding at door frames. This will ensure that the job is done with quality and precision.
Conclusion
One of the main disadvantages of ending shoe molding at the door frame is that it can be difficult to fit the pieces of trim around a door frame. If the frames are not perfectly level, or if there are any type of gaps between the surface and the door frame, trimming around them with shoe molding may become complicated. Additionally, if the door frame has an irregular shape, it could be difficult to fit the shoe molding into those contours.
In conclusion, ending shoe molding at a door frame can be done with some patience and attention to detail. Start by cutting the shoe molding to fit the length of the door frame using a miter saw or miter box. Then, use a chisel and hammer to make sure it fits properly into the corner of the frame.
Finally, use glue or nails to attach the shoe molding, and you are done! With these simple steps, you can easily end shoe molding at a door frame. I hope reading this post has helped you learn how to end shoe molding at door frame. Make sure the safety precautions are carried out in the order listed.
Angela Ervin
Angela is the executive editor of DIY quickly. She began her career as an interior designer before applying her strategic and creative passion to lifestyle and home. She has close to 15 years of experience in creative writing and online content strategy for housekeeping, home decorations as well as other niche efforts. She loves her job and has the privilege of working with an extraordinary team. She lives with her husband, two sons, and daughter in Petersburg. When she's not busy working she spent time with her family.