How to Fix Laser Mouse Sensor
It is a type of mouse sensor that uses the light from a laser to detect movement. A laser mouse sensor works by sending out short flashes of light. The sensor then takes a picture to determine how far the laser has moved from its original position as these are electrical objects, so it is natural to get damaged. For this reason, today, I am going to discuss how to fix laser mouse sensor.
What Are the Advantages of Using a Laser Mouse Sensor?
The main advantage of using a laser mouse sensor over an optical or mechanical one is its ability to track on reflective surfaces better than other sensors (optical and mechanical). This includes glossy or glassy surfaces. They can also track on textured and patterned surfaces, but this may vary depending on what surface it is tracking. The main disadvantage is that laser mice sensors tend to be more expensive than optical or mechanical ones.
The disadvantage of using lasers for mice is that they can be more expensive. This is because they require better manufacturing processes than optical mice, and because they require a decent system with high processing power to handle them.
Step- Wise Guide on How to Fix Laser Mouse Sensor
Step 1:
Power off the computer and unplug its mouse/keyboard.
Step 2:
After plugging in the mouse back, boot up the PC to your OS’s desktop environment.
Step 3:
Disconnect all other devices which potentially cause interference or interruption during the repair process of your laser mouse sensor. It includes external hard drives, optical drives, etc., because it can affect the functionality of the USB port through which you connect your laser mouse to your computers’ motherboard. Sometimes even the software installed on a system may cause this issue, so make sure that you disable such applications while you do this solution.
Step 4:
In the control panel, navigate to Device Manager of our computer and check out what devices are listed under the Universal Serial Bus controllers category. Expand it and check out the USB devices. As you can see in the above image, I have already connected my Android phone with the computer. Let’s go ahead and remove all the other USB devices. Once done, restart your computer. After restarting, try and connect your Android phone with the computer. Check if the issue persists. If you still face issues, go ahead and uninstall the USB drivers from your computer.
Step 5:
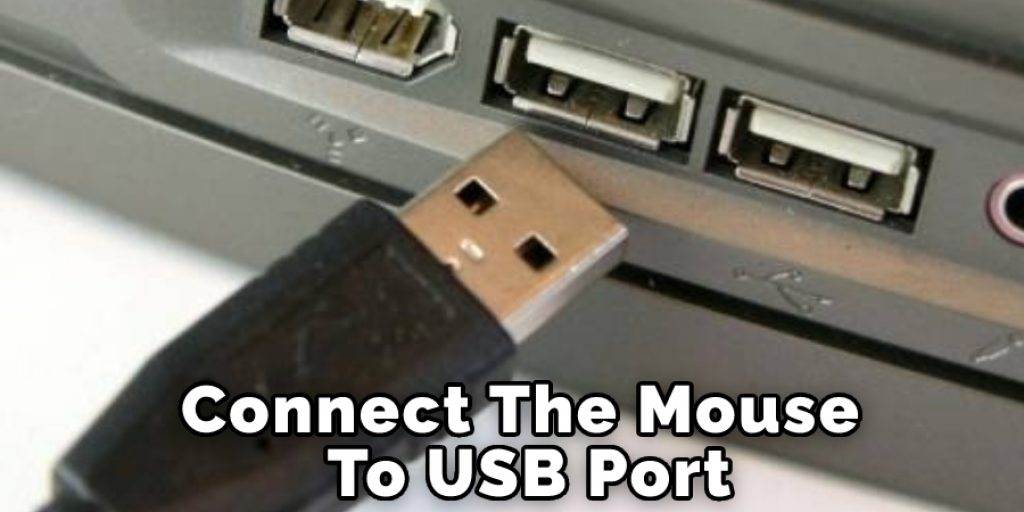
Now, connect the mouse to another USB port and check out if it helps. If no luck, change the ports where you plug in your laser mouse and see if that fixes the problem. It may be your motherboard’s USB controller causing problems, so if no improvements are noticed even after trying different ports with your laser mouse, sadly, this solution won’t help you fix the issue. Also, make sure that while changing these ports on which you connect your laser mice, it shouldn’t have been occupied by other devices as well because this can cause interference between two distinct devices leading to erratic functioning of one or both. So try allocating a free port for connecting your laser mice only and not use them simultaneously with any other device connected to your computer. You can even use a USB extension cable for this purpose.
Step 6:
If you cannot access the Device Manager from the control panel or are not listed there, restart your PC and enter into BIOS settings. It’s usually F2/Delete key combination that will open up your computers’ BIOS settings, so keep an eye out for such keys during the initial bootup screens of Windows OS. Next, enter into the CMOS Setup utility screen from where we can manage our system devices using various options available on that screen to avoid making changes here later than it becoming critical to do so, e.g., changing serial presence detect and even resetting all values stored on CMOS chips of BIOS which might solve many hardware related issues, but that is not the case here so we won’t go into details of what CMOS environment really is, but if you are interested in knowing more about it, then feel free to ask (In the comments area below). I’ll try my best to provide some useful information on it.
Step 7:
If your laser mice’s issue persists even when connecting them to a different USB port. After resetting BIOS settings, then most likely, there is something wrong with its internal components which cannot be repaired anymore, as this problem may be with your motherboard’s own circuitry or USB hardware itself. You may need an entirely new mouse for daily use in such cases because nothing can be done by yourself, practically speaking.
Precautions While FIxing Laser Mouse Sensor
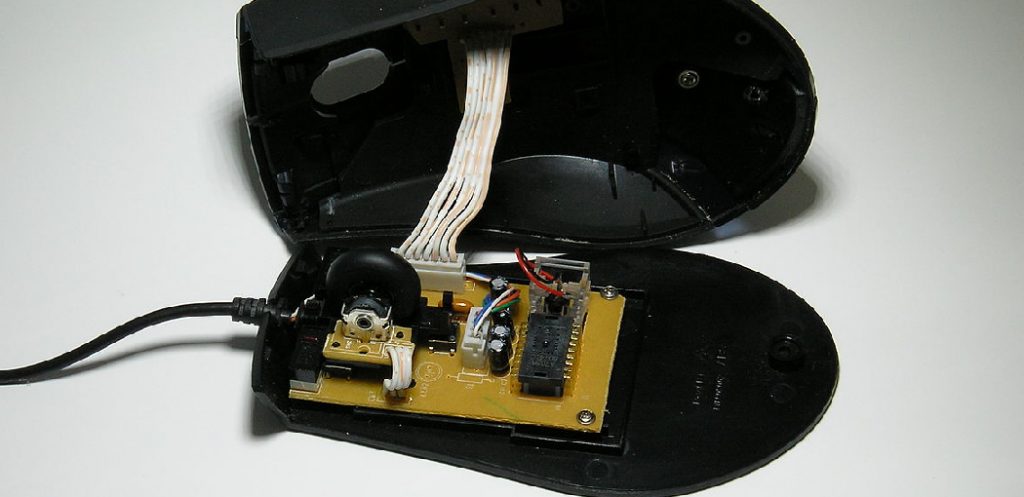
- Do not open the case of a laser mouse.
- Always turn off the system and unplug the power cable when working on it.
- Used only isoprene gel for cleaning (no solvents).
- Do not smoke while working with a laser mouse sensor.
- Never put anything inside a laser sensor (whether open or closed). I wouldn’t recommend this step if you have trouble because you can ruin your laser mouse sensor.
- Do not store your mouse with the cover on.
- You can use the laser sensor to detect smoke in a room or monitor it; this could help prevent a fire if there is one (you will notice that the dot jumps randomly).
- Before reconnecting your mouse, turn it off for 30 seconds and then on again a few times. This will clear the sensor.
- Keep your mouse clean and avoid physical damage to it (avoid dropping it).
How Can I Make the Life of My Mouse Longer?
To run a computer, we need to keep in good health. The same thing goes on for our computer peripherals such as mouse and keyboard. They will also have to be maintained well to ensure their safety and long-lasting work performance. Of course, we need to change their batteries or recharge them from time to time, but what if they are not working even though we had just changed the batteries no more than 2 weeks ago?
That’s another story here that we’re going to solve by doing some troubleshooting procedures. One common reason why your wireless mouse stops functioning is because of the laser sensor. So you should follow the sets mentioned earlier to get rid of this situation.
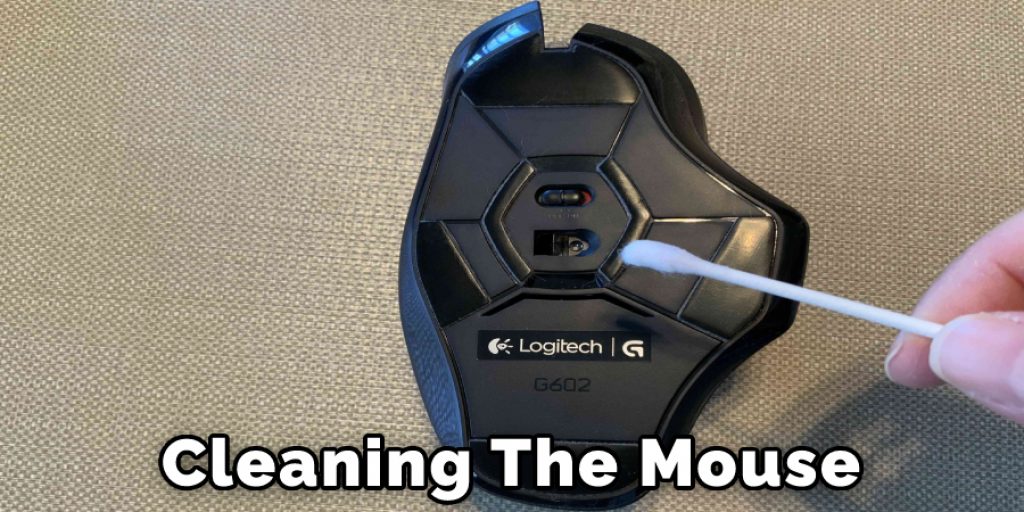
How Do You Clean a Laser Mouse Sensor?
Cleaning a laser mouse sensor is relatively simple and straightforward. To get started, turn the mouse upside down and use a can of compressed air to blow away any dust or debris that may have collected around the sensor.
Make sure to keep the nozzle at least two inches away from the mouse; this will prevent any damage to the mouse or its components. Once all of the visible dirt has been removed, you can use a lint-free cloth dampened with rubbing alcohol to wipe away any remaining residue gently. Allow your mouse to dry before reusing it, and you should be good to go!
Can a Laser Mouse Wear Out?
A laser mouse can wear out over time due to several factors. First, laser technology can suffer from fatigue, meaning that it will become less accurate and responsive as you use the mouse more.
Additionally, the exterior of a laser mouse can wear down if it is constantly being used with an abrasive surface like a hardwood or metal desk. Finally, dirt, dust, and other contaminants can accumulate on the inside parts of a laser mouse and cause them to lose accuracy and responsiveness over time.
Conclusion
In conclusion, I hope the process discussed here will help you know how to fix laser mouse sensor. Ensure to follow the steps properly for better output. Thank you and have a nice day!
You may read also – How to Fix Ethernet Port on Motherboard