
How to Install a Domestic RV Air Conditioner
Introduction:
There are many kinds of air conditioners, but the type installed in an RV is called a “marine roof-mount” AC unit. This AC unit has several advantages over other types, including its compact size and sleek design.
In this article, I will discuss installing a domestic RV air conditioner. So let’s get into the topic.
The two main components of this type of AC unit are the compressor outside the RV, which generates coolant to be stored inside the RV in pipes under the flooring or some other area, and then run into vents that distribute cool air throughout the vehicle.
A Stepwise Guide on How to Install a Domestic RV Air Conditioner:
An RV Air Conditioner is a blessing and a bane simultaneously. During the summer months, it acts as an AC in your own house, and during winter, it turns into a heater. However, installing this appliance is not so simple if you want to do it yourself.
This guide will help you through the process of installation of an air conditioner in your RV.
First step: Buying an Air Conditioner for RV:
Before even considering purchasing the air conditioner, ensure enough space is available in your vehicle or trailer for mounting one. An air conditioning unit that works perfectly in a smaller room might be too small for your entire car and may not fulfill your needs.
Therefore, calculate how many BTUs (British Thermal Unit) of cooling your vehicle can hold.
Second step: Wire Connection:
First of all, make sure you have a wired connection from the battery to where you want to mount or install the air conditioner. Next, shut off power from the main electrical panel before attempting any work on it.
First, cut a hole in the wall. Next, use some foam insulation to cover the entire area. Finally, use rubber grommets to run the cables through the hole and screw everything down.
Ensure there is enough insulation around so as not to accidentally cause a short circuit near flammable materials such as gas lines etc.. After this step, now connect those wires to the outdoor section of your air conditioner.
Third step: Mounting and Placing The Unit:
Now comes the time to install the unit on the wall. The area for mounting should be cleaned out before you screw anything down. This is also where you should place any vent tubing through the insulation not to hit any wires or electrical outlets behind them.
Use some foam insulation around all openings after that, then finally screw everything into place.
Fourth step: Installing Drainage System:
Now that your air conditioner is installed in its designated spot, it’s time to hook up water drainage systems for it. To do this, first, run a tube from the condensate connection on roof-mounted or rear RV air conditioners into a bucket.
Fifth step: Thermostat and Electrical Wires:
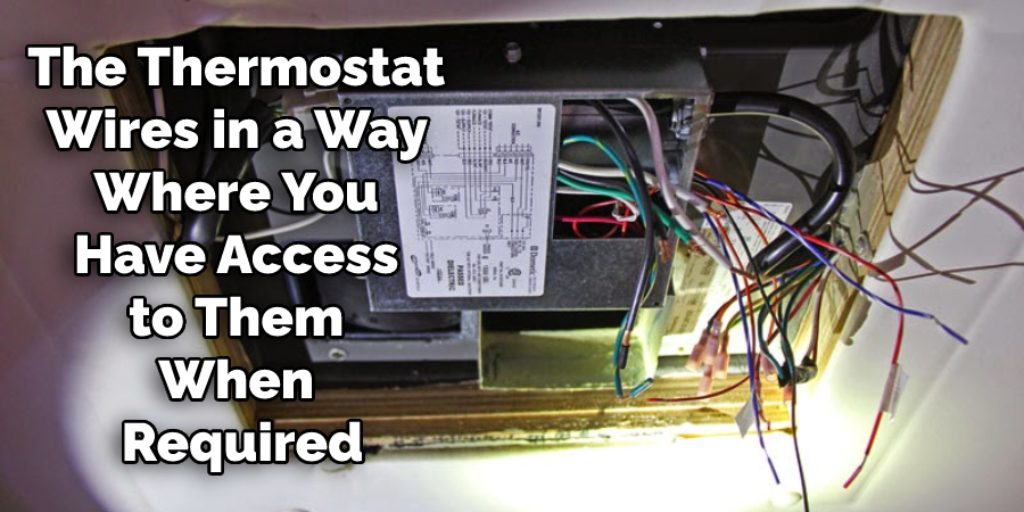
Now place the thermostat wires in a way where you have access to them when required, but not in a way where they can be accidentally cut or broken.
After that, fasten these wires to keep them in place and run the electrical wire from the power supply through its designated hole in the insulation. Finally, attach everything with screws and tightening nuts.
Sixth step: Final Checkup:
In this final stage of the installation process, install any filter media over the air intake section of your air conditioner. These can be fiberglass or even foam filters readily available at most hardware stores for less than $5.
Now, place the front grill that came with your unit over the air intake section by using the screws provided. Finally, plug in the power cord to an electrical outlet and place any other accessories on it after testing to ensure everything is working correctly.
Precautions While Installing a Domestic RV Air Conditioner:
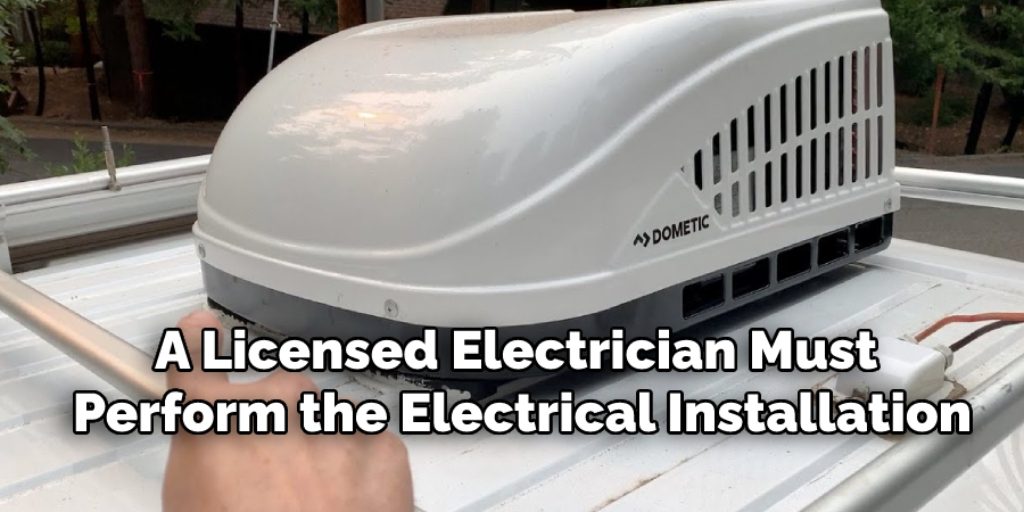
A licensed electrician must perform the electrical installation. The air conditioner should never be allowed to run unattended, especially when children are present. Never let pets or other animals come in contact with the unit.
Domestic RV Air Conditioners should only be used on cool days and should not run for long periods because it will cause excessive wear on the compressor. You are also running the AC while driving is dangerous as it reduces visibility through the windshield. If possible, you should wait until you have reached your camping destination before turning on the AC system.
Permanently shut off the RV’s main power supply before beginning work! Ensure that no electricity enters or exits any junction box or component before starting work or testing the system.
RV AC Units need a minimum of 2′ of space above and behind for optimum airflow. Therefore, if installed under a bed, you will lose most if not all of your storage space. You will also have to be very careful when entering and exiting the room where it is installed not to damage any part of the unit with your head or feet. Plan accordingly!
Frequently Asked Questions:
Do RV Air Conditioners Run on 12 Volts?
Yes, RV air conditioners do run on 12 volts. Unfortunately, this means that the RV 120-volt wiring system must be wired to a 12-volt battery and the inverter, if one is installed.
What Size of Air Conditioner Do do You Need?
The size of your RV will determine what size of AC unit you need. Most RVs from about 20 feet and more minor can use a 15,000 BTU ac unit. You should get a 25,000 or a 30,000 BTU Ac Unit for larger branches unless you have plenty of power for multiple ac units.
A 35,000 BTU ac should only be used in huge RVs because they quickly drain your battery and strain your generator if you have one.
You Can Check It Out To Bypass Pto Switch
Conclusion:
After this step-by-step guide on how to install a domestic RV air conditioner, you should have no trouble installing one for yourself if required or desired. Installing an RV AC can be done easily once you know what you are doing, so spending some time reading about it will help you get started right away when needed.
Selling your RV sometime in the future might require removing one of these units depending upon local laws where you live, but that’s another topic for another day. I hope this article was found helpful, and thank you very much for reading it!


