How to Install Leather Seats in Car
Transforming your car’s interior with the luxurious touch of leather seats can be a game-changer, elevating both comfort and aesthetics. Whether you’re aiming to upgrade your vehicle’s style or enhance its resale value, installing leather seats is a rewarding endeavor.
The process might seem daunting, but with the right tools, materials, and a step-by-step approach, it can be a manageable and satisfying DIY project. From choosing the right type of leather that suits your preferences and climate, to preparing the car seats for installation, and finally, completing the meticulous installation process, each step plays a crucial role in achieving a professional-looking outcome.
This guide will walk you through the essential aspects of how to install leather seats in car car, offering insights into the intricacies of seat removal, accurate measurements, securing the upholstery, and ensuring a snug fit. So, if you’re ready to add a touch of elegance and opulence to your driving experience, read on to master the art of upgrading your car’s interior with the timeless allure of leather seats.
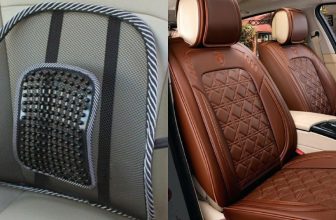
Benefits of Upgrading to Leather Seats
The main benefit of upgrading to leather car seats is the improved level of comfort for you and your passengers. Leather seats offer a softer, more luxurious feel than other upholstery materials, making them ideal for longer trips or if you spend a lot of time in your car. Leather also retains its shape better over time, so you won’t have to worry about it becoming saggy or uncomfortable.
Leather car seats also offer a major aesthetic benefit. Not only do they look better than other materials, but they are also easier to clean and maintain. Leather is also much more resistant to wear and tear, meaning that your leather seats will last for years with minimal upkeep.
In addition, upgrading to leather seats can also add value to your car. Potential buyers may be more willing to pay a higher price for a vehicle with leather seats, so it can help you get the most out of your investment.
Installing leather seats is not as complicated as it might seem. With the right tools and correct instructions, anyone can easily upgrade their car’s upholstery. In this article, we’ll cover everything you need to know about installing leather car seats.
Selection of Suitable Leather Seats
Once you have decided to install leather seats in your car, the next step is to select the right type of leather seat. Not all leather seats are created equal – some may be too firm or too slippery for your comfort levels.

To ensure that you have chosen the right leather seat for your car, consider factors such as: thickness, abrasion resistance, temperature sensitivity, breathability, and odor. Additionally, you may want to test out the seat for comfort before purchasing it.
Once you have decided on the right leather seat for your car, the next step is to start installing it. Before beginning installation, take exact measurements with measuring tape of your current seats so that the new one will fit in properly. You should also make sure that the new seat is securely attached to your car frame. Once everything is firmly in place, you can begin stapling the leather onto the frame of the seat.
To ensure that the leather is properly installed, use a steel-tipped hammer to secure it into place. As an added precaution, apply sealant along with each staple for extra stability and protection. Additionally, remember to keep the leather clean and conditioned with leather-safe products to ensure its longevity.
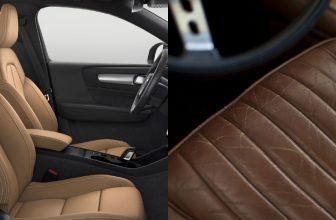
Choosing Genuine or Synthetic Leather
When it comes to installing leather seats in your car, one of the most important decisions you will have to make is whether to choose genuine or synthetic leather. Genuine leather offers a luxurious look and feel that can last for many years with proper care.
However, it is also more expensive than synthetic leather and must be maintained regularly. Synthetic leather also provides a similar level of luxury, but it is generally less expensive and requires less maintenance than genuine leather.
When you make your selection, take into consideration the climate of where you live. Genuine leather may not fare as well in extreme heat or cold climates as synthetic leather does. Additionally, think about the color that will best fit with the style of your car interior. Most brands offer a wide range of color options for both genuine and synthetic leather, so you can easily find the perfect look.
Once you’ve made your choice, it’s time to install the seats. Be sure to follow all directions carefully to ensure that the installation goes as smoothly as possible. If you are not confident in doing this on your own, it is best to seek the help of a professional.

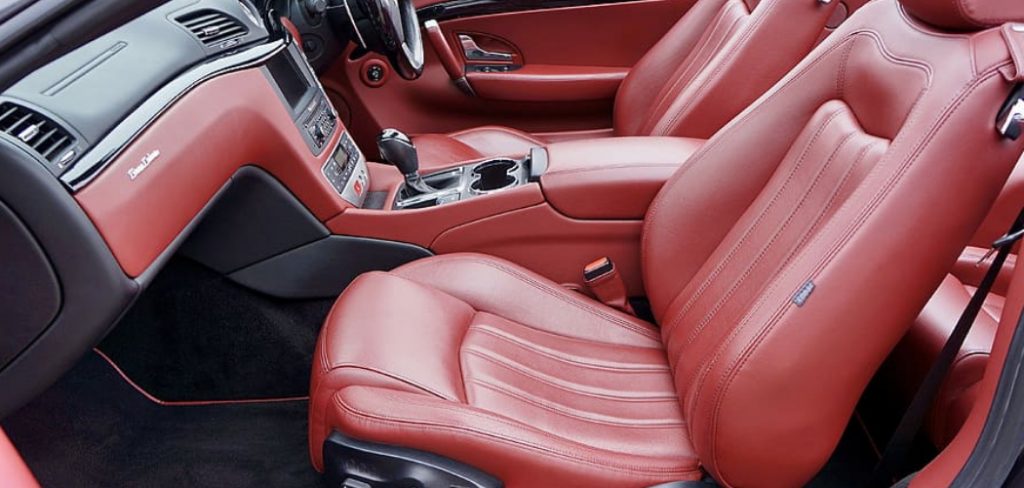
10 Steps How to Install Leather Seats in Car
Step 1: Gather the Necessary Tools and Materials
Before embarking on the journey of installing leather seats in your car, it’s essential to ensure you have all the required tools and materials at hand. You’ll need a set of leather seats that match your car’s make and model, a wrench set, screwdrivers, pliers, hog rings and hog ring pliers, an upholstery adhesive, a staple gun, a utility knife, a measuring tape, and a marker.
Additionally, having a workshop manual specific to your vehicle can prove invaluable, guiding you through the intricacies of seat removal and installation.
Step 2: Choose the Right Type of Leather
Selecting the appropriate type of leather is crucial for achieving the desired look and durability. Aniline, semi-aniline, and pigmented leather are common options, each varying in terms of appearance, softness, and resistance to wear. Additionally, consider the climate in your region; some leather types fare better in certain weather conditions. Research and consult professionals to make an informed decision based on your preferences and needs.
Step 3: Remove the Old Seats
Begin by disconnecting the car’s battery to avoid any electrical mishaps. Refer to your workshop manual for precise instructions on seat removal, as methods can differ between car models. Typically, you’ll need to access the bolts securing the seats to the floor and disconnect any wiring or connectors beneath. Keep track of the bolts and components you remove, organizing them for later reinstallation.
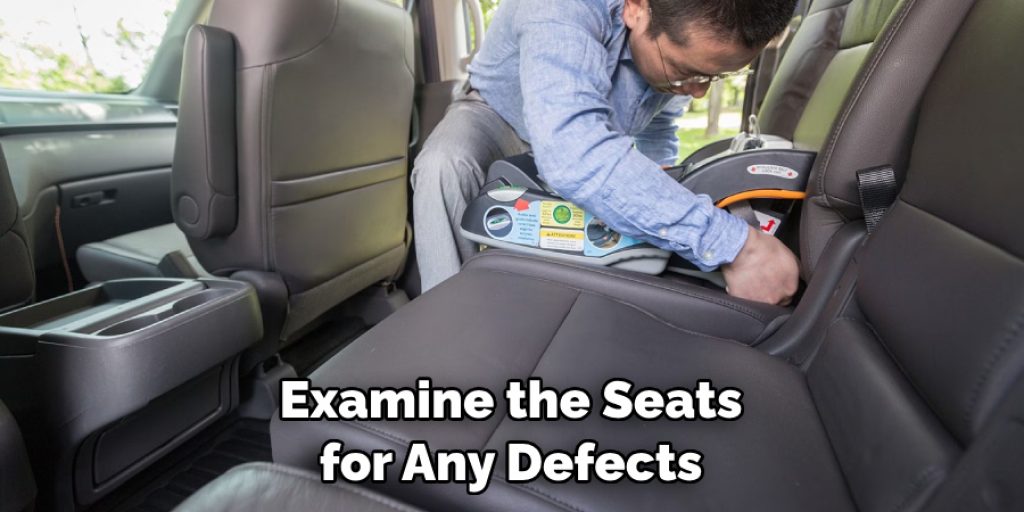
Step 4: Prep the New Leather Seats
Before installing the leather seats, ensure they are free from any packaging or protective covers. Examine the seats for any defects or damage incurred during shipping. Additionally, carefully read the manufacturer’s instructions, which may contain valuable insights specific to your seats’ installation process.
Step 5: Position the Seats
With the old seats removed and the new leather seats prepped, carefully position them in the car. Align the seat rails with the bolt holes on the floor, ensuring the seats are centered and level. This step requires patience and precision to guarantee a snug and accurate fit.
Step 6: Attach the Seat Covers
Place the foam and leather onto the seat frame, aligning them correctly. Use hog rings and hog ring pliers to secure the leather to the seat frame. Start from the center of each side and work towards the corners, ensuring even tension. This process ensures a tight and secure fit.
Step 7: Install Additional Features
If your car seats have features like airbags or seat heaters, make appropriate cutouts in the leather and foam to accommodate them. Follow manufacturer guidelines and take extra care to ensure these elements function properly once the installation is complete.
Step 8: Reassemble the Seats
Reverse the process of removing the old seats. Attach the seat tracks, headrests, and armrests back in their original positions using the screws and bolts you kept track of. Double-check that all parts are securely fastened.
Step 9: Finishing Touches
Inspect the installed leather seats for any wrinkles, misalignments, or loose edges. Use the staple gun to secure any loose areas, making sure to hide staples underneath seams for a clean look. Smooth out the leather and ensure it fits seamlessly.
Step 10: Test and Enjoy
Before considering the job done, test all functionalities of the seats, including adjusting positions and any additional features. Once you’re satisfied with the installation and everything works as expected, take a moment to appreciate your newly upgraded car interior with the luxurious touch of leather seats.

Conclusion
Installing leather upholstery is not nearly as difficult as one may think. When taking the proper steps, it can be quite easy and even enjoyable. With the right tools, supplies and helpful guidelines from experts, you will be able to complete this project with ease. Before buying any of your materials you always want to make sure that what you are getting will provide a precise fit and look for your car’s interior.
After you have purchased all necessary items, having the guide of an experienced professional or hobbyist handy should help you properly install the leather upholstery with precision and accuracy. Doing so creates a stylized look in your vehicle while also increasing its durability. So if you’ve been wondering how to install leather seats in car, now is an ideal time to try out this fun project! You never know what amazing results await once it’s all finished!
Angela Ervin
Angela is the executive editor of DIY quickly. She began her career as an interior designer before applying her strategic and creative passion to lifestyle and home. She has close to 15 years of experience in creative writing and online content strategy for housekeeping, home decorations as well as other niche efforts. She loves her job and has the privilege of working with an extraordinary team. She lives with her husband, two sons, and daughter in Petersburg. When she's not busy working she spent time with her family.