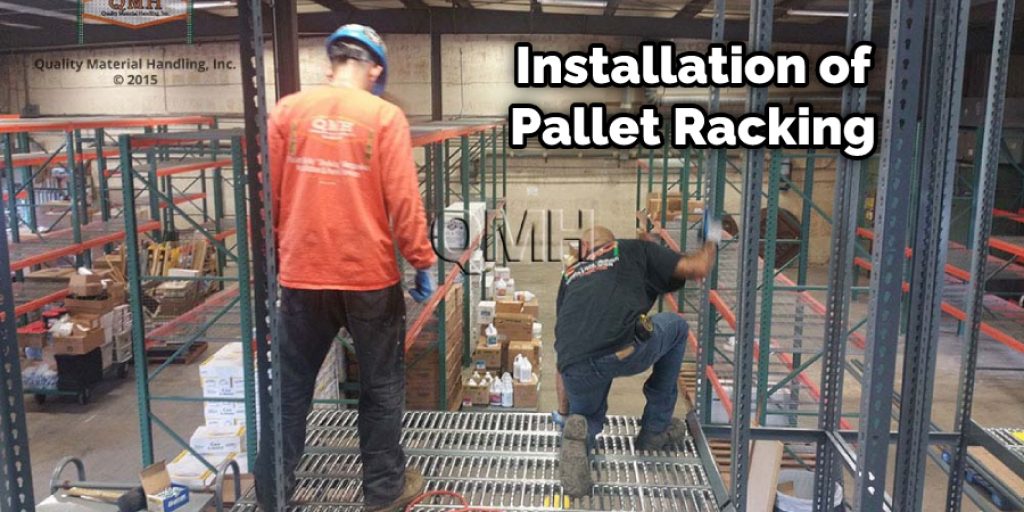
How to Install Pallet Racking
Installing pallet racking is a big job, but most do-it-yourselfers can do it with a little bit of guidance. In this post, we’ll walk you through the process of installing a basic pallet racking system so that you can get your business up and running as quickly and easily as possible. Pallet racking is a great way to store pallets in an organized fashion. This blog post will provide instructions on how to install pallet racking that is the most cost-effective option available.
Pallet racks are made of steel and can be installed with just one person. However, they come in many different sizes, so you’ll need to measure your space before shopping for them or have a professional measure it for you if you don’t know what size would fit best. Keep reading this blog post to learn more!
10 Ways on How to Install Pallet Racking
1. Checking the Weight Capacity
The weight of pallets stored on the racks must not exceed the weight capacity as specified by the manufacturer. Therefore, you should also check the weight capacity of each level and the entire rack and ensure that your storage requirements do not exceed these limits.
2. Threading
The height of individual levels within a rack may be adjusted by threading at one end to raise or lower rows of pallets. First, remove the securing pins and then remove the appropriate nuts to adjust levels.
3. Locking Bolts
Locking bolts must be used on all installations to secure the rack to the foundation or floor. Therefore, using these bolts is critical and their installation should not be omitted.
4. Floor Loading
The floor or ground on which the racks stand should be capable of bearing the entire load without failure. However, if it’s possible, use a separate structure to support the rack rather than simply resting it on the floor because if the floor fails and causes your rack and its contents to collapse, you can sustain a great loss and possible injury.
5. Leveling
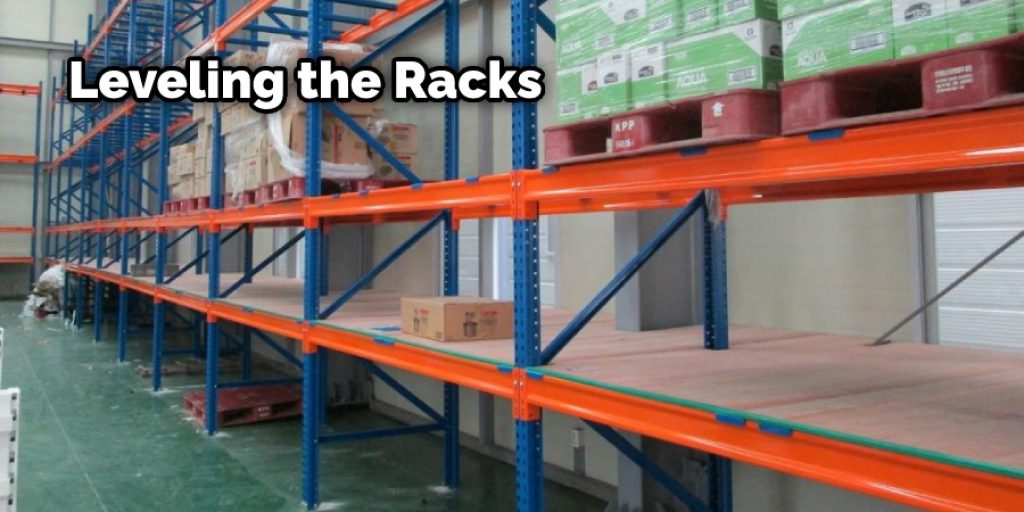
The racks must be leveled before they can be safely used and checked periodically. Uneven surfaces can cause the racks to sway and collapse, so it is important to use a spirit level when leveling the racks.
6. Foundation
The foundation on which the rack stands must be rigid, level, and capable of supporting the load. The rack must be bolted to the foundation, and the bolts should not be tightened until the rack is leveled.
7. Bracing
Horizontal bracing is required on all racks to prevent the racks from swaying in windy conditions. The bracing should be installed at both ends of the rack and be attached to fixed structures.
8. Tiering
Pallet racks are commonly used as a single- or double-sided unit, depending on your space requirements. You can also tier several of these units together to increase your storage capacity, but this will require additional bracing and diagonal cross members to prevent swaying.
9. Height
The height of the racks must be carefully considered when planning your storage area. For example, the maximum height for single-sided pallet racks is around 16 feet, while the maximum size for double-sided racks is approximately 20 feet.
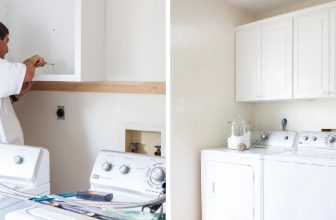
10. Upright Frames
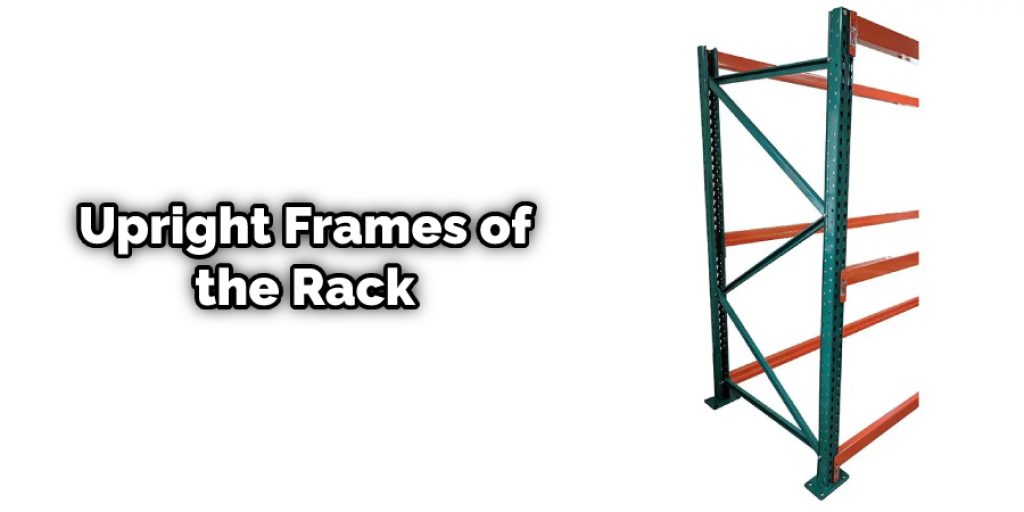
The upright frames of the rack must be securely fastened to the foundation or floor and should be checked periodically for any signs of wear and tear. The uprights can be secured to a wall if you do not have a foundation.
Types Of Pallet Racking
1. Floor Rack: Consists of beams secured to the floor and store goods at a height that can be managed by forklift trucks.
2. Rack Supported By Beams: Consists of beams and posts which support wire mesh decking, and stock is stored on pallets or skids.
3. Gravity Flow: Consist of beams supported by posts without decking. The bottom of the beams is wider than the top; this causes gravity to push items toward the narrower part, allowing them to flow more easily.
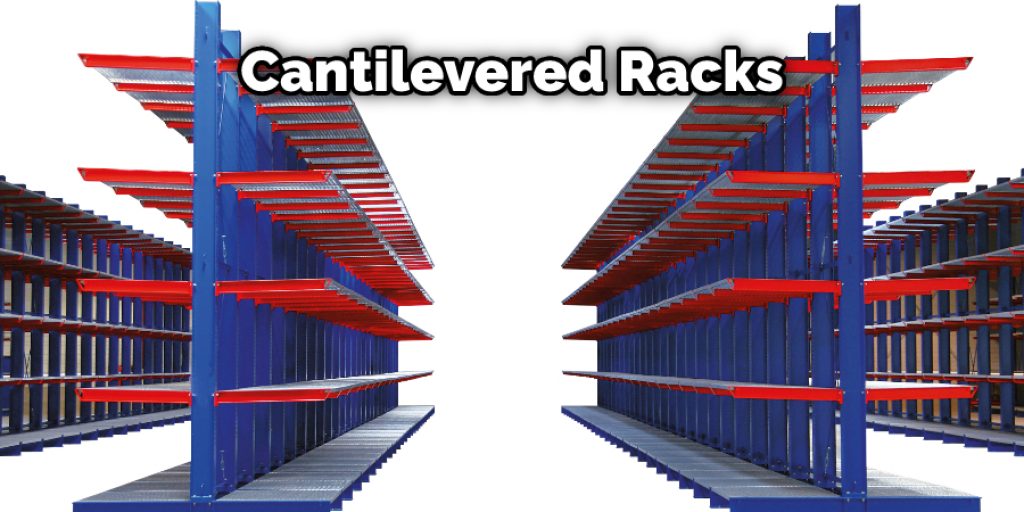
4. Cantilevered Racks: Consist of two or more posts made out of steel bent into a U-shape on one end and connected by decking on top. Item is stored on the outer edge of the post.
Step by Step Guide: How to Install Pallet Racking
Step 1:
Remove the protective covering from the pallets and place them side by side, ensuring they are level and square. Ensure that there is a space of at least 10cm between each pallet so that you can walk around them freely.
Step 2:
Once you have placed your pallets down, take a tape measure and find the center of each post. Mark it with a pencil, ensuring that you have to notch out for the beam that will come later on.
Step 3:
Once you have done this, take the wire mesh decks and lay them down on top of your pallets.
Step 4:
Take each post and insert it through the holes in the decking to be sturdy once installed. Ensure that they are inserted tightly, so there is a minimum movement within the holes when placing beams on top.
Step 5:
Take your beams and place the wide end on the notches you have prepared for it. Keep in mind that they should be placed at opposite ends of the post, which will allow sufficient room to walk around them freely.
Step 6:
Using a ratchet tie-down, start attaching each beam until they are all in place. Start with the bottom beam and work your way up, ensuring you tighten each one comprehensively.
Step 7:
Take a length of steel strapping and secure it, using at least three bolts on either side of the post for added security and support. Ensure that both ends are lined up approximately 2 inches in from the end of the flanges and that it is tightly secured.
Step 8:
The final step is to take the high-lift beam jacks and position them on top of each post. Ensure that they are level by adjusting the legs accordingly, tighten all bolts using an Allen key or socket wrench, make sure they are secure enough to lift the load-bearing beams, and you are now ready to start stocking your new pallet racking!
If you follow these simple steps, you will be able to install your very own pallet racking system in no time! Not only is this a great way to organize and store your stock, but it is also an economical option that can save you a lot of time and money.
Some Tips and Suggestions
1. Double check that your racking system can pick up the pallets.
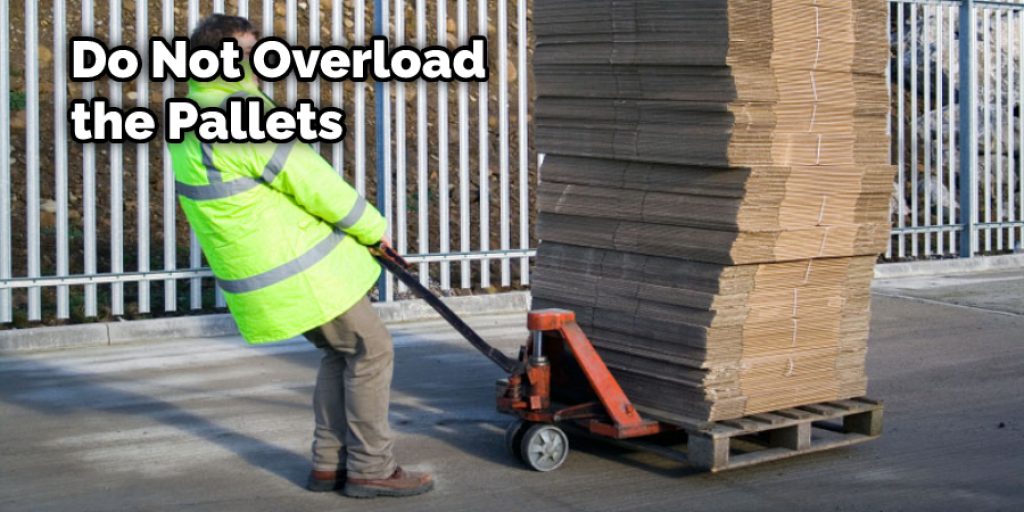
2. Do not overload the pallets. Your racking system is designed to hold a certain amount of weight, and if too much weight is put on the shelves, it could cause injury or damage to your materials and your racking system.
3. Make sure that all labels or identifying marks are facing up towards the top of the shelf so that people can easily see what is on the pallet.
4. Inspect your racking system regularly for wear and tear and make sure to replace any damaged parts.
5. Ensure that you purchase the correct racking for your needs. This will prevent damage to your warehouse and improve the efficiency of your business.
Conclusion
Pallet racking is a great way to organize your warehouse. The installation process is not difficult, but it does require some time and patience. Before installing your pallet racking system, be sure that the flooring surface has been prepared properly with a smooth finish and level grade.
This will help ensure that your new rack can stand up straight for years of use without any issues. If you have questions about how to install pallet racking or would like more information, then please feel free to contact us!