
How to Make a Burlap Scarecrow Hat
Introduction
Whether you want to make a garden scarecrow or make a wonderful scarecrow costume for Halloween, you must first learn how to make a burlap scarecrow hat. Maybe that’s what has brought you here. But, don’t worry; you have landed in the right place.
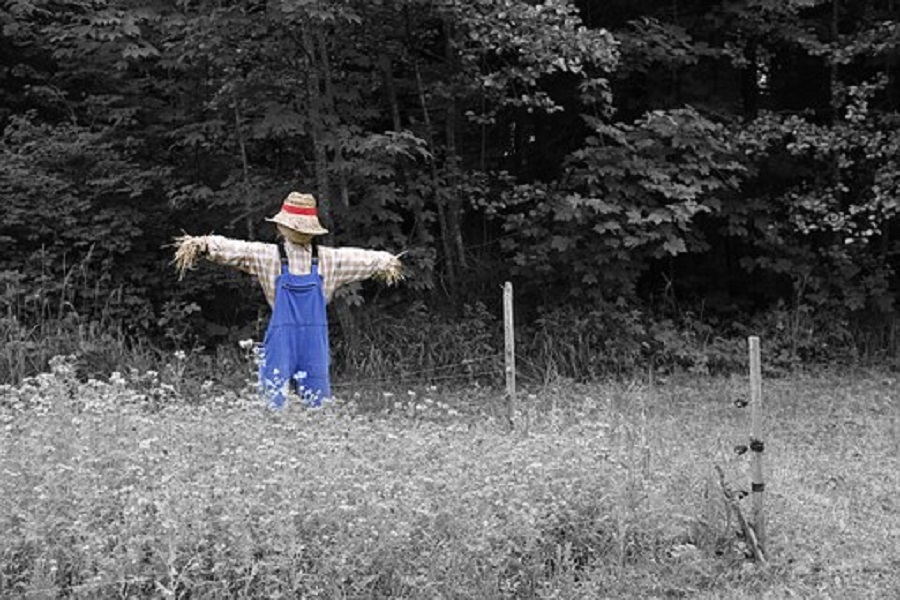
However, floppy burlap hats are quite simple to make, and you won’t have to make any huge investment for this. You can finish the process with ease if you have only got some basic sewing skills and some common household sewing supplies. So I am going to discuss some methods on how to make a burlap scarecrow hat.
Summary: To make a burlap scarecrow hat, start by cutting a piece of burlap that is large enough to cover your head. Then, use a hot glue gun to attach a piece of fabric to the front of the burlap, making sure that the fabric folds over the edge of the burlap so that it forms a brim. Finally, use a pair of scissors to cut a small hole in the center of the fabric brim, and thread a string through the hole to create a hanging loop.
Required Materials
- Burlap Fabric
- Thread
- Scissors
- Sewing machine
- Iron
- Fabric Scissors
Process of Making a Burlap Scarecrow Hat
Method One:
- First of all, you have to cut four triangles that are 7 inches tall, and the width will be of the same measurement when you divide the scarecrow’s head into four.
- Now, sew all of the triangles side-by-side so that it takes the form of a hat.
- Cut out a 24-inch diameter circle from the fabric. Then, cut out a smaller circle from the center of the first circle. The measurement of the center circle should be the same as the base measurement of the hat.
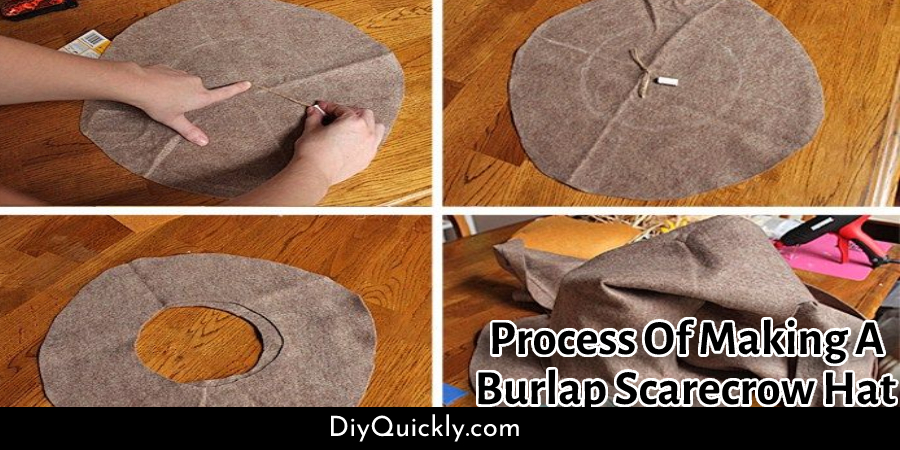
- Next, sew the brim to the bottom of the hat’s base and then hem the hat’s brim.
- Finish the process by ironing the seams and by turning the right side out. That’s it; your burlap fabric hat will be ready to use now.
Method Two
- Gather your materials. You’ll need a burlap or other natural fiber square, scissors to cut the material, and some glue for additional support.
- First, fold the fabric in half. Then, cut along one edge of the fabric. This will make two identical pieces with straight edges. Finally, glue the two pieces together.
- Fold each of those pieces in half again, so they’re now made up of four layers: top seam allowance, front piece, back piece, bottom seam allowance (you should have something resembling an envelope).
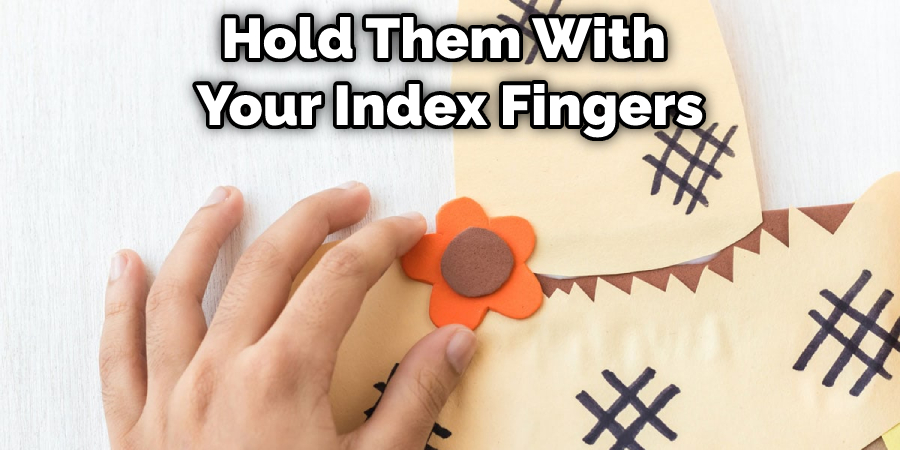
- Hold them with your index fingers at both corners closest to you; then fold up from left to right about halfway across the fabric – this is where we begin our hat’s brim! Next, bring your thumbs back across the brim and pinch it closed against your index fingers.
- Bring one of those corners over to meet the other, sandwiching both layers together before gluing them in place with an adhesive like fabric glue or tacky glue; then start pulling at all four pieces, so they’re pulled tight, and you no longer have a square shape.
- You should now have a rectangle-shaped object! If any parts are loose, glue additional material was needed to secure them down. This is why we started with two identical halves when making our hat template in step three.
- It’s time for embellishments! Our hat has been shaped into its final form, which is a rectangle. Now we need to make it look like a hat! To do this, cut two small slits on the left and right sides of what will be the top end of your hat – these are for tying a ribbon around as a chin strap.
- Decorate your hat with any spare fabric scraps you have lying about – ribbons, buttons, lace trim, or feathers would all make excellent additions to our burlap scarecrow’s headgear.
- For an extra finishing touch, hand sews some googly eyes onto your scarecrow, so he can see where he’s going in his new adventures.
Check it out to learn to make a scarecrow hat for a costume.
Precautions While Making a BUrlap Scarecrow Hat
- Make sure your hands are clean and dry.
- Wash them with soap if they are dirty or greasy, but do not use a lot of soap as it will make the burlap wetter than necessary.
- Make sure your nails are short so you don’t accidentally poke holes in the hat while poking through the fabric.
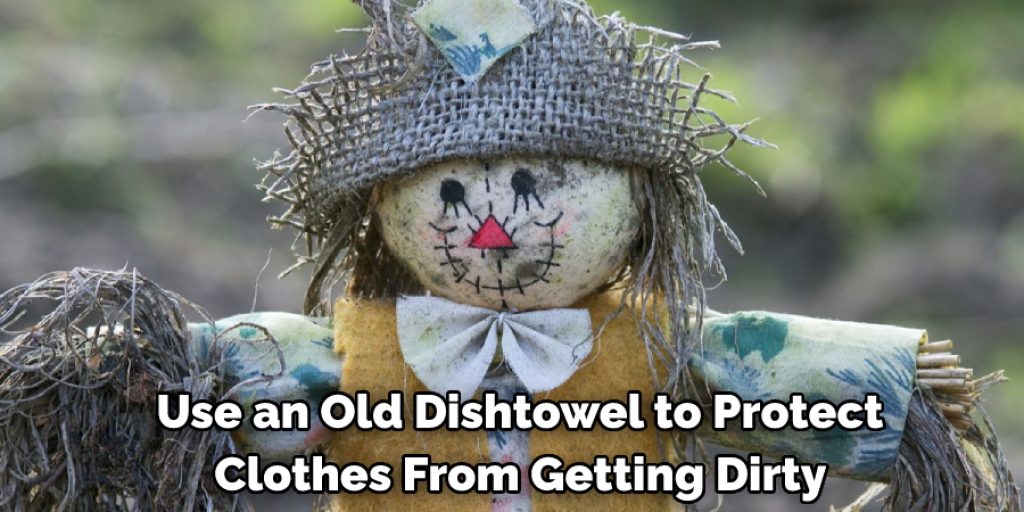
- When handling heavy fabrics like burlap and fleece, use an old dishtowel to protect your clothes from getting dirty. You can also wear an old shirt that you don’t mind getting messy.
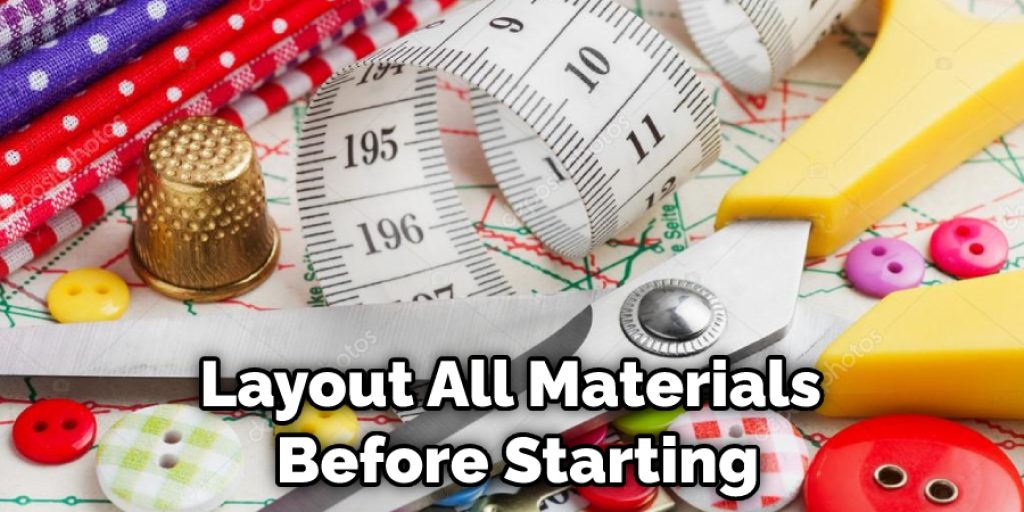
- Layout all materials before starting: scissors, measuring tape (for circumference), sewing needle, thread/yarn (matching color to the material). This makes it easier for you to keep track of what you’re doing.
Frequently Asked Questions
What Type of Hat Does the Scarecrow Wear?
A. The scarecrow in the Wizard of Oz wears a ragged and patched straw hat that is described as “unlike any other.”
B. The scarecrow wears a red and white striped shirt, blue jeans, and rubber boots with laces.
C. The scarecrow wore an old straw hat with no crown, one eye sewn shut with wire, and he was dressed in rags.
How Do You Make a Fallen Scarecrow Wreath?
To make a wreath, you will need a straw, some green yarn, a string or ribbon, and a key ring. First, wrap the straw around the wreath and secure it with the yarn. Then tie the end of your string or ribbon into a bow and then loop it through the top of your wreath. Lastly, make a small hole in the center of your wreath and insert a key ring so that you can hang it from your doorknob.
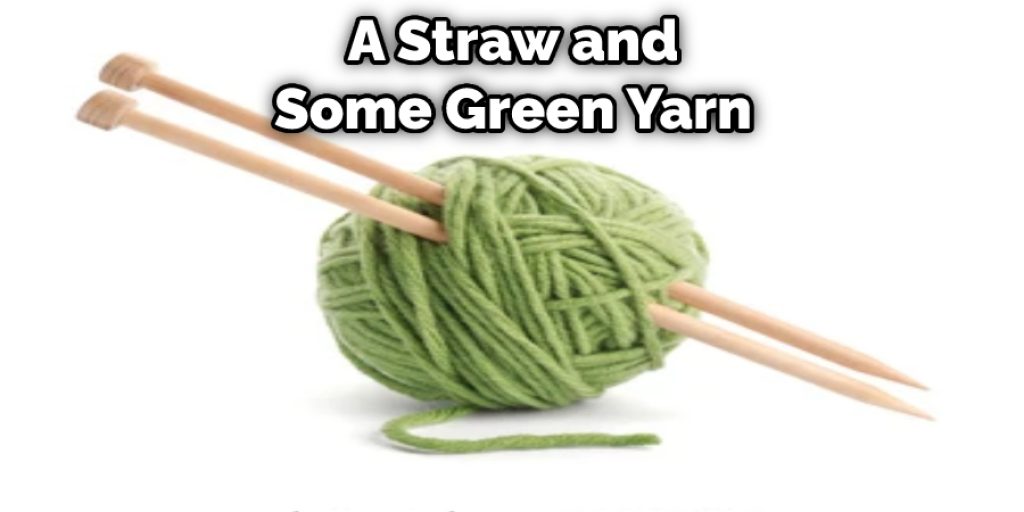
Your scarecrow will now be ready for Halloween!
What Are Scarecrow Hats Called?
The term “scarecrow hat” is used to describe a wide variety of headwear that has the appearance of a straw hat, but with either no brim or an extremely short brim.

Scarecrow hats are typically made from lightweight materials such as straw, felt, paper, or cloth.
Conclusion
After you have created the hat, find a place in your yard to hang it. You can make sure that this is not too high for children by hanging the scarecrow near their height on a fence or tree branch. This process will not take more than thirty minutes, and if you are familiar with the materials, it might take far less time. Thank you ad have a good day.
You May Read Also


