How to Make a Hollow Mask
Masks are a great way to alter your appearance for a special occasion or just have some fun. A hollow mask is a great way to add an extra dimension of detail and depth to your costume or makeup. They are easy to make and can be customized to fit your needs.
If you’re looking to make a hollow mask, there are a few things you’ll need to gather beforehand. This article will show you how to make a hollow mask using paper mache and some basic crafting supplies. Let’s get started!
Step by Step Guide: How To Make A Hollow Mask
Step 1: Materials & Equipment
- Cardboard (you could try cereal boxes, though they may work better if you cut them down to smaller sizes)
- Scissors
- Xacto Knife (a sharp blade and a steady hand!)
- Ruler and pencil (or pen and paper for measurements)
- Masking Tape
- White Glue
Step 2: Measure and Cut The Cardboard
To make a mask that will fit properly, you need to take some measurements. First, measure the distance between your eyes (in inches) and divide by 2. This will be the width of each piece of the mask. Next, measure from your nose up to just above where your eyebrows end. This will be approximately half the width of your face.
Then measure from just below your eye about halfway up the length of your face to how wide you want the lower part of your mask to be; if you want it to cover your chin, this should be about 1/4-1/3 of the length of your face. Now cut out two pieces that are the length you wanted; both should be the same width.
Cut out the lower section of your mask; this should leave the upper part where you measured from just below your eyes.
Step 3: Cutting Out The Eyeholes
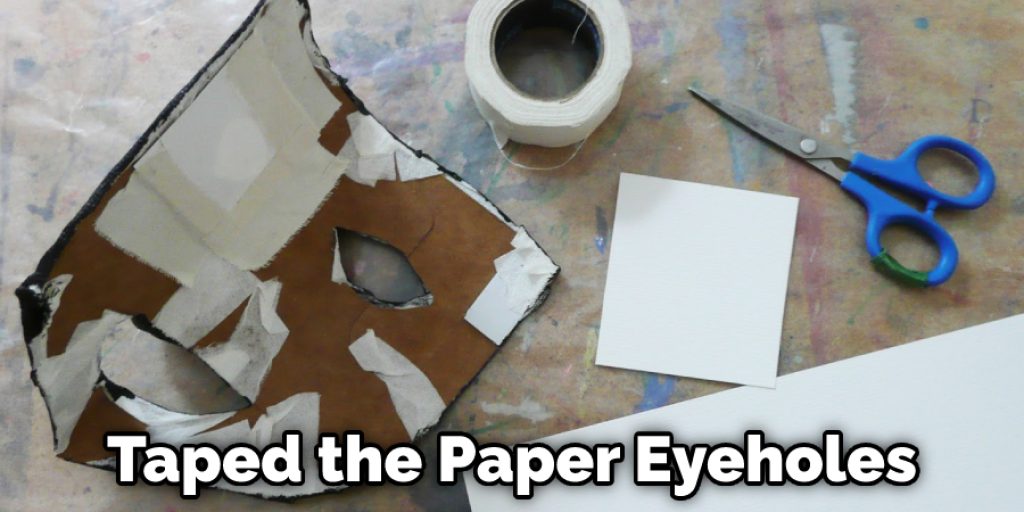
Optional but helps with accuracy is cutting out paper eyeholes that are the same size as your intended eyeholes and then taping them to the top piece of cardboard. Make sure they are centered.
Once you have measured and taped the paper eyeholes onto your mask, cut along the line of the holes, you should end up with a spot that is closed at one end and open at another, and then you can peel off the tape.
You now have an outline of where to cut from. So take your xacto knife and cut out the holes about 1/4 inch away from the edge of your cardboard. Make each eyehole just big enough to see through.
Step 4: Draw the Pattern on the Cardboard
Now it is time to draw out the patterns for your mask. It should start where you measured from just below your eyes and go until half of the original width of the cardboard, then curve around one side, go up almost vertically until it reaches your nose, then go horizontally across 1/4th or less of the width of the cardboard.
Optional for more accurate eyeholes, you can make paper patterns the same size as your intended eyes and tape them to the lower half of your cardboard, cut along the lines where your eyes are, and then peel off the tape.
Step 5: Cutting Out The Pattern
Take your xacto knife and slowly cut along your pattern lines; it should be much easier to do this slowly than quickly. Then you should end up with a piece with one side that is straight, smooth, and about 1/2 an inch wide, then the other side is like the mouthpiece part on some brass instruments.
Then take your scissors and cut the lower section so it is roughly perpendicular for a finished look. Now do this again with another piece of cardboard to make another mask.
Step 6: Marking Where The Holes Should Be
With your Exacto knife or a nail, lightly poke holes in parts with solid lines in the pattern. This will help you create the slits for where your mask ties together to hold secure on your face.
Step 7: Folding & Taping Down The Holes
Put all of the holes you marked together so the top part of the mask is above the bottom piece, fold them into each other, and push them down, so the exposed part is folded into the top side of your mask.

You will have to cut a slit in some parts that go over each other this will allow you to fold them down and tape them down, so they are sturdy enough for you to wear. This is also where paper eyeholes can help out with accuracy, as it may be hard to line up the eyeholes without them.
Step 8: Time To Decorate & Add The Elastic!
Now it is time to decorate your mask with whatever you want, paint, markers, feathers, glitter, or anything else that strikes your fancy. Just glue it down after adding it to your mask. Now it is time to add the elastic that will hold the mask onto your face.
Take your elastic and cut off a long enough piece to go around your head with enough slack for you to tie it together, then put it through the slits on the top of your mask.
After this, take another piece of elastic equal in length to test if it’s long enough; that way, you can cut the excess off if it is too long. If it’s not long enough, tie a knot in one end, stretch it around your head and try to match where it would sit on the other side of the mask. Finally, take your scissors and trim accordingly if it needs more slack or less slack.
Step 9: Attaching The Pieces Together
Now take mask number one, apply white glue around the edges of where the other piece should go, attach it, and make sure all exposed parts are glued together. Then let it dry for a bit until it’s tacky but not wet. Now for mask number two, follow the same process, attach it to the first piece of mask and let it dry now; you should have a whole mask.
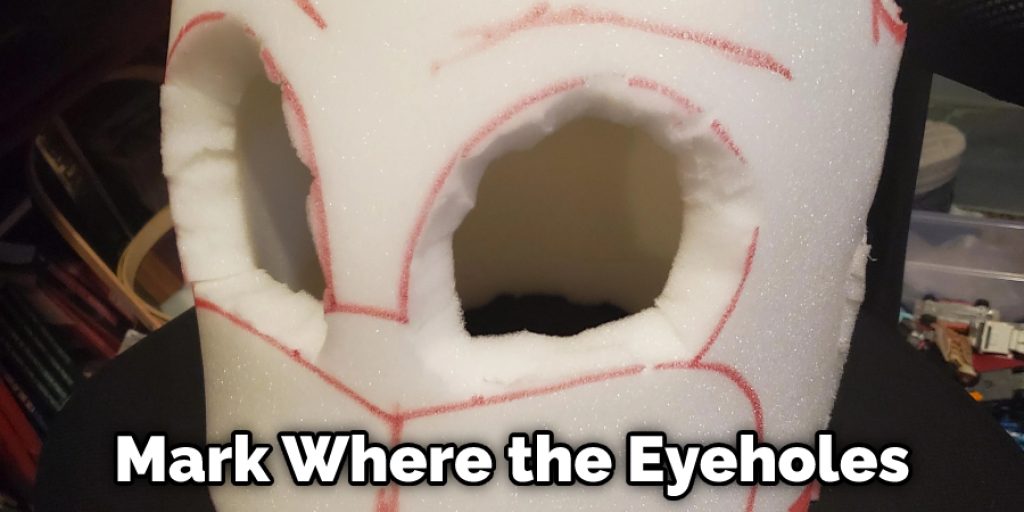
Step 10: Position the Mask Over the Glasses
Now put your mask on and position it over your glasses; this part may take a little finagling to get it just right. Once you mark where the eyeholes should be with a pen, remove the mask.
In order to make your mask, you need to cut out two eyeholes. Be careful not to puncture any other parts of the mask while you are doing this. You will need to cut out the smaller hole first, and then the bigger one to fit your glasses through.
Step 11: Painting The Inner Circle
Once your holes are cut out, take your mask and secure it onto something to paint it with acrylic paints or any other paint you prefer. Now take a brush or your finger and paint the inner portion of the circle on the mask; it doesn’t matter if you get some of the brown cardboard showing through, as it will still look good.
Some Helpful Tips and Suggestions
Here are some tips and suggestions on how to make a hollow mask.
1. Find an object that fits your head or get one made to fit. Make sure it is at least 2-3 inches larger than the widest part of your head.
2. Draw out where you want to cut your mask, as shown in the picture above, and mark it up with a marker for cutting. You can make holes on either side of this line if you need to fit smaller objects inside the mask, such as string or fishing wire.
3. Cut along the lines using whatever necessary tools, be it a jigsaw or other cutting tool. If you need to make holes, use the smallest drill bit you have (so that you cut through fewer layers) and then follow up with sandpaper to smooth out any rough edges.
4. Once the mask is finished, if desired, apply primer paint before applying latex or fiberglass. This will help the mask stay on better and give it a smoother feel.
5. If you do not want to use latex or fiberglass, apply 2-3 coats of varnish for protection against UV damage (such as light from your makeup lighting).
6. Make sure you are also protecting yourself while wearing this mask! Wear protective goggles, gloves, and breathing protection (if you are using fiberglass resin).
Conclusion
A hollow mask is a great way to add spooky or eerie effects to your costume. You can create one in minutes with just a few materials and easy steps! It takes an empty paper grocery bag, scissors, tape, and glue.
One of the best things about this project is that once Halloween has come and gone, you can use this same technique for other projects like party decorations or arts-and-crafts assignments with kids at school.
So if you’re looking for something fun and educational to do on Halloween night with your little ones, make sure you follow the guidelines on making a hollow mask. This will help you get the best results. So have fun and Happy Halloween!
Nancy Behan
Nancy is an embroidery artist, fashion blogger and a full time editor at DIY quickly. Nancy edits the fashion section on DIY quickly, focusing on the embroidery and cross stitch articles, alongside with fabric and other costume design elements. She graduated from the University of Michigan with a Bachelor of Arts in Art History. She loves to work on her own projects, read books and watch romantic movies in her spare time.