
How to Make a Medieval Dress at Home
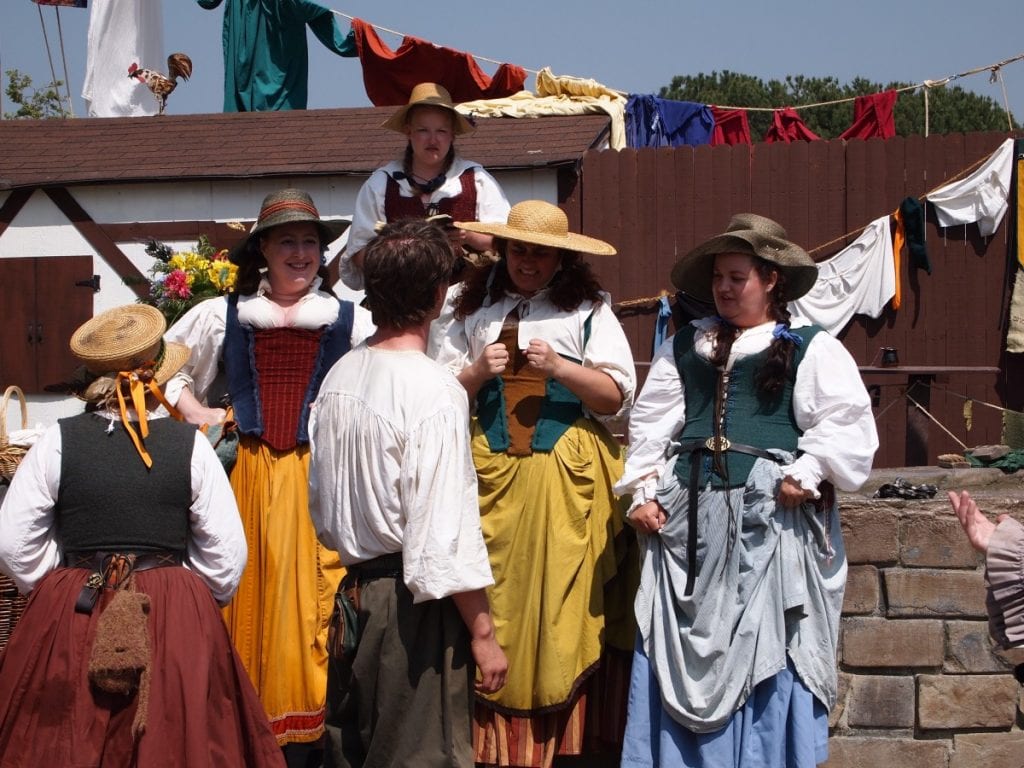
In middle age, most people wore woolen clothing. But during the medieval period, the people of England used classified clothing, and that’s where the Medieval dresses were invented. Although these are some traditional dresses, people still love to wear them. In fact, these are widely used in different stage dramas.
So, you may need them for various purposes. Yes, they are available in the market, and you can easily buy them from there. But believe me, that’s going to be a costly investment. If you make them at your home, it won’t cost that much. In fact, the process is pretty simpler, so you won’t have to worry about that either. Wanna learn how to make a medieval dress at home? Let’s show you the exact ways of doing that.
How to Make a Medieval Dress at Home
Step 1
You will need to cut out two pieces from the fabric for the skirt and bodice. Then, cut out the long panels all in one to eliminate the waist seam on the original pattern. Draw the patterns before you start cutting. You will also have to cut out the sleeve; this sleeve will be a long one that goes down to the wrist.
Step 2
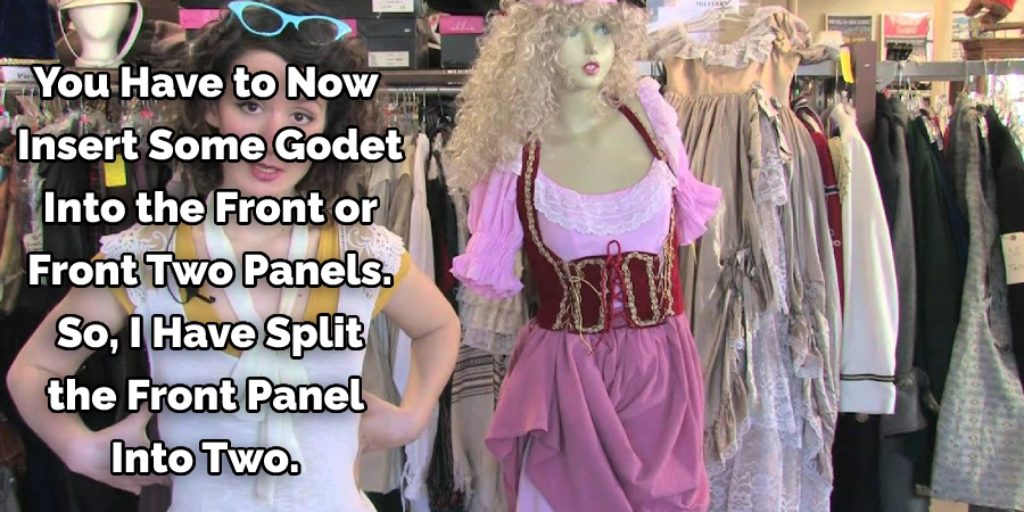
You must now insert some godet into the front or front two panels. So, I have split the front panel into two. So, we can lace up the front, and then at the bottom of the front panels, we will have a godet as part of the skirt. Like the previous step, you can also draw a pattern; it will help you to identify the front pieces.
Step 3
Now take the front panel or the half front panel. As I cut it in half, I got a large gore attached on the other side. Well, I have not attached that yet. I am going to sew that later. On the other side, you will get a small gore panel that will be attached to the side front panel. So, hopefully, this will give you an idea of what I am trying to make.
Step 4
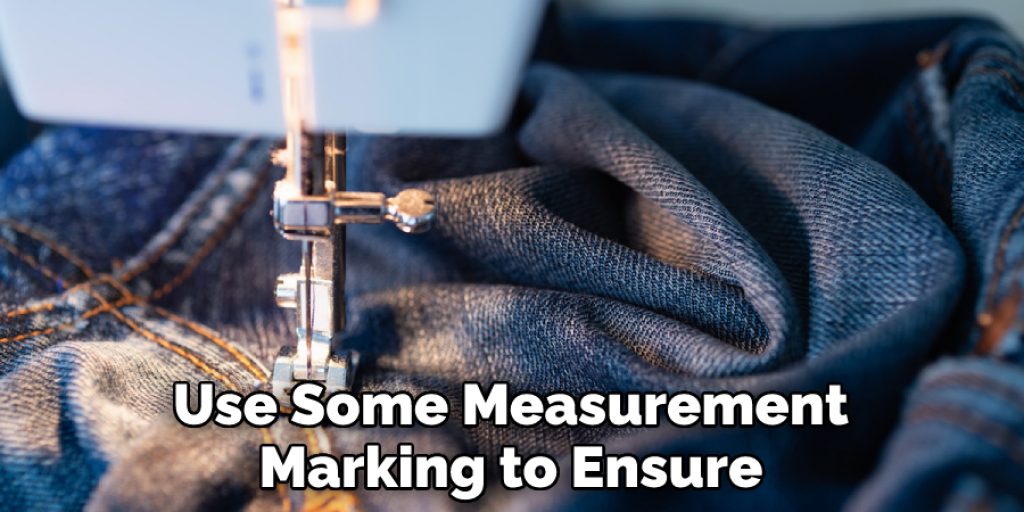
It is sewing time. I am just sewing along the edges where I had put the pins, making sure to start from the top of the dress, as I said. Then I will work the way down to the bottom of the dress, where the hem is. It doesn’t matter if the hem seams don’t line up because we can always trim them after the dress is done. You can use some measurement marking to ensure that your dress fits nicely at the waist and over the hips.
Step 5
When you finish sewing all of the seams, you should have something that looks close to the bottom of a Medieval dress. It is basically a bunch of panels, rectangles, and triangles all sewn together. Now, you have to cut the center back panel. Once you do that, you must insert a godet into that space. The back panel is just one long rectangle piece, and to give the back some flair, we are adding some godet in the back.
So, because we split the front panel into two, we could have lacing down the front. We also had to split the front godet into two, which is basically like two little ½ godets in the front. Now start sewing the seams with that measurement.
Step 6
Okay, now we are moving on to the sleeve. So, I have got my sleeve pattern, and I will sew in the ease stitching. I believe it is what this process is called, and that goes along the head of the sleeve. It will help ease the sleeve into the arm side of the dress. Make sure to try on the sleeve before you attach it to the dress. My sleeve is actually a little bit tight, fitting around the bicep, but the overall pattern is fine.

Step 7
Once I completed that, I started pinning the sleeve into the arm. So the clip just before was sewing down the length of the sleeve to make it into a tube, and how we are just pinning the sleeve into the arm side. This is a little fiddly and takes some time, especially if you don’t want any gathering or puckering in the sleeve. So, take your time with it. Patience is key, and there are a lot of pins that are needed to be set. Just keep pinning away and easing and tugging at the fabric, making it lay as flat as possible.
Step 8
Next, start sewing along the edge that you pinned earlier. The edges may not be much flat but make sure to flatten every millimeter and start sewing it. Go very slowly so that you can see where you are going.
Step 9
Now, we are moving to the center front panel. So, the center front is where we will put the lacing. But before we put in the lacing, we need to stabilize that center front scene with some extra fabric. For this, I just cut out really long strips and sewed that down to the front. Now you will get quite a few layers in the structure you need. However, once you decide between the strips, you have to start now trimming the inside layers to give your dress a cleaner look.
After that, you have to do some understitching by sewing the outermost layer of the fabric. As I have said, this stitching will not become visible on the outside, and you will get a nice, cleaner look. Finish the process by hand sewing at some points.
Step 10
I will be putting some eyelets on the front panel. That’s why I am about to mark the places where these eyelets will go. For this, I am using a simple chalk pencil and just eyeballing where it should go. No measuring is needed for this. I am going to do this in a zigzag motion, and then to make the eyelets, I am puncturing the fabric with an awl and then sewing the eyelets with the threads. That’s it; your very own Medieval dress is ready now. Wear it out and see how you look.
You Can Check It Out to Make Miniature Flapper Dress
Frequently Asked Questions
Are 3 Yards Enough to Make a Dress?
It depends on the dress you are making and the fabric you use. Generally, a 3-yard piece of fabric will be enough to make a dress about knee-length or shorter.
Are 2 Yards Enough to Make a Dress?
There is no definite answer to this question as it depends on the dress you are making and the fabric you use. Generally, if the dress is made from a lightweight fabric such as cotton, a yard should be enough. However, if the dress is made from a heavier fabric such as wool or silk, more than 2 yards may be needed.
What Are Medieval Dress Sleeves Called?
Medieval dress sleeves are called “gauntlets.” Gauntlets were a type of clothing worn in the Middle Ages, typically over the hands and sometimes over the arms. They were made from several layers of fabric, including a layer of leather or metal plates. The gauntlets were connected to the wrists by straps so they could be easily removed if necessary.
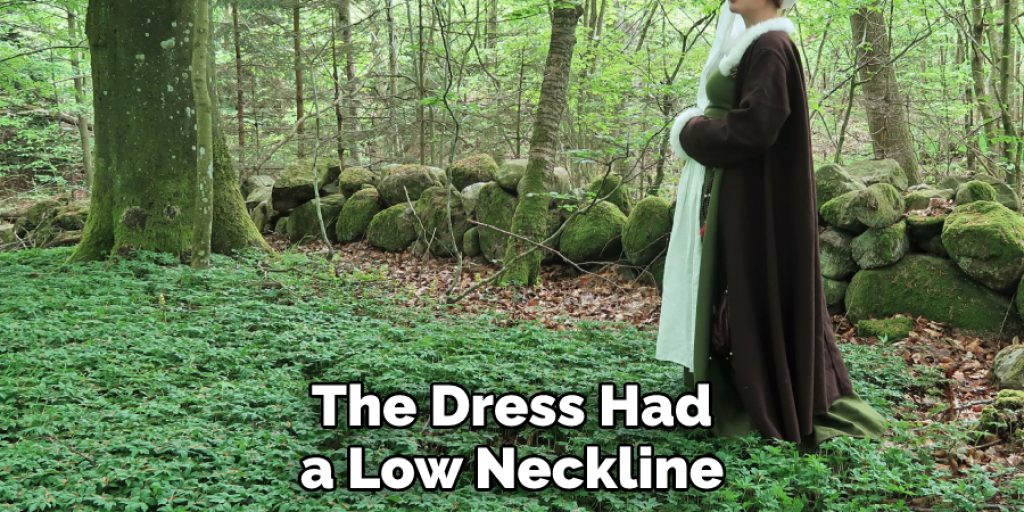
What Is a Kirtle Dress?
A kirtle dress is a type of dress that was popular in the 16th century. Women wore a long, flowing dresses to cover their entire bodies. The dress had a low neckline and was often decorated with floral patterns or lace.
Conclusion
Hopefully, you have understood the above process and won’t have to ask anyone how to make a medieval dress at home. If you feel any complications at any point, don’t hesitate to inform me through the comment section below. I am eagerly waiting to answer your questions.
You may read also –
- How to Make a Medieval Costume Out of Household Items
- How To Make Hippie Clothes At Home
- How to Make a Medieval Castle
Nancy Behan
Nancy is an embroidery artist, fashion blogger and a full time editor at DIY quickly. Nancy edits the fashion section on DIY quickly, focusing on the embroidery and cross stitch articles, alongside with fabric and other costume design elements. She graduated from the University of Michigan with a Bachelor of Arts in Art History. She loves to work on her own projects, read books and watch romantic movies in her spare time.


