
How to Make Hippie Clothes at Home
Hippie clothes are all the rage these days! From tie-dye to maxi skirts, hippie fashion is a trend that’s here to stay. However, if you’re not an expert seamstress or don’t have time for sewing projects, it can be hard to find affordable and trendy hippie clothing. In this guide, we’ll show you how to make hippie clothes at home in just a few hours with some basic supplies. First, start with a plain white or cream-colored t-shirt. If you want to add some color to your shirt, consider using fabric markers or fabric paint.

No matter what kind of project you want to undertake – from making your own headband skirts and kimonos to creating new tops and dresses – there are so many ways for everyone (even absolute beginners) of any skill level and budget level alike to get in on the hippie fashion trend. It’s all about creativity, imagination and self-expression. And what could be more beautiful than that?
Summary: Looking to make your own hippie clothes at home? Follow these easy steps! First, gather some old clothes that you no longer wear or want. Second, cut the clothes up into small pieces and sew them together using a seam allowance of 1”. Third, add a fun fabric or trim to the clothes and you’re ready to go!
Hippie Clothes Design Ideas
- Tie-Dye Shirts
- Maxi Skirt
- Headband Skirts and Kimonos
- Ruffle Shirts
- Harem Pants or Bell Bottoms
- Hippie Bags
- Indian Skirts.
Steps on How to Make Hippie Clothes at Home
Supplies
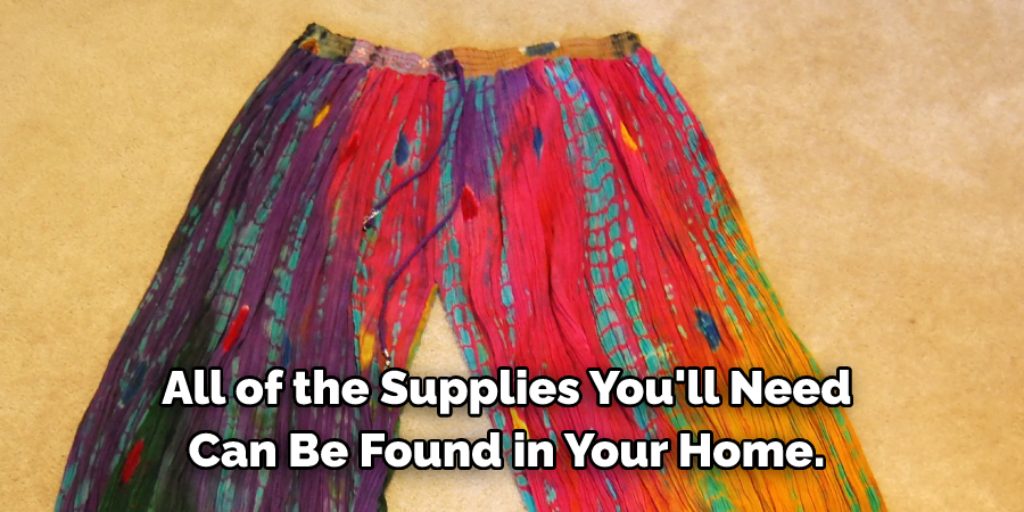
All of the supplies you’ll need can be found in your home. To make hippie skirts, for example, all you really need is a skirt or some fabric and string or elastic (to tie it up). You can even reuse old clothes! For headband skirts and kimonos, you will also need scissors and ribbons. If you want to add a bit more decoration, you can use rhinestones or buttons, but that’s completely optional.
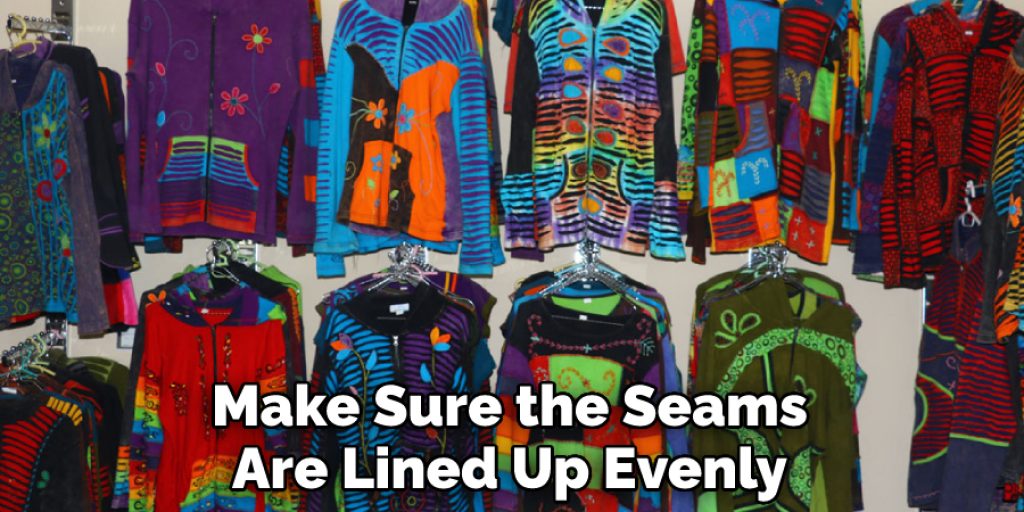
For tops and dresses, go ahead with cutting out your shirt pattern pieces first before sewing them together. The other items are easy enough to find from around your house if not already there: safety pins, fabric glue like craft glue or hot glue gun (for attaching items), needles for hand stitching jobs, thread for machine sewing jobs, cording for waistbands. For bottoms, a pair of shorts or capris to use as a pattern is recommended. Take them apart at the seams, iron flat and then make sure the seams are lined up evenly with the fabric when cutting out your pattern pieces from the canvas.
Cut Out the Pieces
Once you have all of your supplies together, it’s time to cut out your pieces from fabric and measure them correctly. If you’re making a dress or skirt with an elastic waistband (or tying up), just cut out one piece that will be long enough for what you need fold in half lengthwise if not already folded.
Then take two inches off each side for hemming allowance, mark cutting lines at either end of the top edge above the selvage edges (where they meet), and draw straight across on both sides so there is about the six-inch overlap between finished lengths when laid flat. Then sew the two long sides together right-sides together, using a short stitch length, so that it doesn’t fall apart when you turn it right-side out. Now you can use any method you want to create your top hems at each end and along.
For other skirts or dresses with no elastic band but are machine-sewn, cut out two pieces of fabric that are the length you need with about six-inch overlap.If either one is a skirt or dress without an elastic band but machine sewn.
Fitting and Sewing Your Pieces Together
Once your pieces are all cut to size, it’s time to take care of sewing them together. Lay a piece on top of another at right angles (A-B), so they match up perfectly side by side from edge to edge; pin in place if necessary then sew along A-B using ½” seam allowance for skirts and dresses with no elastic band; use ⅝” seam allowance for those where there is an elastic waistband. Repeat this process until all four sides have been sewn together. Don’t forget to stay within the ¾” seam allowance.
You can also finish your seams by serging them if you have a machine with this capability, or do it by hand using an overlock stitch and an edge finishing foot on your sewing machine (or regular presser foot for those without).
Sewing in Waistband
If you are making a dress with an elastic waistband, sew down both long edges of the waistband strip(s) along one short end only then place it wrong-side out inside the open top edge of the garment so that the right side is touching fabric outside, which will be visible from hemline to neckline when finished. Pin in place and sew along the other short edge.
If you are making a dress with a nonelastic waistband, Sew together one of the long edges to create a casing for elastic, and then prepare your strip(s) as above. (If no strips are being used, pin in place before sewing.) Place the wrong side out inside top edge of garment so right side is touching fabric outside; serge or overlock stitch the open seam allowance down on both sides.
You Can Check It Out to How to Replace Elastic in Cloth Diapers
Tips for Making Hippie Clothes
- Get a pair of jeans. Cut off the bottom hem and leave at least an inch.
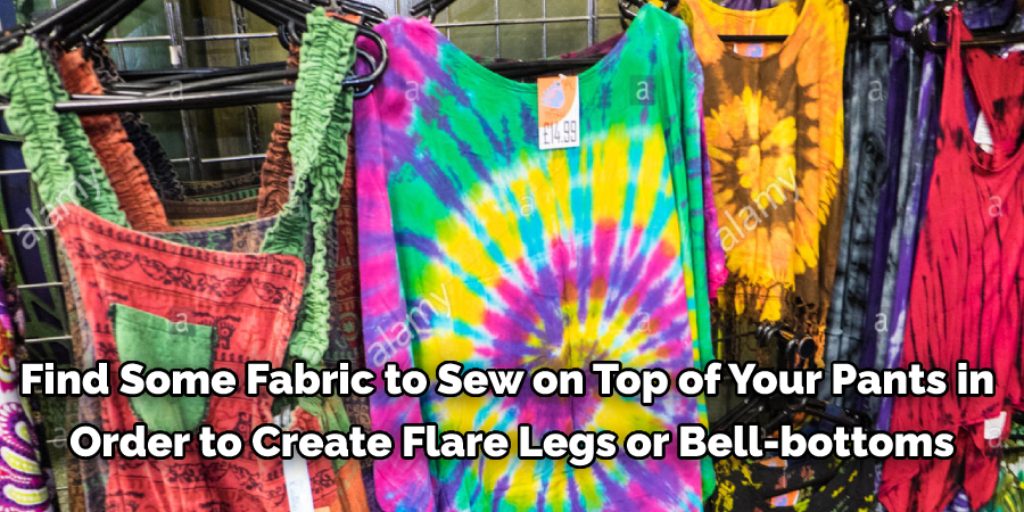
- Find some fabric to sew on top of your pants in order to create flare legs or bell-bottoms (to get this, you will need enough fabric for that).
- It can be denim, colored cotton, silk…the possibilities are endless! Just remember not to stretch it too much when sewing because then it won’t fit around your waist anymore.
- Sew up the sides by hand as if making a pillowcase with straight edges without washing out any excess threading so that they don’t unravel while wearing them. You could use bias tape as well – just make sure there’s enough room between the seams and the fabric for you to wear them.
- Get an old t-shirt and cut it into strips so they are long enough to cover your waistband. Then tie each strip around your waist or where ever you want it, such as in between a belt loop, behind a back zipper, etc.
- If there is no bottom hem on the jeans, get some decorative ribbon (or any other material) and wrap it around the top of each pant leg about six inches below the knee and then sew closed by hand (these will be used later).
Frequently Asked Question
What Should I War to Look Like a Hippie?
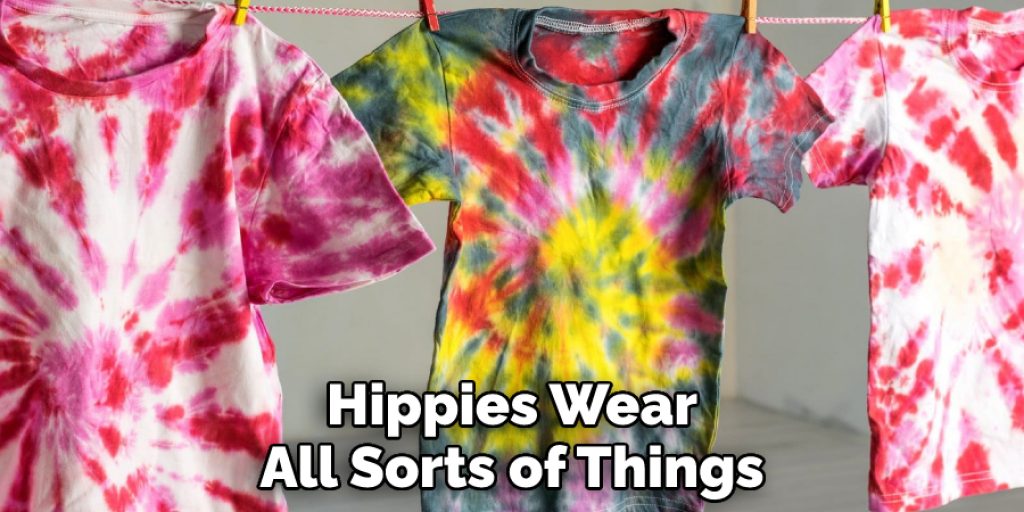
Hippies wear all sorts of things, so you can’t go wrong! It’s best to experiment with different clothes and see what looks good on you.
Are There Any Colors That Can’t Go With the Other Ones or Will Clash Together?
It depends on how much time you want to spend putting everything together, but generally, bright colors work well together, so most combinations are possible. If something clashes, make sure the item is either small enough or out of sight completely! For example, wearing blue jeans might mess up an outfit if they are clashing with the rest of your clothes.
You Mentioned Wearing Tie-dye and Bandanas; What Other Things Can I Wear to Look Like a Hippie?
Tight denim shorts, tank tops or t-shirts, zip-up hoodies or jackets, headbands, necklaces that have peace signs on them – these all make for good hippie attire!
There should also be pictures throughout this content where you see people in different types of clothing to show examples. For example tight jeans below curvy hips; sheer shirt over a skin-colored bra; sky blue tie-dye dress over red long johns etc.
Conclusion
That’s it! You now know how to make hippie clothes at home. Now you can take your new skills and use them on projects for yourself or others, whether you want a dress, pants, skirt, shirt or anything else.
If you have any questions about our DIY project instructions that we outlined in this blog post, then please ask us below in the comments section of this article. We are happy to answer all of your questions and help with any issues that may arise as well as provide some more helpful tips if needed.
You may read also –
Nancy Behan
Nancy is an embroidery artist, fashion blogger and a full time editor at DIY quickly. Nancy edits the fashion section on DIY quickly, focusing on the embroidery and cross stitch articles, alongside with fabric and other costume design elements. She graduated from the University of Michigan with a Bachelor of Arts in Art History. She loves to work on her own projects, read books and watch romantic movies in her spare time.


