
How to Make Acrylic Box
Making an acrylic box is a fun and easy project that can be completed in just a few hours. This article will show you how to make acrylic box with a hinged lid. You can use this box to store small items or as a display case for your collectibles.
In this blog post, we will be making an acrylic box. This is a great project for anyone new to working with acrylic, as it does not require any complex shapes or cuts. We will be using a laser cutter to create our box, but the same steps can be followed if you use a different cutting tool. Let’s get started!
Summary: In this blog post, we will show you how to make an acrylic box using simple materials and easy steps. We will start by cutting a piece of acrylic that is the same size as the box we want to create. Next, we will use a hole saw to cut a hole in the top of the acrylic. Finally, we will use a drill to create the holes for the hinges.
Step by Step Guide: How To Make Acrylic Box
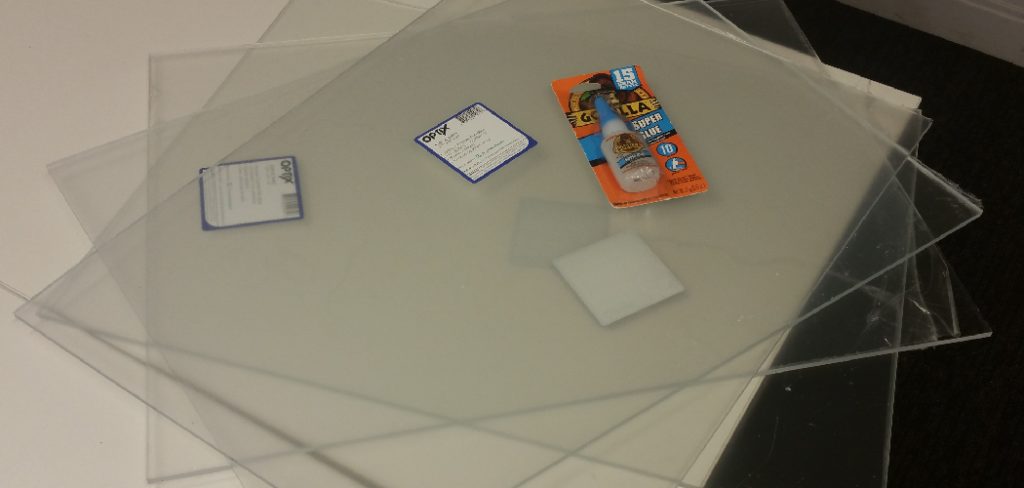
Step 1: Materials Needed
- Acrylic sheet
- Box Cutter or Snap Knife
- Sanding block with 220 grit sandpaper
- Squeegee or Credit Card
- Super Glue
Step 2: Cut Acrylic Sheet to Size
Using a box cutter, cut the acrylic sheet to size. You can make your box any dimensions that you want. However, remember that the larger the box, the heavier your materials.
Once you have made all of your measurements and cut out one side panel of your box, place it on another piece of acrylic to create a second panel. Once again, using the box cutter or snap knife, cut out this second panel.
Step 3: Sand Edge of Acrylic Panels
Once you have your side panels, use a sanding block and 220 grit sandpaper to smooth down the edges of each acrylic panel. You can also use a metal file or power sander if you have one available.
Take care to remove any burrs or sharp edges. This step is essential when working with acrylic sheets because if you do not properly prepare them, the acrylic panels can chip or crack when assembling your box.
Step 4: Glue Side Panels Together
Glue the two side panels together using super glue. Place small dabs of glue onto each corner and press the edges together until they are firmly in contact.
Some people choose to use plumbers putty or tape to join the acrylic panels instead of glue. However, we found that some tapes and putties did not hold up well in our testing, so super glue is a safer option.

Step 5: Position Side Panels on Top of Each Other
Once your glue has dried, you can position your side panels on top of one another. This will help ensure the acrylic sheets are correct when you attach them to your box.
Step 6: Attach Side Panels to Box
After ensuring that your side panels are positioned correctly, place some super glue on top of one of the panels and affix it to the bottom of your acrylic box. You may need to hold or weigh down the glued side panels until the glue dries. Super glue takes roughly five minutes to dry but can vary from type to type.
Step 7: Cut Out Top and Bottom Lid Panels
Use a box cutter or snap knife to score a line around where the top and bottom panels will be cut out on the acrylic sheet. Score along this line three times for each corner of the box so that you can bend it easily. Then, use your box cutter to cut out these corners, which will form a triangular shape.
Step 8: Making the Box Lid
Sand down your edges with a sanding block once you have cut out the top and bottom acrylic panels. You can also use an emery board or power sander for this step. Again, it is important to remove any burrs or roughness before assembling your box.
Step 9: Attach Top and Bottom Lid Panels to Box
Using superglue, affix the top and bottom panels to your box. You can also use a rubber band or tape for this step instead of using glue if you would like. Ensure that the glued edges are firmly attached so that they do not cause any problems when you open and close your box.
Step 10: Attach Lid onto Box
After the glue has dried, you can attach your lid to your box. You will need to align each corner of the lid properly with your acrylic box, or it may not close correctly. You should be able to gently push down on this area and hear a soft clicking noise that confirms that you have attached everything. Once your lid is firmly attached, you can set it aside and prepare to decorate your acrylic box.
Some Tips and Suggestions
Here are some tips and suggestions on how to make acrylic box.
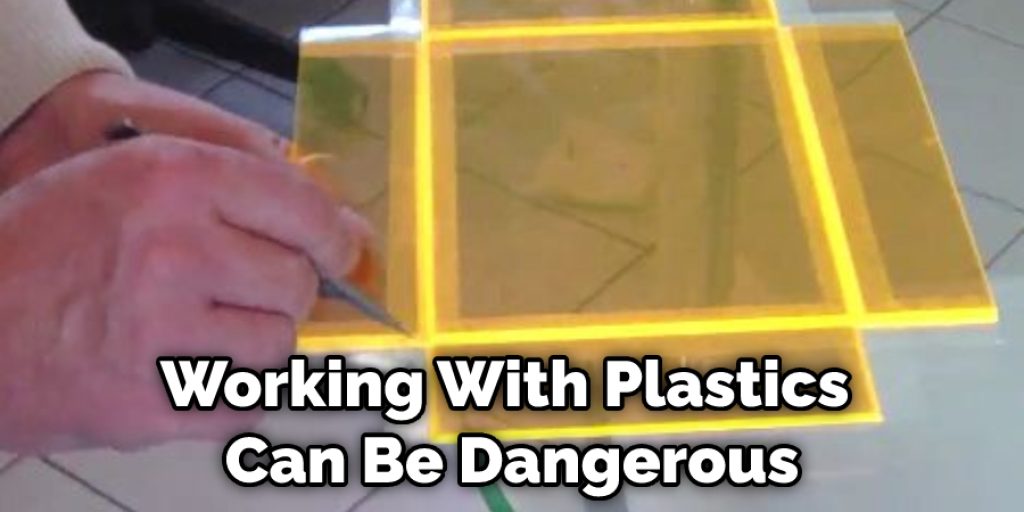
1. Working with plastics can be dangerous. For example, when manipulating or cutting acrylics, you should always wear eye protection and a breathing mask to avoid inhalation of harmful vapors.
2. Smoothing the edges is an important part of the finishing process; take your time on this step to create a more polished effect.
3. Using tools such as files or sandpaper always works in the same direction. For example, when filing down a sharp edge, smooth it by pushing the file away from you rather than dragging it toward you.
4. When cutting discs for hinges, keep in mind that the larger the disc is, the thicker your hinge walls will have to support it. Therefore, using too large of a disc can lead to unbalanced hinges.
5. If you’re planning on using your box as a coin bank, be sure that there is an adequate amount of clearance around the lid for coins to slide into it easily. The more room, the better!
6. When painting acrylics, use glossy paint and seal with spray varnish or lacquer.
7. When painting, you can use light sanding to create a more weathered and antique look! Sand the surface by hand with fine sandpaper before applying paint.
What Is the Best Type of Acrylic Box
There are many types of acrylic boxes, but the two most common acrylic boxes are the deep recessed and surface mounted. A deep recessed box allows for items to be placed within. A surface-mounted box features a flat backside and no depth. The type you choose often depends on your needs for the box. If you’re looking for a box to display items, then a deep recessed box may be your best choice.
The front acrylic layer of the display box is six millimeters thick and acts as an added support system. Instead, glass can become easily cracked or shattered under pressure when used instead. Because glass is fragile, it’s not a good option for display boxes. For this reason, it is often a better idea to use acrylic in a display box rather than glass.
You Can Check It Out to: Make a Package Drop Box
Conclusion
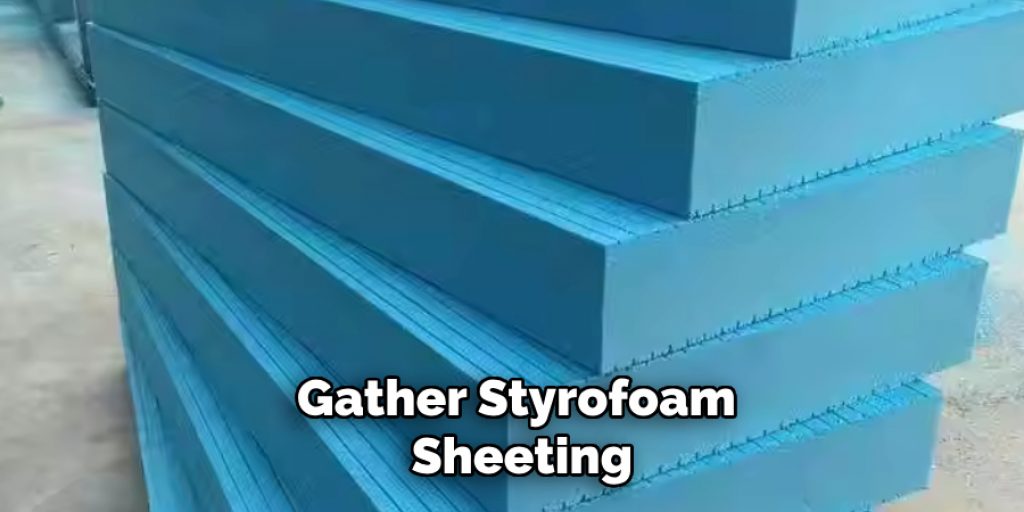
There are several ways to make an acrylic box, but we’ll walk you through the steps. First, gather your materials some plastic or Styrofoam sheeting (we prefer clear), Krylon Crystal Clear Acrylic Coating Spray, and either paint brushes or foam rollers for applying it. Next, cut out your desired shape from the material, then trace that design onto another piece of similar size with a marker pen.
Now apply two coats of Krylon crystal clear acrylic coating spray on both sides before sealing with polyurethane varnish sealant according to package instructions. Finally, place your designs inside their new home by cutting holes in the side spots where they will go using a craft knife and finishing off the box with whatever paints you like.
We hope you enjoyed reading this blog post on how to make acrylic box and learned a few new things about acrylic boxes. If you have any questions feel free to comment below!


