
How to Make an Action Figure Out of Paper
Ever dreamed of making your own action figure? Well, you can make one out of paper. This tutorial will show you how to turn a piece of paper into an action figure in twelve easy steps. The materials are simple and inexpensive, so it’s the perfect craft for kids too!
Making an action figure out of paper is fun and easy. The steps are simple, and the materials can be found at your local craft store. This article will show you how to make an action figure out of paper with step-by-step instructions. Have fun!
Summary: First, you will need a few supplies: some paper, a pencil, and a ruler. You will also need some adhesive tape and a cutting mat. To begin, measure the width of your Action Figure’s waistline and draw a line down the middle of your paper. Then, measure the height of your Action Figure’s head and draw a line across the top of your paper. Next, use the ruler to create a grid on your paper, dividing it into 4 equal squares.
Materials and Supplies You Need:
- Scissors
- Paper
- Ruler
- Glue (preferably a glue stick)
- Stapler and staples
- A pencil with an eraser on top
- A paintbrush
Procedures: How to Make an Action Figure Out of Paper
Step 1:
First, come up with a design for your action figure. Next, decide which character or person you want to turn into an action figure. Choose someone or something you would enjoy making into a toy.
Step 2:
Fold it in half and staple it to create a crease down the middle. You’ll need this crease to make folding easier later, so make sure you use good stapling skills!
Step 3:
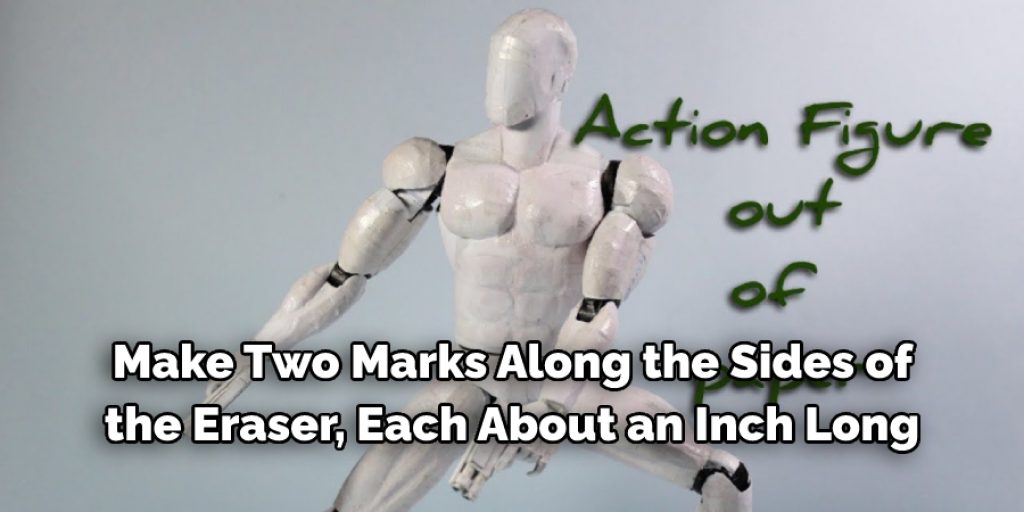
Unfold your paper and place your pencil eraser first in one corner. Make two marks along the sides of the eraser, each about an inch long. Then connect these marks with multiple lines, making sort of a triangle shape that does not extend all away across your paper. Cut off any extra parts that extend beyond what you have just drawn. This is now going to be your figure’s head!
Step 4:
Get another sheet of paper and put the eraser-end of the pencil in one corner, making sure to line up with the bottom of your head. Then draw a rectangle that is an inch by two and a half inches long. This will be used for your figure’s body!
Step 5:
Cut out this shape using your scissors. You should now have two rectangles, Ahead and a body! Fold the legs inwards and staple them. You don’t have to make them perfect because nobody will see your figure’s legs anyway! You can adjust these later.
Step 6:
Unfold both pieces and place them right side up in front of you. Put glue over each piece’s entire outside surface (the side without any writing or numbers). Then, sticking to one at a time, put glue on one inside surface as well. Line them up and press them together firmly so they stick together completely along all four edges.
Step 7:
Fold the top edge down so that it is even with the bottom edge of your head. Next, staple along this edge, and then do the same for the bottom edge of your body, only on the opposite side. You should now have a box shape!
Step 8:
Take out two more sheets of paper and lay one piece aside for later. Put both pieces side by side in front of you with their printed sides (the non-blank sides). Glue all four edges together, and then cut off any extra bits extending beyond what you glued. This will be your figure’s arms!
Step 9:
Open up both arms so they are lying flat in front of you with their blank sides up (the ones you just glued). Next, make a mark about an inch from the top edge on each arm. Then make two marks equally apart near the bottom of both arms, directly across from the previous markings you made. Finally, connect all four dots with lines to create triangles in both arms.
Step 10:
Cut out those shapes and set aside your figure’s arms for a moment. Then, take your two sheets of paper (one with your head on it, one with your body) and put them back in front of you with their printed sides up again (the side without any writing or numbers). Glue along all four edges so everything sticks together and then cut off any extra bits extending beyond what you just glued. This will be your’s legs!
Step 11:
Take out four sheets of paper and place them on your work surface. Place one sheet down with its printed side up (the side without any writing or numbers) and then put the other three sheets in a stack, placing their blank sides against each other and ensuring that the printed sides are all facing one direction.
Step 12:
Lastly, you need to put the legs against each other and glue them together, making a tripod shape. Make sure you completely cover all the edges with the glue! Once everything is dry, your figure is complete! All that’s left to do now is decorate it using crayons, markers, or colored pencils! Use markers to draw on eyes and mouths, or give them glasses or propellers for extra fun.
You Can Check It Out to Figure Out Angles for Wainscoting
Some Tips and Tricks To Follow:
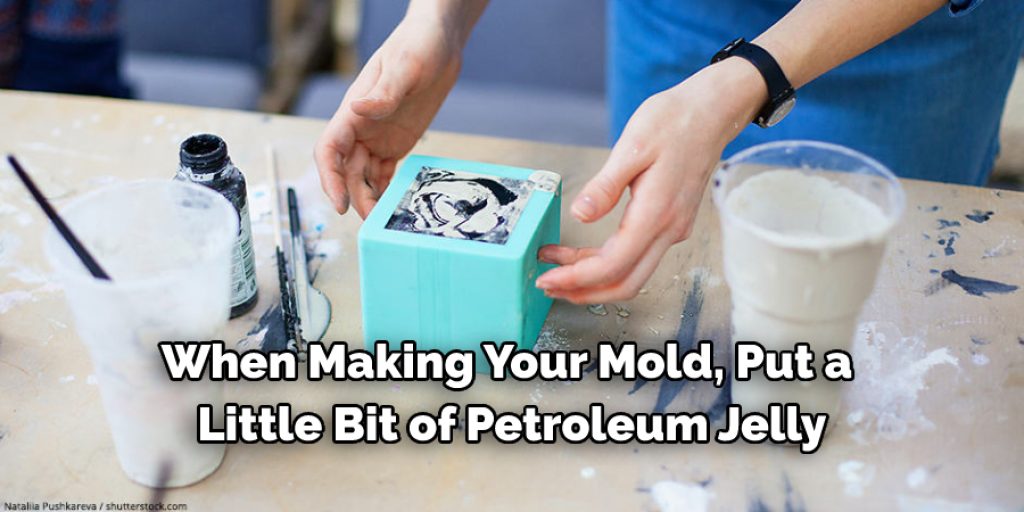
1. When making your mold, put a little bit of petroleum jelly (or you can use any oil) on the bottom of the shoe to make it easier to take off.
2. When taking your mold apart, try not to tear the paper because that will ruin all your hard work and if you do have a tear take some tape and cover it up.
3. After you take your mold apart, clean off all the petroleum jelly or oil because it will leave stains on your action figure, which is not good!
4. When coloring, put a little bit of paint on an old dish, then dip a q-tip in the paint and make sure it soaks up as much paint as possible.
5. To add the details on the face, use a pencil with an eraser at the end, and you can erase some of the lines that you don’t like or color it any other way you want!
Frequently Asked Questions
What Materials Do You Need to Make an Action Figure?
Materials needed to make an action figure include:
- Plasticine or other modeling clay
- PVA glue
- Foam board or craft foam
- Paper towel rolls for the head and hands
- Fine grit sandpaper
- Superglue or another adhesive such as PVA glue, epoxy resin, etc
Can I Make My Own Action Figure?
Action figures are available for purchase in the market. The process of making your own action figure is very difficult and may not be worth it, considering the high cost of materials required to create a toy.
How Long Does It Take to Make an Action Figure?
A typical action figure takes about three to six months to create. This is a very long time and can be overwhelming for some people who want their action figures in a short period of time.
If you are one of those people, you should know that this process is not for everyone. If you want your action figure or toy to come out well, you must have patience and dedication.
Is an Action Figure a Doll?
An action figure is a toy meant to be played with, but an action figure is not always a doll. Action figures come in many shapes and sizes, from simple characters like Batman or Superman to highly detailed and articulated figures like Transformers.
Action figures are typically made of plastic, though some are made of metal or other materials. They are often sold as children’s toys but can also be found in adult stores.
Conclusion
Paper crafts are a fun and inexpensive way to get creative. If you’re looking for easy, affordable craft ideas that don’t require special equipment or skills, try making an action figure out of paper! This tutorial has shown you how to make an action figure out of paper with some easy steps.
After reading this blog post, you can make an action figure out of paper. Let us know in the comments what your favorite thing about our DIY project is. We hope you found these tips helpful and happy crafting with paper!
Check out our article How to Make Paper Hard Like Plastic
Elizabeth Davis
Elizabeth is a creative writer and digital editor based in the United States. She has a passion for the arts and crafts, which she developed from a young age. Elizabeth has always loved experimenting with new mediums and sharing her work with others. When she started blogging, she knew that DIYquickly would be the perfect platform to share her tutorials and tips. She's been writing for the blog from the beginning, and her readers love her helpful advice and easy-to-follow instructions. When she's not writing or editing, Elizabeth enjoys spending time with her family and friends.


