How to Make Cardboard Corner Protectors
If you like artworks, then you will be ready to do almost anything for the protection of your artworks. You may have got a painting that has been with your family from generation to generation; then it really holds a sentimental value for you.
So what have you chosen for protecting it? These paintings usually get ripped off from the corners, and that’s why you have to pay proper attention to protecting the corners. Well, you can buy many corner protectors out there, or you can easily make them in your home. Do you know how to make cardboard corner protectors? That’s really easy, and I have got some easy-to-follow steps for you. So, let’s have a look at them.
How to Make Cardboard Corner Protectors
1. First of all, take a cardboard and cut eight triangles from it. Make sure to keep the sides of triangles at equal length. It will be better if you cut each side at three inches in length.

2. Next, cut eight rectangular pieces that are three inches in width.
3. Once you have got the rectangular pieces, take one of the triangle pieces and place it flat on the ground. Keep the triangle in such a way that the left part should face the right part.
4. After that, take one of the rectangular pieces and put it by facing it upwards. Then place this on the left side of the triangle lengthwise and glue it into that place.
5. When the glue will become dry, completely take other pieces that are glued in the same way place them as a lid on the first piece. Press the attachment firmly so that they attach with each other.
That’s it; your cardboard corner protector is ready. Follow the process and make as much as you want.
8 Advantages of Making Cardboard Corner Protectors:
1. Prevents damage to walls and furniture from sharp corners.
2. Easy and inexpensive to make.
3. Can be made to any size to fit your needs.
4. Prevents children and pets from getting injured by sharp corners.
5. It Can be made in any color or pattern to match your decor.
6. Helps to protect your furniture and walls from scuffs and scratches.
7. Adds a decorative touch to your home.
8. Keep your furniture and walls in good condition for longer.
Step by Step Guide: How to Make Cardboard Corner Protectors
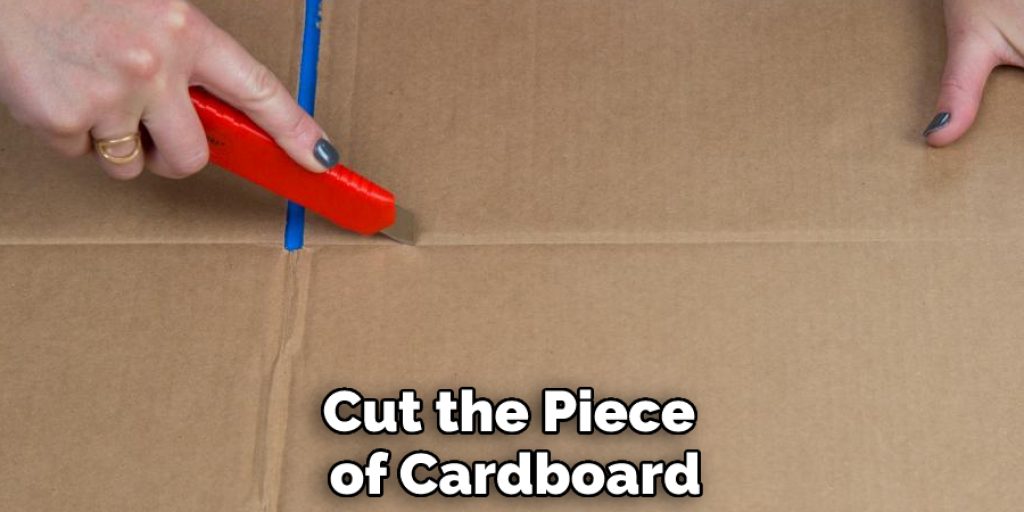
Step 1: Cut a Piece of Cardboard
The first step is to cut a piece of cardboard. You will want to make sure that the piece of cardboard is big enough to cover the corner of the box that you are trying to protect.
Step 2: Fold the Cardboard in Half
After you have cut the piece of cardboard, you will need to fold it in half. This will create a crease in the cardboard, making it easier to fold in half later on.
Step 3: Cut Along the Crease
Now that the cardboard is folded in half, you will need to cut along the crease. This will create two smaller pieces of cardboard that you can use to protect the corners of your box.
Step 4: Cut Out a Triangle
The next step is to cut out a triangle. This will be the shape of your cardboard corner protector. Make sure that the triangle is big enough to cover the corner of the box that you are trying to protect.
Step 5: Attach the Triangle
The next step is to attach the triangle. You will want to make sure that the triangle is centered on the piece of cardboard that you just cut out. Once it is in place, use a staple gun or some other type of adhesive to hold it in place.
Step 6: Allow the Glue to Dry.
Now that the triangle is attached, you will need to allow the glue to dry. This will hold the triangle in place and will prevent it from falling off later on. Once the glue has dried, your cardboard corner protector is ready to use! Attach it to the box corner that you are trying to protect, and you are good to go.
Step 7: Repeat for Other Corners.
If you need to protect more than one corner of the box, repeat the above steps. You can make as many cardboard corner protectors as you need, and they will all be ready to use in just a few minutes.
Cardboard is an excellent material to use for making corner protectors. It is strong and durable, yet it is also lightweight and easy to work with. Plus, cardboard is a relatively inexpensive material, so you can save yourself some money by using it to protect your boxes.
Tips for Making Cardboard Corner Protectors:
1. If you want to make your corner protectors more sturdy, you can glue a piece of cardboard to the back.
2. You can also reinforce the tabs with tape or staples.
3. If you’re using your corner protectors for heavy items, you may want to add a layer of cardboard or foam to the inside for extra protection.
4. If you’re using your corner protectors for storage, make sure they’re big enough to fit the items you’re storing.
5. You can also decorate your corner protectors with paint, stickers, or other decorations.
6. If you’re using them for shipping, ensure they’re sturdy enough to protect your items during transit.
7. You can also use your corner protectors as markers to help you line up your boxes for packing.
you may also read now
1. How to Make a Cowboy Hat Out of Cardboard
2. How to Make a Cardboard Tree Prop
Frequently Asked Questions
What Is the Top Edge of a Book Called?
The top edge of a book is the most important part because it is the front cover. It contains information about the author, title, publication date, and other details related to the book’s content.
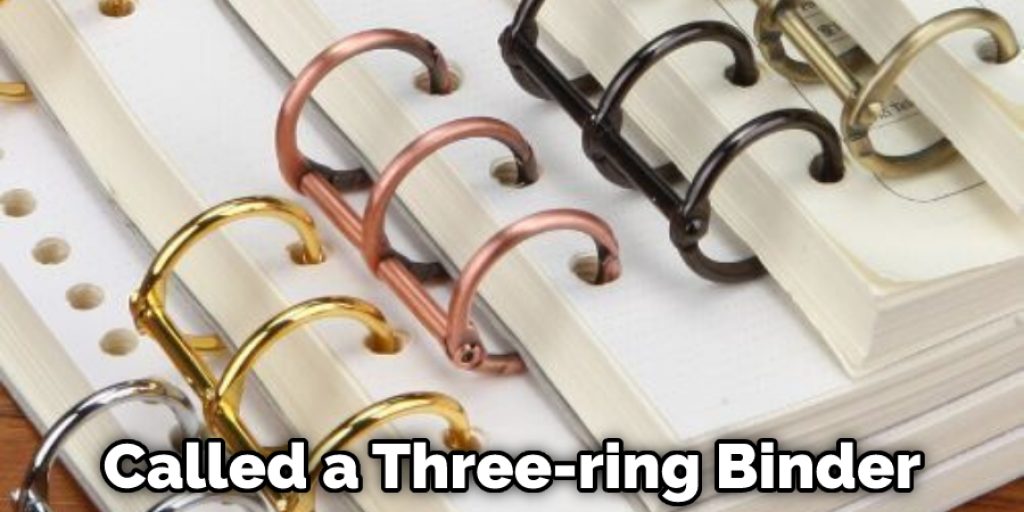
What Is a Book Spine Called?
A book spine is the binding of a book, consisting of one or more boards covered in cloth, leather, paper, or plastic that are attached to the text block and each other along their edges.
The most common type of spine used today is called a three-ring binder with an integral metal strip that runs through the center of the boards and attaches them at either end.
What Are Corner Protectors Called?
Corner protectors are pieces of plastic that you can use to cover your corners when using a piece of furniture. There are many different types of corner protectors like:
• Corner protectors with metal plates on the top.
• Corner protectors with metal clips at the bottom.
• Corner protectors with plastic clips at the bottom.
Why Are Corner Beads Important?
Corner beads are important because they make it easier to thread a needle. They come in different sizes and colors, which helps the knitter or crocheter choose the size of their needles.
Conclusion:
Cardboard corner protectors are a simple way to keep your boxes and packages from being damaged in transit. They’re easy enough to make on your own, and we will show you how. It would help if you had some cardboard, a ruler or a straight edge, scissors, and tape. But, first, measure the length and width of each corner of the box or package you want to protect.
Then cut four pieces of cardboard, each 1/2 inch larger than the measurement you took in step one. So if your measurements were 3 inches by 3 inches, then your cardboard would be 3 1/2 inches by 3 1/2 inches. We hope this blog post on how to make cardboard corner protectors has been helpful. If you have any questions or want to know more, then feel free to comment below!
Jane Hubbard
Jane has always been passionate about hair and beauty. After many years of working as a hairdresser specialist, she decided to start her own consultancy business. She is an experienced haircare and beauty consultant, and she loves helping others find the perfect look for them. She has been writing articles for DIY quickly for over 3 years. In her free time she enjoys keeping up with the latest news in the industry, practicing yoga, and spending time with her friends and family.