
How to Make Glitter Iron on Transfers
Do you want to know how to make glitter iron on transfers? You can follow this whole article if you are searching for an effective method. Here we will discuss making glitter iron-on transfers so that anybody can execute the entire work following the technique. To learn more, kindly go through the next sections of this content!
The Process
1. Spot iron-on sheet, sparkly liner aspect down. Change your system settings, as indicated by the iron-on kiss-cut manual underneath.
2. Pick out and size the photograph you need to cut. Ensure to mirror all pictures earlier than slicing.
3. Application is a powerful tool that can help improve the quality of life for those who rely on iron-on embellishments.
4. Make sure you are adhering to the full application directions. It is vital to preheat, warm, and submit-warmness your photographs for the suggested time measurement.
5. Prewash the element earlier than the application. Numerous organizations treat garments with artificial concoctions that make the shades look extra lively in the store’s simple view. These synthetic compounds must be eliminated before using the iron-on movie.
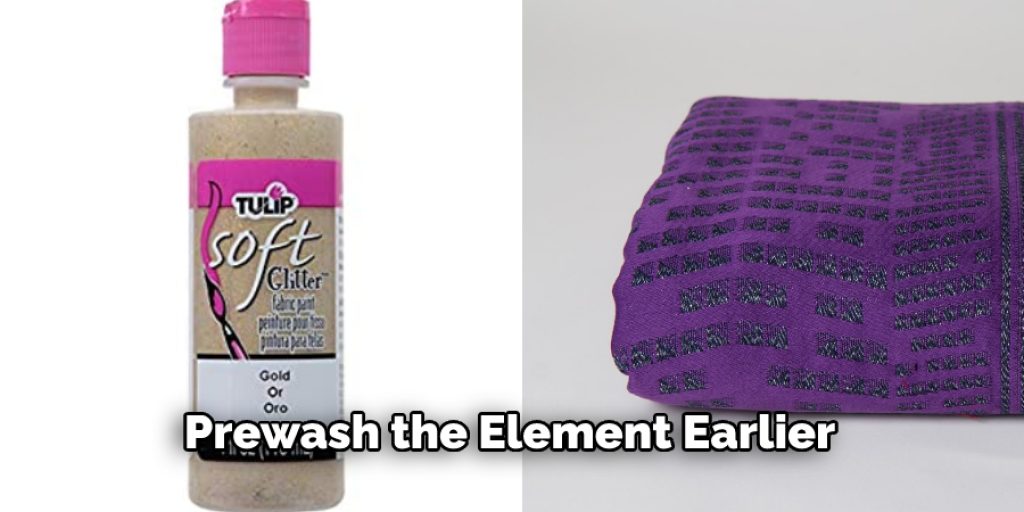
6. Abstain from utilizing the cleansing agent. Pre-washing the issue likewise ensures any contracting which could appear happens earlier than software.
7. Attempt no longer to layer any iron-on cloth. The fabric may appear to press on excellent.
8. Do away with terrible portions from every one of the pictures leaving the liner unblemished.
Frequently Asked Questions
Why Is My Cricut Not Cutting Through Glitter Iron-on?
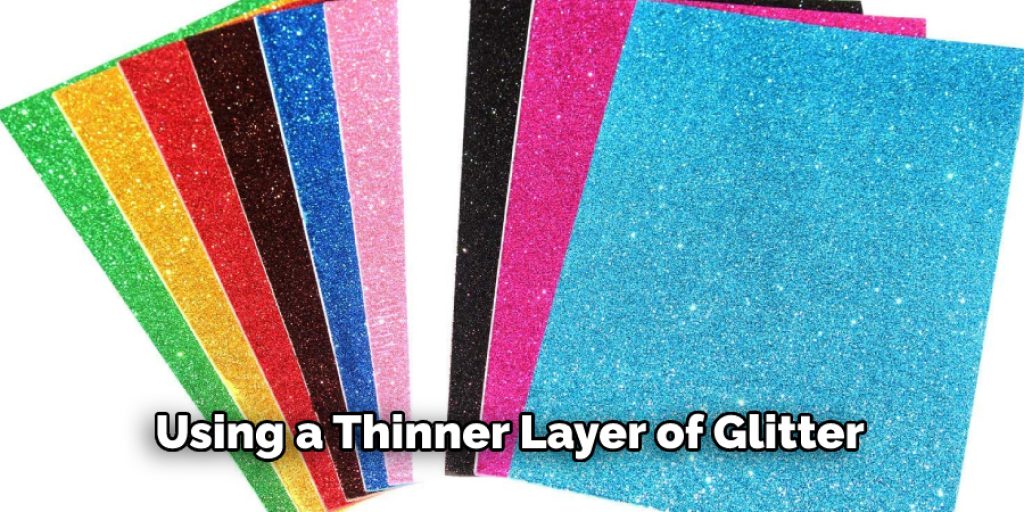
There are a few things that could be causing your Cricut not to cut through glitter iron-on.
The most common reason is that the glitter may be too thick. You can try using a thinner layer of glitter or using a different type of blade for cutting through the glitter.
If the glitter is not coming off when you try to remove it with water, it may be because the adhesive is not strong enough. You can try using a stronger adhesive or a different method to remove the glitter, such as heat.
What Mat Do I Use for Glitter Iron-on?
There are a few different types of mat that can be used with glitter iron-on. The most popular type is the non-woven fabric mat. This mat is made from 100% polyester and has a non-stick surface, making it easy to apply your glitter designs.
Another type of mat is the heat transfer vinyl mat. This type of mat is made from high-quality vinyl and has a sticky surface that helps you to apply your glitter designs without any problems.
The final type of mat is the heat transfer fabric mat. This mat is made from 100% cotton and has a special adhesive that helps you apply your glitter designs easily.
What Temperature Do I Use for Iron on Glitter?
It depends on the type of glitter and the temperature at which you want to apply it. However, for best results, you should generally use a temperature between 290 degrees F and 320 degrees F (150 degrees C and 160 degrees C).
Why Won’t My Iron on Stick to My Shirt?
There are a few reasons your iron-on stick might not be sticking to your shirt.
The most common reason is that the adhesive is not strong enough. You can try using a stronger adhesive or replacing the iron-on stick with a permanent adhesive.
Another problem you might encounter is if your shirt is too wet – the heat from the iron can cause it to shrink, and the adhesive becomes less effective. To avoid this, ensure your shirt is completely dry before applying for the iron-on transfer.
If you still have problems, you can try using a different type of iron-on stick or dryer sheets.
Why Does My Iron on Vinyl Peel Off?
There are a few reasons why your iron-on vinyl might peel off. The most common reason is that the adhesive has started to wear down. Over time, the adhesive will start to lose its ability to stick to the vinyl and will start coming off.
You can try using a stronger adhesive or using a different method of applying the vinyl. If that doesn’t work, you may need to have the vinyl replaced.
Final Thoughts
We have appeared almost at the end. But we believe at this point, you know all the essential information on how to make glitter iron on transfers. And as a result, you may perform the entire work all by yourself by following the steps mentioned above accordingly! A small reminder, you should maintain the safety measurements to avoid unwanted messes.
Check it out to learn to fix messed-up iron-on transfers.
Elizabeth Davis
Elizabeth is a creative writer and digital editor based in the United States. She has a passion for the arts and crafts, which she developed from a young age. Elizabeth has always loved experimenting with new mediums and sharing her work with others. When she started blogging, she knew that DIYquickly would be the perfect platform to share her tutorials and tips. She's been writing for the blog from the beginning, and her readers love her helpful advice and easy-to-follow instructions. When she's not writing or editing, Elizabeth enjoys spending time with her family and friends.


