How to Make Replacement Stakes for Solar Lights
Having outdoor solar lighting is a great way to illuminate areas of your yard or garden without having to worry about energy bills and running out of power. But, what do you do when one (or more!) of your well-loved solar lights are no longer standing tall? When the stake that holds it up in place becomes damaged or broken over time – can the light be saved? The answer is yes!
With just a few supplies and some DIY elbow grease, you’ll be able to make replacement stakes for your precious solar lights so they can stay proudly on display for years to come. In this post, we’ll explore exactly how to make replacement stakes for solar lights. Follow along below as we walk through each step – get ready for an easy fix that won’t break the bank!
How Do You Fix a Broken Solar Light String?
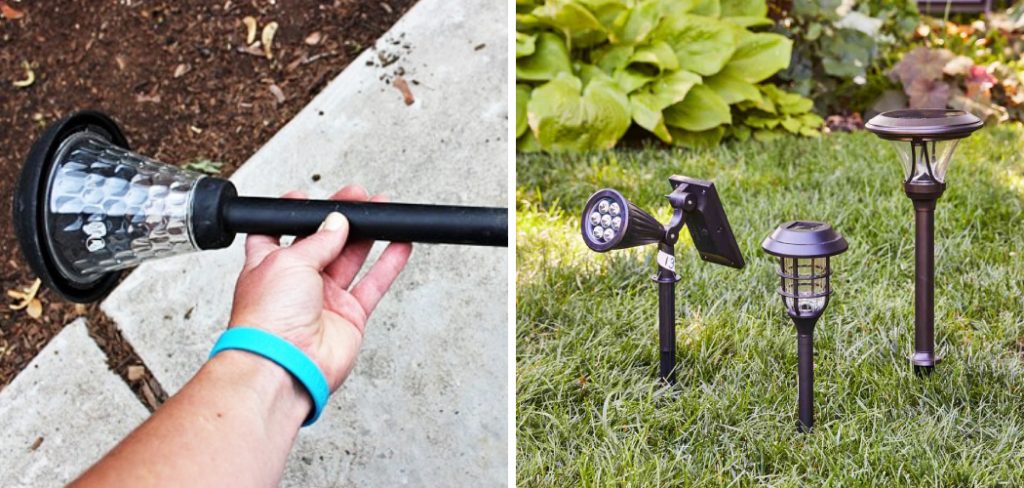
If your solar light string has become damaged, you may be able to repair it instead of buying a new one. To fix a broken solar light string, begin by locating the source of the problem. If the lights are not working at all, check that the stake is securely inserted into the ground and that the panel is receiving direct sunlight throughout the day.
If individual lights are not working, look for any worn-out or frayed wires or connections. You may need to replace a few parts such as connectors or stakes. If any wires have come loose, try reseating them firmly in place using pliers. Additionally, be sure to check if there’s dirt blocking any of the panels’ sensitive cells; light won’t pass through a dirty panel, so the lights won’t turn on. If all else fails, replace the entire solar light string with a new one.
Keep in mind that if you are replacing stakes for a solar light string, you should use high-quality replacement stakes and connectors to ensure your lights stay secure in the ground. Look for metal stakes designed specifically for solar lights as they can withstand the weight and impact better than plastic counterparts.
Metal stakes will also help keep your solar lights grounded more effectively and provide longer-lasting durability against harsh weather conditions like rain, wind, and snow.
9 Methods How to Make Replacement Stakes for Solar Lights
1. Look for Sturdy Sticks
The first step is to look for sturdy sticks that are the right size for your solar lights. You will want to find sticks that are about the same thickness as the original stakes and that are long enough to reach the ground when the solar light is in place.
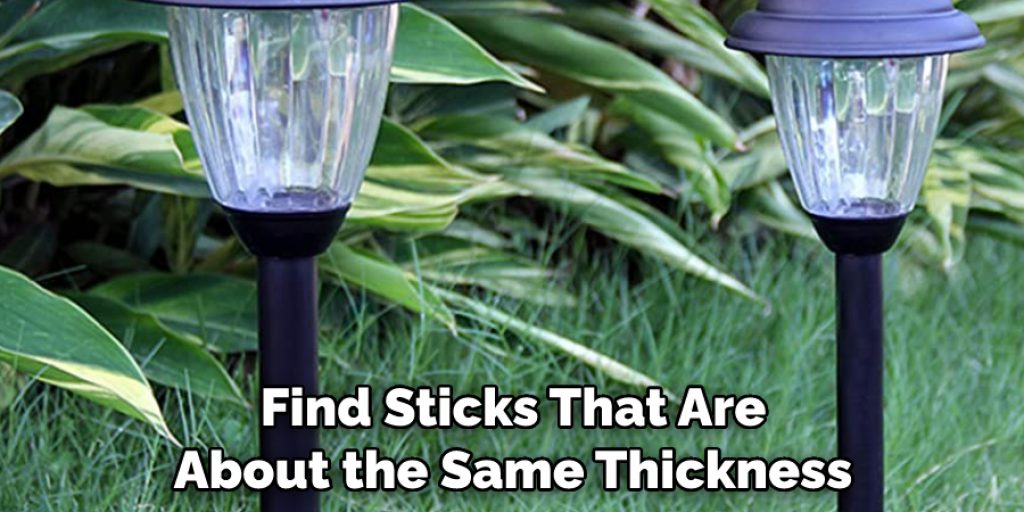
Some sticks that work well include bamboo, dowels, or even strong twigs. If you can’t find anything suitable in your yard, check around the neighborhood for sticks that are lying on the ground. While you are at it, check if any of the sticks already have holes in them. If they do, they will be even easier to work with.
2. Cut the Sticks to Size
Once you have found some suitable sticks, cut them to size using a saw or a knife. Make sure that each stick is the same length so that your solar lights will be evenly spaced. Keep in mind the size of your solar lights so that your stakes don’t look too small or too big.
If you’re using a saw, be sure to wear eye protection since the chips can fly up and injure your eyes. Although you don’t need to worry about cutting the sticks in a perfectly straight line, try to make them as even and neat as possible.
3. Sand the Sticks
After you have cut the sticks to size, sand them down so that they are smooth. This will help to prevent splinters and make it easier to insert the stakes into the ground. You can use a power sander or sandpaper to accomplish this.
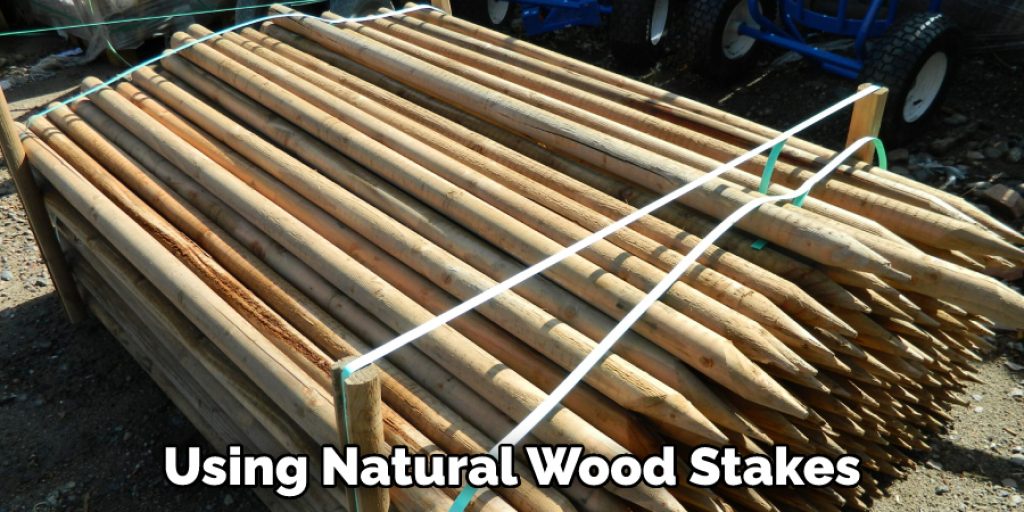
Take your time and make sure that both sides of the stakes have been thoroughly sanded. If you plan to paint the stakes, it’s important to sand them first so that the paint has a good surface to adhere to. However, if you are using natural wood stakes, sanding is not necessary.
4. Drill Holes in the Sticks
Next, drill holes into each of the sticks using a drill bit that is slightly smaller than the diameter of the screws that you will be using. This will make it easier to screw the stakes into place later on. Make sure to drill the holes in the center of each stake so that they are evenly placed.
If you do not have a drill, you can also use a hammer and nail to make the holes. Be sure to drive the nail into the stake at an angle so that it does not come out the other side. However, this method can be difficult and time-consuming.
5. Paint or Stain the Stakes
If you want, you can paint or stain your replacement stakes before screwing them into place. This is optional, but it can help to make your solar lights look more uniform and professional. If you choose to do this, make sure that the paint or stain is waterproof and compatible with exterior elements.
While you have the paint or stain out, it’s also a good idea to touch up any existing stakes in the area that could use some attention. Allow the paint or stain to dry completely before proceeding. While you wait, check the connections of your solar lights to make sure they are still secure. If not, now is a good time to do any necessary maintenance.
6. Insert the Screws
Once you have prepared your replacement stakes, it is time to insert the screws into each of the holes that you drilled earlier. Make sure that the screws are tight so that they do not fall out later on. You may want to use a screwdriver or other tool to ensure that each of the screws is secure.
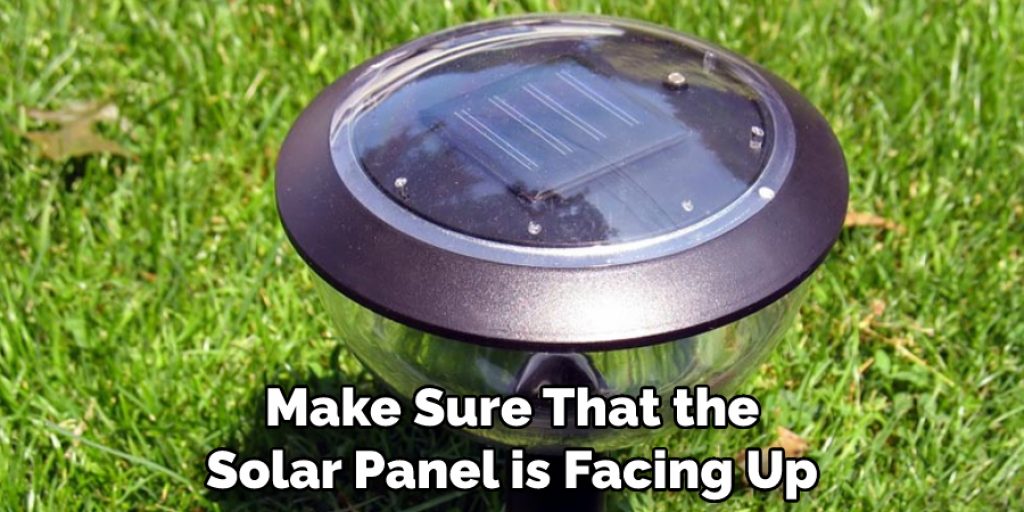
Once they are firmly in place, you can begin to connect the solar light to its stake. While you are doing this, make sure that the solar panel is facing up, so it can receive enough sunlight to power the light. Although it may seem like a small detail, proper orientation of the panel is essential for your solar lights to work.
7. Place the Solar Lights in Their New Holders
Now, simply place your solar lights into their new holders and screw them in place. Once they are secure, you can move on to placing them in your garden or yard. Remember to pay attention to your desired angle when placing them on the ground.
You want to make sure that when you turn on the lights, they are facing the direction you want them to light. It’s also important to make sure that your solar lights are placed somewhere where they will get maximum sun exposure during the day to ensure they get enough energy to power up at night.
8. Attach The Wires
If your solar lights have wires attached to them, now is the time to connect them to their new holders. Make sure that all of the connections are secure so that there are no loose wires hanging about.
Once the wires are connected, you can test to make sure the solar lights are working correctly. If you need to replace batteries in your solar lights, this is a great time to do so to get the best results. While this isn’t a difficult task, it’s critical to make sure the wires are connected properly to prevent any short circuits.
9. Turn the Lights
Finally, turn on your solar lights and make that everything is working properly. If all is well, then you have successfully created a set of replacement stakes for your solar lights. The process may have taken some time and effort, but the end result will be worth it.
After all, you now have a set of replacement stakes that you made yourself that will last for years to come Enjoy your solar lights and the pride of your handiwork! When the time comes to replace those stakes again, you now know exactly what to do. Additionally, you may consider using some sealant or glue to ensure the stakes are securely attached to the solar lights.

Conclusion
Far from having to discard a perfectly good solar light, it is possible to make a replacement stake yourself simply and quickly. By gathering the required materials and following the 2-step process outlined in this post, you should have no issue in making stakes for your lights. Rest assured that a stake created by hand can be as good as any bought from a store– just remember to make them with care!
And once they are made, your lights should be ready to go so you can enjoy their beauty without any worries whatsoever. With some craftiness and patience, swapping out that broken solar light stake won’t seem like such an odious task after all. So, there you have it – a quick and easy guide on how to make replacement stakes for solar lights.