How to Make Reusable Nail Stencils
Nail stencils are a great way to get a manicure without having to spend the time or money for one. They’re also perfect if you want to do something festive with your nails without having to buy any new polish colors. The best thing about them is that when they get old and don’t work anymore, you can just throw them away! You’ll never need to worry about contaminating another surface again!
This guide will help you create reusable nail stencils right from your home. The best part is that they are cheap and easy to make! This tutorial goes into detail about creating them, what materials you need, and the steps involved.
Things you will need to make nail stencils
- Scotch tape
- Nail polish remover
- Paper plates or recycled cardboard tubes
- Pens, pencils, markers for drawing your design on the paper plate/cardboard tube and cutting out.
Steps to Follow for Making Reusable Nail Stencils
Lay the paper plate on a flat surface
- Turn the paper plate upside down and place it on a flat surface.
- Use one of your pens, pencils or markers to draw a design onto the top side of the paper plate.
Cut out around each nail shape with a Xacto knife
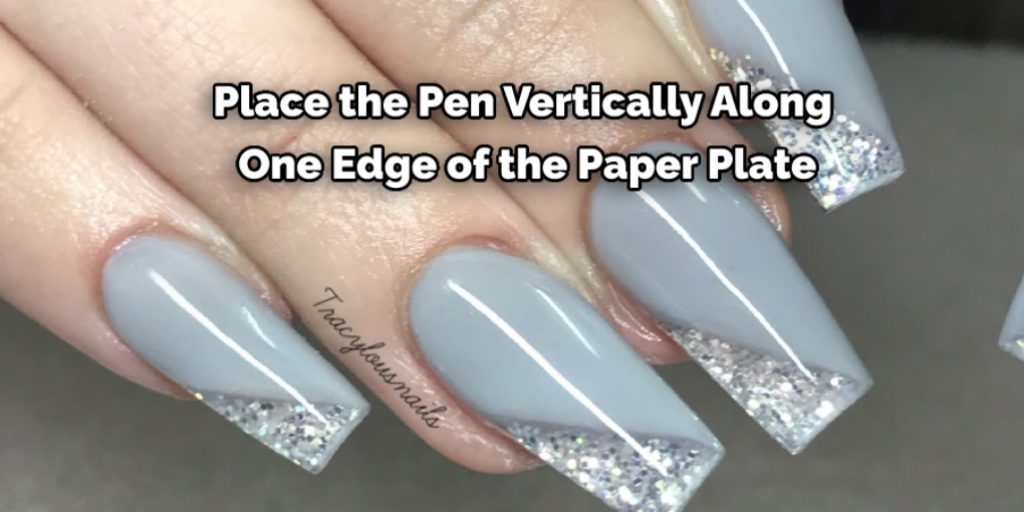
Place the pen vertically along one edge of the paper plate; rotate in quarter turns until you have made four slits for cutting out shapes from that half of the plate (three if you are making stencils for only three nails). Repeat this process on another half of the cardboard tube/paper plate to create all necessary stencil designs.
Paint your design with nail polish
Once cut, paint over the entire area with polish remover using either a cotton swab or toothpick.
Peel off each polish stencil
Once the polish has dried, carefully peel off each stencil to reveal a perfect painted image on your nails and another sheet of cardboard tube/paper plate ready for more designs!
Using scotch tape
- Place the paper plate over your nail and press down so that it is snug. -Carefully, with a firm yet gentle grip, remove the paper plate from your nails while being careful not to smudge or lose any of your design in transit.
- Repeat these steps as desired until you have created all necessary stencils.
Using Different Layers in Nail Stencils
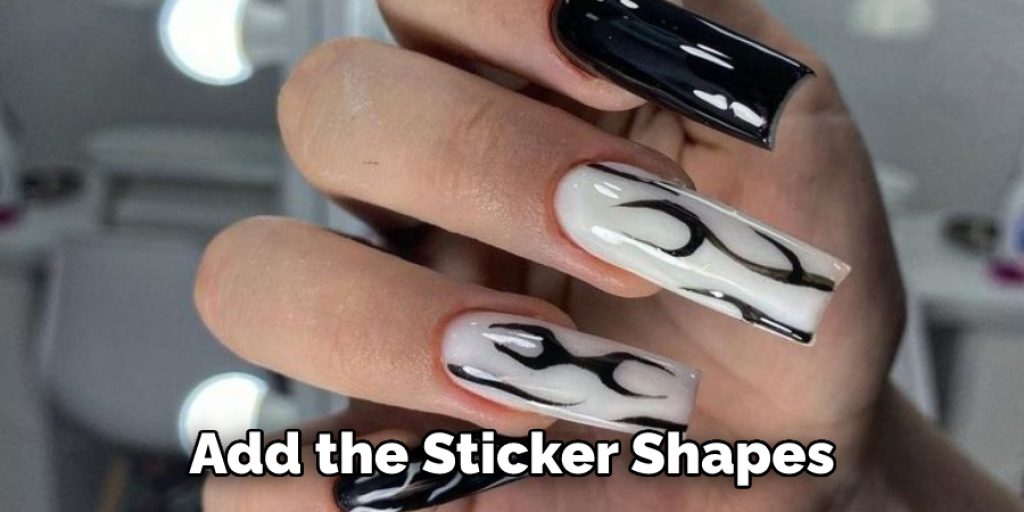
The best approach on how to make reusable nail stencils is by using different layers. This means that you can create one stencil and use it again on your nails without purchasing a new set of stickers each time. The first step on how to make reusable nail stencils is to find a design that you like. You can either create your own or find one online. Once you have found the design, print it out on a piece of paper.
The first layer should be made from cards or plastic so that the second layer can stick to it better. After this, add the sticker shapes that will fit into these outlines. Then apply another piece of card or plastics over them and poke holes in each sticker shape with a pin before peeling off both pieces together! Now you can adhere the cards or plastic with your stickers onto a larger backing board. For this project, I used black cardstock, but you could use a piece of foam board or even cardboard!
If you want to make your adhesive sheets last longer, you can cut out tiny ovals from extra gaffing tape and stick them on top.
To peel off the stencils, you should take a piece of tape and stick it onto one corner on top of all layers. Then pull the cardboard or plastic up from this point before peeling off all pieces together.
Finally, use a strong adhesive like rubber cement (or glue) to create permanent ovals in place of stickers that can be used for future manicures as well! This way you’ll never have to buy new stencils again – just reposition them when they get old so they don’t lose their shape too quickly.
Tips & Tricks for Reusing Nail Stencils:
Seal the stencils with a stronger adhesive or sealant. Many of the ones on this list use nail polish, but you can also buy special glue meant for that purpose if needed. You can still reuse them by applying nail polish and using tape to remove excess paint from around the edges before sealing again. This technique will make it easier to reattach pieces after removing stickers too!
Benefits of Using Reusable Stencils:
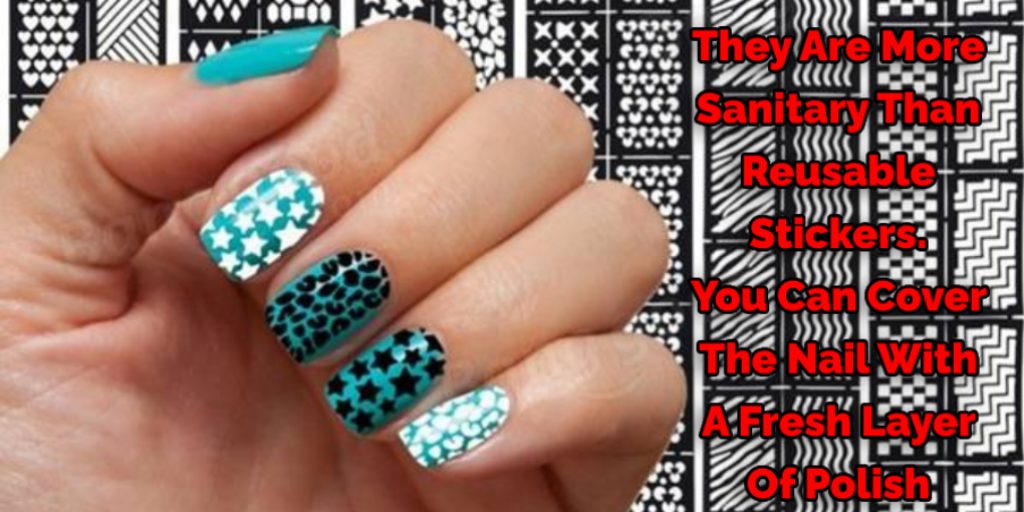
- They are more sanitary than reusable stickers. You can cover the nail with a fresh layer of polish after each use and then seal it to keep bacteria at bay.
- It’s cheaper than buying new stencils all the time! Buy one or two packs for your favorite designs, and apply them as needed instead of having to buy an entirely new set every time you need something different. This is especially helpful if a design works on other parts such as toenails, too, because you won’t have to spend money on multiple sets just in case someone wants this style somewhere else!
- They last longer when sealed properly
Frequently Asked Questions
Are Nail Stencils Reusable?
Nail stencils are reusable, and they can be used repeatedly. However, some nail stencils are more durable than others, so you may want to consider the durability of a particular stencil before buying it.
Can You Use Vinyl on Nails?
Yes, you can use vinyl on nails. It is recommended to use a matte finish so that the vinyl will not be visible. Vinyl on nails is an easy way to change your nail color, and it doesn’t require much maintenance.
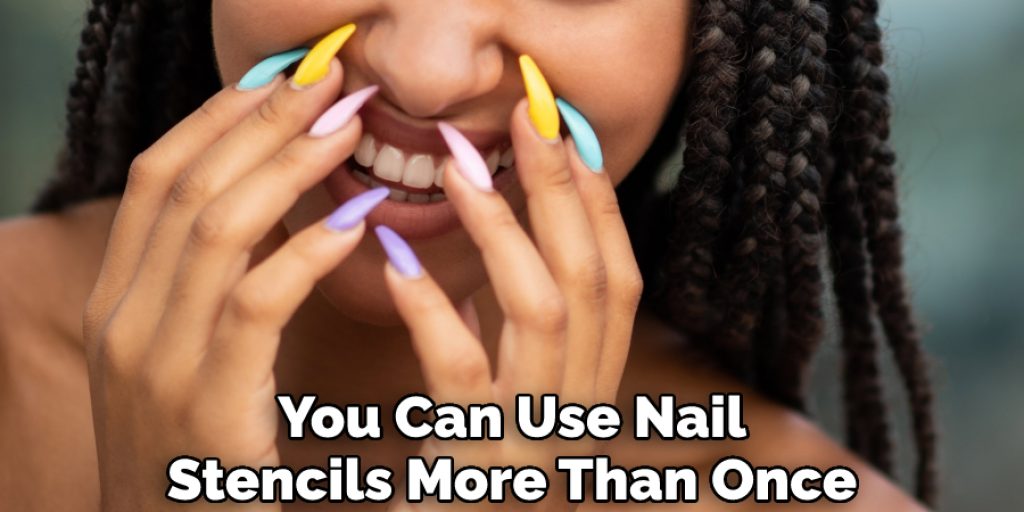
Can You Use Nail Stencils More Than Once?
Yes, you can use nail stencils more than once. The polish will stick to the stencil and not soak into the paper so that it will last for a few more uses.
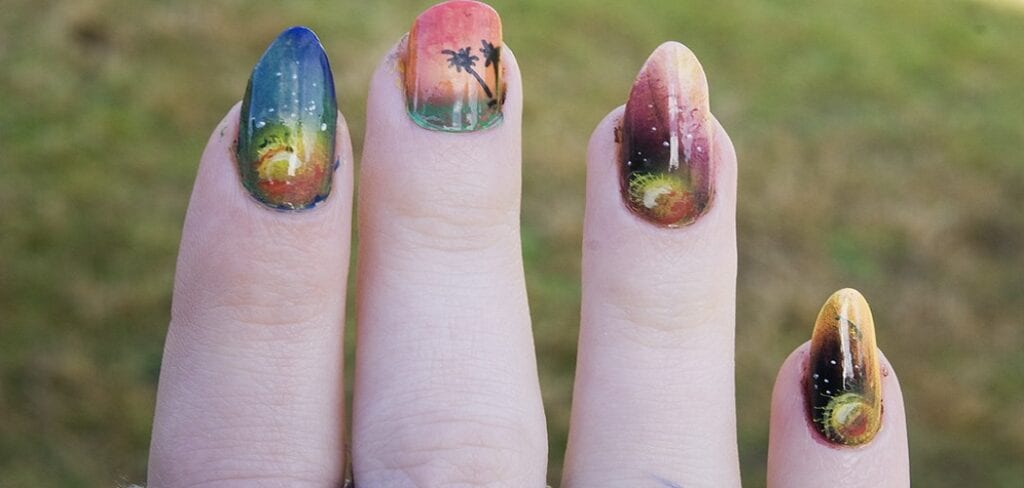
What Is Stencil Method Nail Art?
Stencil method nail art is a new technique that has been gaining popularity. It can be done with any material such as paper, canvas, fabric, wood, and plastic.
It is used to create images on nails or other surfaces by placing a patterned design over the surface of your choice and then painting the design in a complementary color. After the paint dries, the stencil will be removed to reveal the design underneath.
The technique originated from French manicure art but has since spread across Europe and North America.
What Tools Are Needed for Nail Art?
Nail art tools are necessary for nail artists. A typical set of nail art tools would include:
- Nail Art Brush
- Nail Polish Remover
- Paint Brush
- Gel or Acrylic Paints
- Cuticle Oil or Balm
Conclusion
Making your reusable nail stencils is a great way to save money and have unique designs for each occasion. The process is easy, fun, and you can customize the design so that it’s perfect for you!
I hope you found this post helpful and informative. If you want to learn more about how to make reusable nail stencils, be sure to check out our blog for other DIY projects!
Jane Hubbard
Jane has always been passionate about hair and beauty. After many years of working as a hairdresser specialist, she decided to start her own consultancy business. She is an experienced haircare and beauty consultant, and she loves helping others find the perfect look for them. She has been writing articles for DIY quickly for over 3 years. In her free time she enjoys keeping up with the latest news in the industry, practicing yoga, and spending time with her friends and family.