
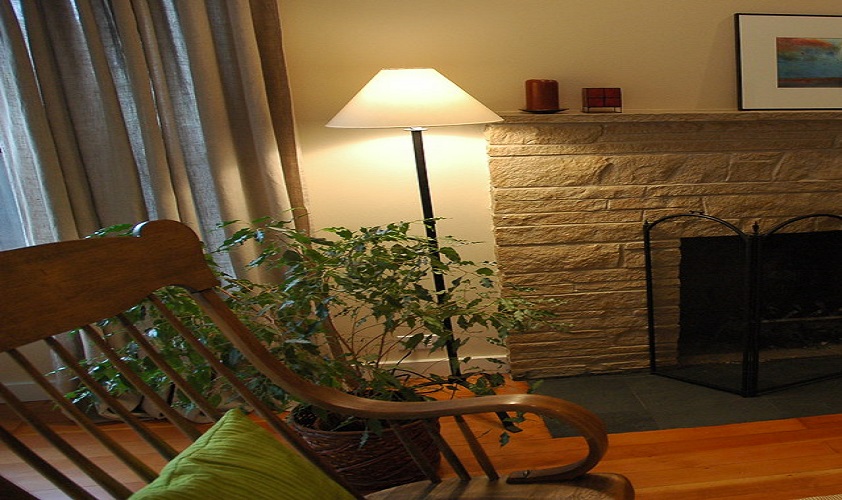
How to Makeover A Floor Lamp
Would you like to redesign an older light, or perhaps even design one from scratch? Tackling a lamp remodel with the quantity of web motivation has never been simpler. We looked high and low for simple light creating concepts and DIY lantern designs to have the imaginative juices. To begin, pick a light style and material you want to work with. You can even use an old lantern or lamp you have in your house. In this project we will show you how to make a simple hand made table lamp.
Such DIY lamp designs include all art and expenditures, including some that involve paint that could finish. The only aspect that limits you here is your ability to try new things. Only ensure that you know a little bit regarding repair installations until you begin; no wonder what task you pick. We encourage you to explore all of the images below and make a note of any projects that strike your fancy. You will get all the step-by-step instructions required, so all you need to do is head to the nearest hardware store.
Instructions
Common components
- Spray Color-Copper & Black Metal
- Fabric generated in the galaxy
- Glass pick Cream
- Star Badge Paper
- Black Coated Acrylic
- Hot adhesive gun
- Scissors
Procedure
Do get several close-up photos of how the pieces were installed until you deconstruct them if you do a remodel, which involves many assemblies. If you reassemble, it would be a bit faster. Do test the size and spacing of the grid wire to be sure that it will work with the hangers you have chosen before you begin.
I dismantled the entire shade for a first move and placed the metal objects in a paint scraper prepared for paint. Several other surfaces were lumpy, excluding the component, so I felt there’s no need for a filler or scrubbing, and I painted straight on the metal components. I used the spray paint for the outside of the shade and the roller for the inside. I removed the fabric from the shade ring, which is easier said than done.
The paint fell off as a label in several metallic sections and had a matte texture on each face. Then I dusted a little bit of that section and sprayed painting anew. It’s possible to do a more regular coat of paint, but it will take longer.
Learned Enough!! I wanted to color the crystal sheet dark on one face as I did not get the appearance of clear glass in the center of the light. He also created several star sketch to balance the design with my model tool and added planets on the other face.
I screwed up somewhat when etching the stars, so until I find out, it’s not visible. Then spread the cloth over the surface of the shade and fastened flat screws on the ends. He created stitching to tie the edges, and the fabric was folded down to the floor.
I was using Velcro strap to keep the fabric from shifting on edge and hot glued the foundation for a smoother look by bending the fabric’s sides in there anyway. Reproduced the same about outside.
The shading of the lamp is absolute. All of the pieces were put with each other to finish the new look.
Precautions While Makeovering A Floor Lamp
- Make sure the floor lamp and its socket are unplugged before you start to makeover it.
- Put a drop cloth down under the light fixture to protect any mess or spills that might occur while making over the floor lamp.

- Lay the floor lamp on its side, then unscrew each of the four screws holding it onto the base with a screwdriver. Remove all hardware pieces from both parts of the lamp by pulling them out slowly so they don’t break off at their welded points (these will be reused later). If there is an additional steel rod that attaches one section to another, remove this too. Place these in labeled plastic bags or containers until reassembly time arrives; label with “Lamp Hardware.”
- Take the fabric off of the lamp by unthreading each section’s machine stitches. Remember to use a seam ripper for this task, not scissors, because they will leave jagged edges and cut into wires inside; you don’t want that! Place all fabric pieces in labeled plastic bags or containers until reassembly arrives (again, label with “Lamp Fabric”).
- Remove any metal reflector on top of the lamp socket cover where the bulb is situated if it has one. This can be accomplished using pliers or your hands and fingers – but make sure not to break. The key here is patience, so take as long as necessary.
Which Type of Color is Most Suitable For Floor Lamp Makeover?
It takes time, patience, and creativity. Several materials are used for the makeover process, including polyurethane lacquer (which is generally preferred), acrylic paint, or emulsion. It also depends on what type of floor lamp you want to do with your makeover – if it’s metal-based, then use either lacquer or enamel.
And if it’s made out of wood, use acrylics, for example, as these would be more durable than watercolors. For some DIYers who don’t have adequate skills in painting furniture but still want to refurbish their old lamps at home, there are suppliers available that sell pre-paint finish products, such as spray paint or lacquer, which could provide a quick fix for your lamp.
What Can I Use In Place of Hot Glue Gun?
You can use a glue gun, but it’s not the best option. The trigger may have an issue with sticking when you’re used to squeezing and releasing. You will also need different brushes for applying the adhesive.
However, another type of contact adhesive might work better for this project – silicone caulk! It comes in tubes like toothpaste, so all you’ll need is a tube and a scraper or putty knife to apply it on any rubbery surface (i.e., lamp base).
Conclusion
So we hope that the process mentioned here has been beneficial for your floor lamp. Have a nice day!
Check out more lamp related article:


