How to Paint a Pocket Door Without Removing
Introduction:
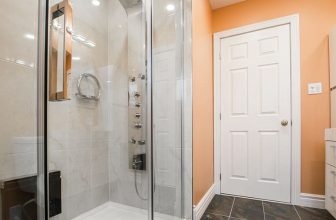
A pocket door is a sliding door that conceals the space behind it when closed. The term “pocket” refers to the cavity created in a wall through which the door slides; this type of door is also known as an “inswinging” or “out-swinging” door. The two most common types of doors are wood and steel, although other materials such as aluminum and glass are also used. Painting a pocket door is always important; this helps to match your door with the home decor. So today, I am going to discuss a technique on how to paint a pocket door without removing it.

Benefits of Having Pocket Doors:
- Space Saving: Pocket doors come in a sleek design that can be utilized to conceal areas that are considered “waste space.”
- Allows Privacy: This type of door is used in rooms where you want to separate two spaces and yet still give them privacy. For example, you can open the door only when you need an extra temporary wall and close it when not needed. This could also work for rooms with entrances leading from both sides, like balconies or hallways.
- Lesser expenditure, especially if purchasing new doors: The entire installation process requires far less spending compared to other types of sliding doors as they do not require flooring modifications or wall adjustments; hence, saving you money on remodeling costs along the way!
- Versatility: You can also choose the paint or stain you intend to use for your pocket doors. It can be a light-colored wood if you want a warm and bright ambiance—or vice versa, dark stained wood if you are looking for something bolder.
- Next-to-nothing To Do With Frame Installation: There is no need to assemble the frame! Made with premium lumber, pocket doors require almost zero work on the installer’s part once everything is delivered to your place of residence.
Step-Wise Guide on How to Paint a Pocket Door Without Removing:
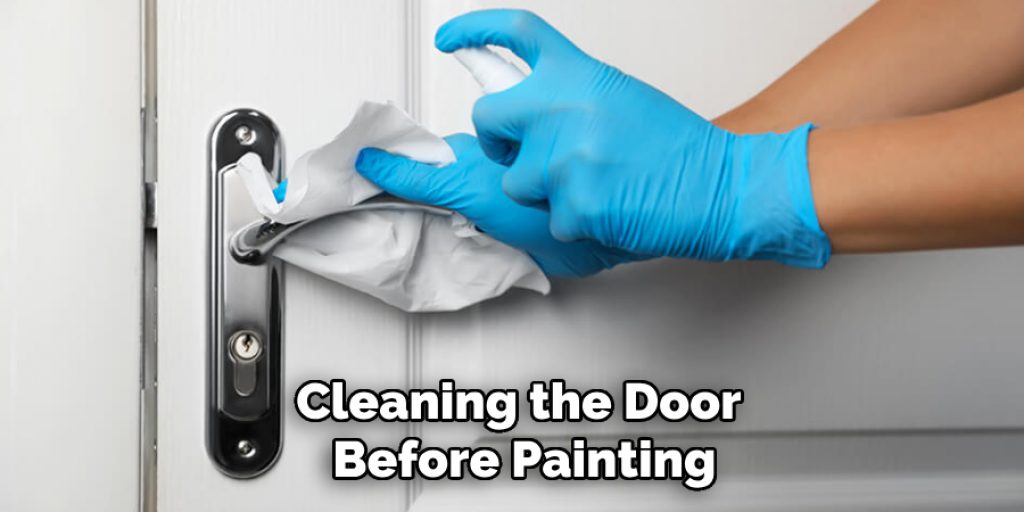
- Prepare the surfaceIt is important to prepare the surface you will be painting and the door before you actually start painting. Make sure to sand off any dirt or debris on the paint surface. It is also a good idea to wipe down all surfaces with a tack cloth or clean cloth to remove any other residue from oil paints or solvents that might cause unwanted bumps in your next coat.
- Get ready for primer application .Paint and Primer in one are designed for use when applying large areas of paint before applying color coats, like walls or ceilings of rooms; it can also be used when priming wood doors outside of houses before painting them colors like white, cream, and pastels.
- Prime the surface with paint and primer in one.Once you have prepared the surface, it is time to prime. Start by using a paintbrush to brush on a thin layer of paint and primer at once all over your door – this will work as an even coat for a better finish later on when you add color coats. Just like painting walls or ceilings, learning how to apply a good base coat is imperative for that overall finished look of your end product. Be sure to follow the label instructions (especially on paint cans) before applying more layers of paint/primer so that the last result will be durable enough to withstand wear and tear from daily use. 4. Add another coat of paint/primer after it dries. The first coat will be a thin layer of both paint and primer, but you have to wait for it to dry thoroughly before applying another coat. Let the door dry by just leaving it in place for 24 hours until you can touch it without causing any marks or smudges on the surface. If you cannot leave your door for that long, it is best to remove all hardware from the door (including knob locks and hinges) so that they won’t get stuck while waiting for the finish to dry.
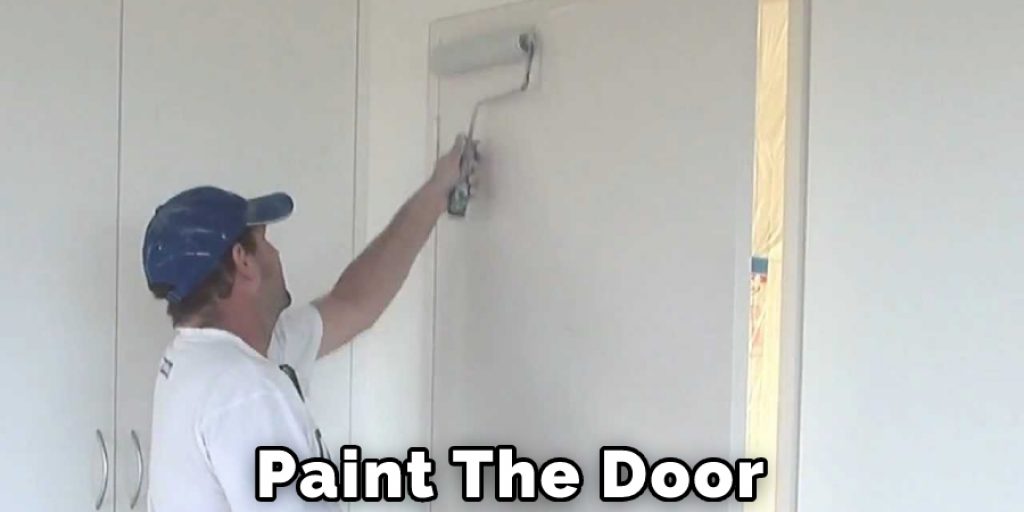
- Paint over with exterior paint. Now that there are no pieces of hardware on the door, you can start painting! Follow step 2 again: using a paintbrush, spread out an even coat of exterior paint over the door. Be sure to apply paint over every part of your door, including edges and corners. This is also a good time to check for any cracks in the wood so that you can fill them with some wood putty before painting – this will prevent peeling later on when weather conditions change (which, yes, they are bound to do).
- Once it’s scorched, add hardware back You’ve waited long enough for that first coat to dry! Now it is time to add the hardware back on the door: hinges and locks, knobs and handles. Just make sure that each piece has been properly cleaned from dirt or residue, or else they might not be installed properly later on after painting because you would have difficulty hitting those molds.
- Make touch-ups needed. Lastly, you’ll want to look at the final result and make any necessary touch-ups if need be.
Precautions While Learning How to Paint a Pocket Door Without Removing:
Before starting the painting process, it is always necessary to take precautions.
Before painting, you should make sure that there is no dust in the air and that paint or any other kind of solvent is not dripping from your ladder onto the ground. The access door to your house should also be closed.
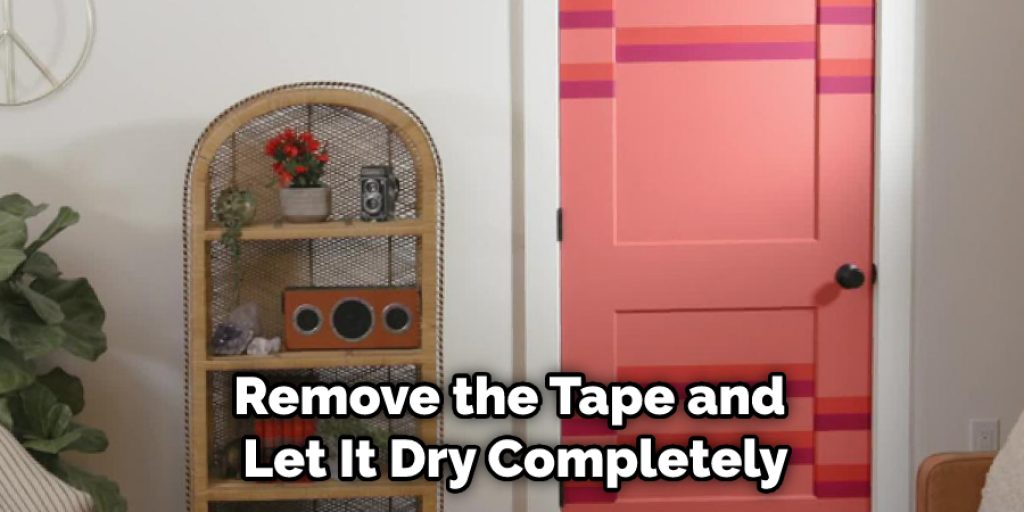
For a smooth finish, brush on several thin coats of paint rather than one heavy coat. If you’ve already painted over the unpainted portion of your pocket door and want to repaint part of it, remove the tape and let it dry completely for at least 24 hours before applying new paint. Always keep a drop cloth below the pocket door while painting to avoid paint stains on your floor and carpeting.
You should try to finish painting in just one session of 2-3 hours. Painting for too long can be tiring and painful. If you have to paint for more than three hours, take breaks so you don’t strain your body. Use quality brushes to get a smooth finish. Also, clean your brush after every stroke when using oil-based paints.
Which Paint is Suitable for Painting Pocket Door?
The best paint to use for painting a pocket door is one with a flat finish. This type of paint will give you the best possible finish. You can choose from latex or oil-based paints.
If the outside of your house is made of wood, you should use an alkyd or urethane primer. But if the inside of your house is mostly drywall or other plaster material, any water-based primer should work fine.
Frequently Asked Questions
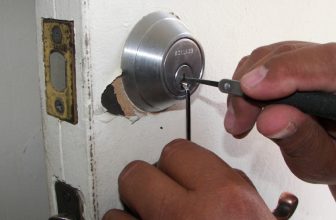
Can You Remove a Pocket Door Without Removing Trim?
Yes, you can remove a pocket door without removing the trim. To do this, first, measure the distance from the edge of the door to the edge of the trim. This will be your starting point. Then use a saw to cut a rabbet in the edge of the door at this measurement. Sawing slowly and taking your time will ensure that there are no gaps between the door and trim. Once you have cut the rabbet, insert a chisel into it and start shaving off the excess wood until you reach your original measurement. Be sure to wear gloves and eye protection when doing this because there is potential for sharp edges on the trim to injure you.
Why Is My Pocket Door Crooked?
There are a few reasons why your pocket door might be crooked. One possibility is that the door was not installed properly and did not fit correctly into the opening. If this is the case, you may need to have the door replaced.
Another possibility is that there may be a problem with the hinge or lock. If this is the case, you will need to have those components replaced.
If you are unsure of what might be causing the problem, it may be helpful to have a professional come out and inspect your door. They can diagnose the issue and provide you with a solution.
Are Pocket Doors Hard to Maintain?
Pocket doors are not hard to maintain, but they do require some occasional attention. Here are a few tips to keep your pocket door in good condition:
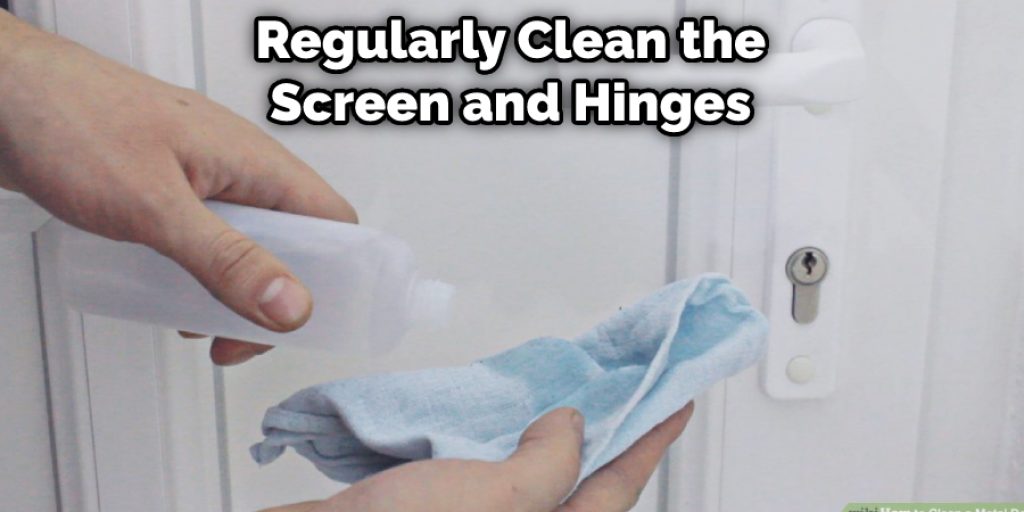
1. Regularly clean the screen and hinges with a damp cloth. This will remove any dust, dirt, or debris that may have built up over time.
2. Check the alignment of the door and hinges periodically to make sure they’re operating properly. If there’s a problem, adjust them as needed.
3. Clean the inside of the pocket door with a damp cloth if it becomes dirty or smelly. This will remove any dust, dirt, or debris that has accumulated over time.
4. Wipe down the exterior of the pocket door with a dry cloth every few months to keep it looking its best.
Why Is My Sliding Door So Hard to Open?
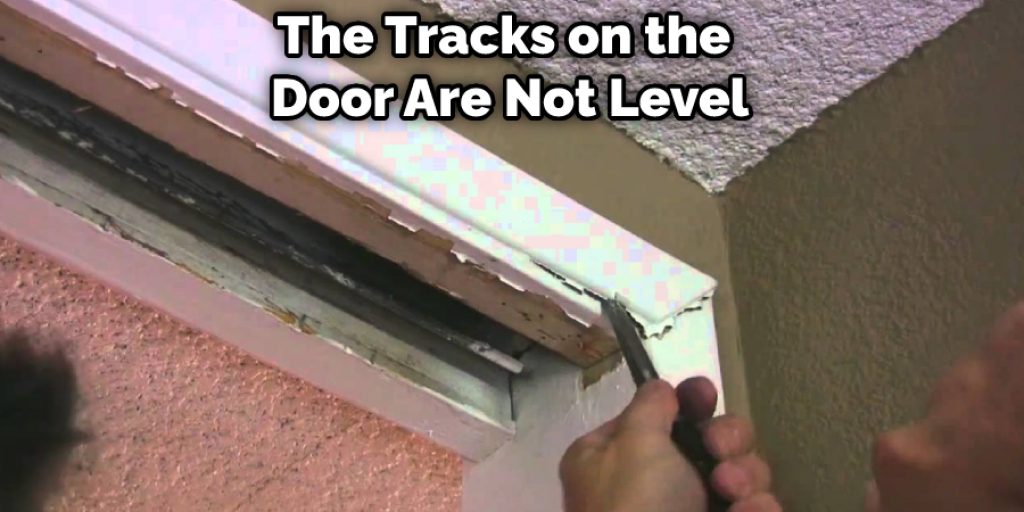
There are a few things that can cause your sliding door to be hard to open. One of the most common reasons is that the tracks on the door are not level. If the tracks are not level, it will be difficult for the door to move smoothly and without resistance.
To fix this problem, you will need to adjust the tracks on your door. You can do this by using a level or plumb bob to make sure that they are straight and level. You can also try lubricating the tracks with WD-40 or oil to help them move more easily.
Is Wd40 Good for Sliding Doors?
WD40 is a popular oil-based lubricant that is often used to lubricate sliding doors. While it may be effective in this regard, there are some potential risks associated with using WD40 on sliding doors.
One potential risk is that WD40 can damage the door’s finish. Additionally, WD40 can also cause corrosion of the metal frame of the door, which could lead to structural failure. In extreme cases, WD40 exposure could even result in fire.
Conclusion:
As always, it is best to test small areas before applying paint over large portions of your door, so you know that all parts are dry enough for you to handle with ease. Remember that even though this step-by-step guide may seem simple enough, there are still tips and tricks on applying an even coat of paint without peeling or chipping later. I hope you have obtained a clear conception of how to paint a pocket door without removing it from this article. Thank you, and have a good day!
Do you want to know What Paint to Use on Door Frames?
Angela Ervin
Angela is the executive editor of DIY quickly. She began her career as an interior designer before applying her strategic and creative passion to lifestyle and home. She has close to 15 years of experience in creative writing and online content strategy for housekeeping, home decorations as well as other niche efforts. She loves her job and has the privilege of working with an extraordinary team. She lives with her husband, two sons, and daughter in Petersburg. When she's not busy working she spent time with her family.