How to Paint an Outboard Motor
Painting an outboard motor can seem like a daunting task, but trust us – it’s totally doable! Whether you’re refreshing your boat engine to make it look brand new again or want to give an outdated motor some much-needed personality, painting is the way to go. Not sure where to start?

Not to worry! We’ve got all the tips on how to paint an outboard motor and tricks you need for preparing and painting your outboard motor with ease. So grab yourself some supplies and let’s get started on this rewarding project together!
Benefits of Painting Your Outboard Motor
Painting your outboard motor is not only an easy way to refresh its appearance, but it also offers plenty of other benefits. A few things you can expect after painting your outboard motor include:
Improved Aesthetics
A fresh coat of paint will make your motor look brand new and give it a unique personality. You can choose the color that fits your vision and make sure it stands out among other boats.
Protection From The Elements
Painting your motor will protect it from the elements, like sun damage, wind, and rain. A few coats of paint will create a powerful barrier between any weather conditions and you’re motor’s outer shell, making sure it’s protected from any long-term damage.
Cost Savings
Painting your outboard engine is much more cost-effective than buying a brand-new one, making it the perfect choice if you’re on a budget. The best part? You get to customize and revive your motor without breaking the bank!
9 Step-by-step Guidelines on How to Paint an Outboard Motor
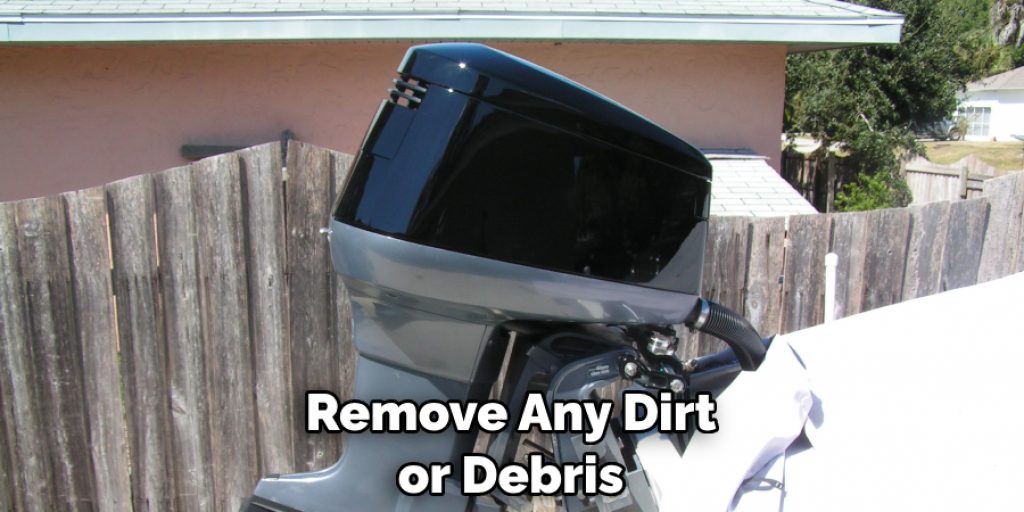
Step 1: Prepare the Motor
Before you get to painting your outboard motor, make sure to thoroughly clean it. This step i isn’t necessary but will make the painting process much smoother. You can do this by using soap and water, a brush, and a damp cloth to remove any dirt or debris from your motor’s exterior.
Step 2: Sanding
Once you’ve completed cleaning the motor, it’s time for sanding. This step is crucial for painting as it will help the paint stick to the surface of your motor. A good rule of thumb is to sand with medium-grade grit sandpaper, then finish up with fine-grit paper. However, always make sure to read the instruction manual for your specific motor to avoid any damage.
Step 3: Masking
This part is important – you want to make sure that you cover any parts that you don’t want to paint. This includes parts like the windshield, engine cover, and any electrical components. To do this, use painter’s tape or masking paper around the areas you would like to protect before starting the painting process.
Step 4: Primer
Once the motor is prepped and ready, it’s time for primer! Primer will provide a smooth and even foundation for the paint, allowing the color to last longer. When applying the primer, make sure you use evenly sweeping motions to get an even coat.
Step 5: Allow Time for Primer Drying
Once you’ve applied the primer, it’s time to let it dry. You can allow a few hours for the primer to dry before moving on to the next step. If you’re in a hurry, you can use a hair dryer or heat gun to speed up the process. But take your time – rushing through this process may result in a less-than-satisfactory finish.
Step 6: Paint
Once the primer is completely dry, you can now start painting your outboard motor. When applying paint, it’s important to use even coats and make sure that all areas are covered. Depending on what type of paint you’re using, you may need to apply multiple coats. It’s best to allow the coats of paint to dry before adding another coat.
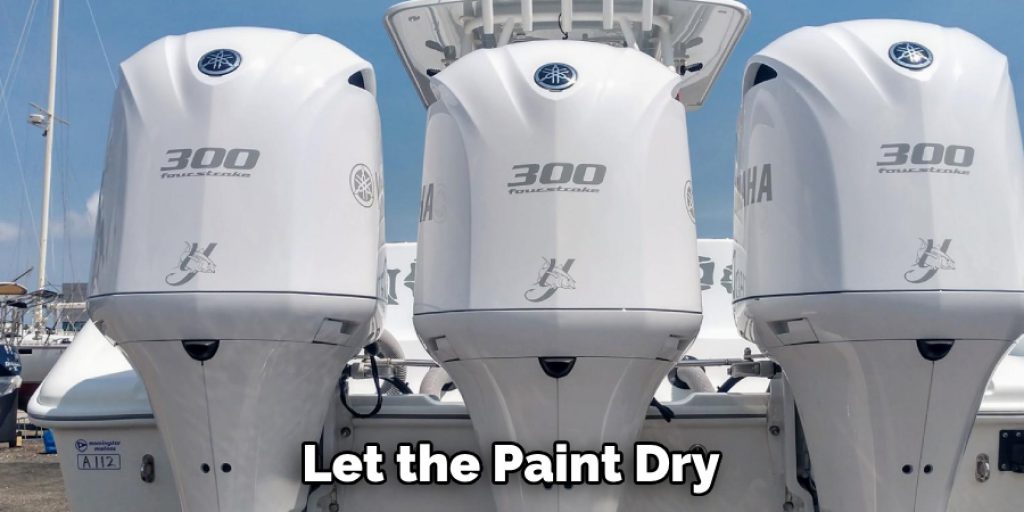
Step 7: Let Paint Dry
After you’ve finished painting your motor, it’s time to let the paint dry. You can allow a few hours for the paint to completely dry before applying any additional coats. This step is especially important if you’re using a high-gloss or metallic paint, as they require more time to dry.
Step 8: Decals and Graphics
Once the paint is completely dry, you can now add any decals or graphics you’d like. This part is optional, but it’s a great way to give your motor some personality and make it stand out from other boats. But remember, take your time – you don’t want any mistakes on this part!
Step 9: Finish Up
After all the steps are completed, you can now enjoy the results of your hard work! You’ve successfully given your outboard motor a fresh look. Make sure to take care of it and keep it clean so that your paint job lasts for years to come. Otherwise, you may need to repeat the process all over again!
Painting an outboard motor is a simple but rewarding project – not only will you have a brand new-looking motor, but you’ll also have the satisfaction of having done it yourself! And now that you know how to paint an outboard motor, you can use these steps for other projects as well. So get creative, and don’t be afraid to take on new challenges!
Do You Need to Hire a Professional Painter?
Painting an outboard motor is a relatively simple task, and you can do it yourself at home. However, if you don’t have the time or just want to make sure that the job is done right, then hiring a professional painter might be a good option for you.
Professional painters are experienced in their craft and will know exactly how to get the job done right the first time. Not to mention, you won’t have to worry about the mess or clean up that comes with painting yourself!
But if you do decide to hire a professional painter, make sure you research their previous work and ask them questions before making any commitments. This is the best way to ensure that you get the end result you’re looking for.
Frequently Asked Questions
Q1: What Kind of Paint Should I Use for Painting My Outboard Motor?
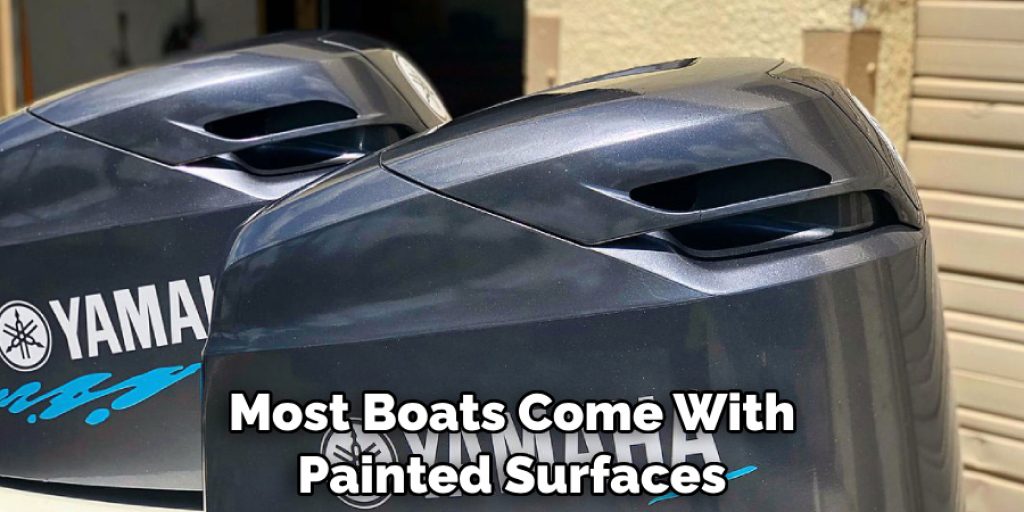
A1: The type of paint yo use depends on the type of outboard motor you have. Most boats come with painted surfaces, so make sure to check what kind of paint was used and match it as closely as possible. You can also opt for marine-grade paints that are formulated specifically for outboard motors.
Q2: How Long Does It Take to Paint an Outboard Motor?
A2: The amount of time it will take to paint your outboard motor varies depending on the size and complexity of the job. Generally speaking, you should plan for at least a few hours (or more) for prepping, painting, and drying. If you’re hiring a professional painter, make sure to ask them about their estimated timeline.
Q3: How Should I Care for My Newly Painted Outboard Motor?
A3: After painting your outboard motor, make sure to clean and maintain it regularly. This includes washing it with soap and water, waxing the exterior, and checking for any signs of wear or damage. Additionally, keeping your motor covered when it’s not in use can also help to protect the paint job and keep it looking its best.
Q4: What Are Some Common Mistakes to Avoid When Painting an Outboard Motor?
A4: One of the most common mistakes people make when painting an outboard motor is not properly prepping the surface before painting. Make sure that you thoroughly clean and sand down your motor to ensure a smooth surface for the paint to adhere to.
Additionally, avoid applying too many coats of paint as this can make it hard for the paint to dry. Finally, be sure to allow enough time for the primer and paint to properly dry before adding any decals or graphics.
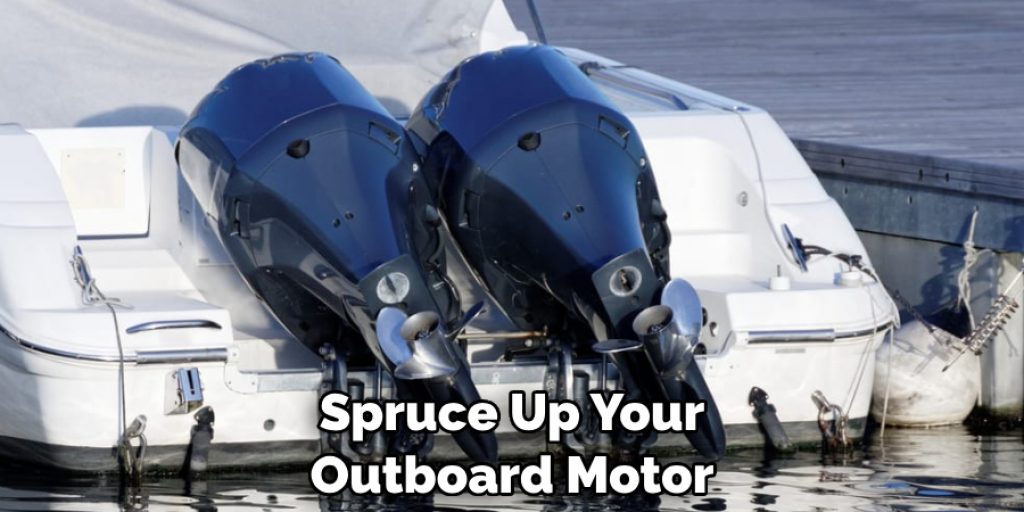
By following these steps on how to paint an outboard motor, you should have no problem painting your outboard motor like a pro! With a few simple tools and materials, you can give your boat a beautiful new look without having to hire a professional. So the next time you’re looking for a way to spruce up your outboard motor, keep these steps in mind and get painting!
Conclusion
Painting an outboard motor can be intimidating, but it’s much easier than you might think! With the right amount of preparation, research and diligence, you can take your worn-out and dull object and give it new life with a beautiful paint job.
Before beginning any project, make sure that you have all of the necessary materials to achieve successful results. Pay careful attention to details such as masking off areas, using clear coats for extra protection and doing multiple light layers when applying any base or primer coatings.
These details are what sets apart a mediocre outcome from one that’s truly incredible. Once you’ve permanently applied the new look to your outboard motor, use a towel or polishing cloth to remove any remaining dust particles or debris before giving it one last inspection. If everything looks perfect, then it is best to seal up the surface with a clear protective coating–your work deserves it!
With these steps in mind on how to paint an outboard motor, you will soon be on your way to completing this exciting project and transforming your outboard motor into something even better than before!
Angela Ervin
Angela is the executive editor of DIY quickly. She began her career as an interior designer before applying her strategic and creative passion to lifestyle and home. She has close to 15 years of experience in creative writing and online content strategy for housekeeping, home decorations as well as other niche efforts. She loves her job and has the privilege of working with an extraordinary team. She lives with her husband, two sons, and daughter in Petersburg. When she's not busy working she spent time with her family.