How to Remove Oil Pan Without Removing Engine
Changing the oil in a vehicle can be intimidating for car lovers and newcomers alike, particularly if you need to remove the oil pan. Oil pans contain all of your motor’s lubricant and can present quite a difficult challenge when attempting to access it. But don’t worry! With some smart handiwork, removing your car’s oil pan doesn’t have to be as hard as it sounds – even without having to take out the engine first!
In this blog post, we’ll go through the step-by-step process of how to remove oil pan without removing engine piece. So get ready – it’s time for some DIY automotive tinkering!
Step by Step Guidelines on How to Remove Oil Pan Without Removing Engine
Step 1: Start by Gaining Access to the Oil Pan
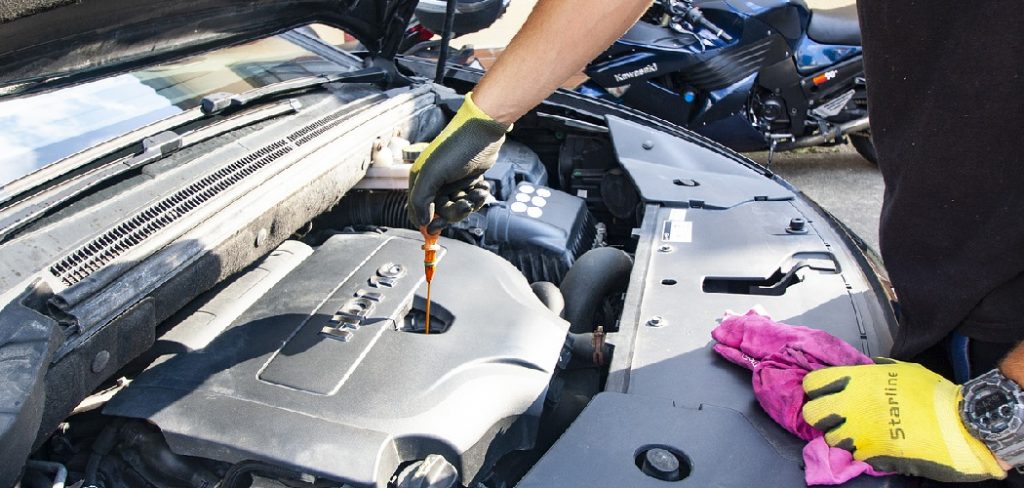
The first step in this process is to gain access to the oil pan. If your car has an open engine bay, you should be able to lift off the hood and simply look underneath. Otherwise, you will have to remove other components within the engine bay that are blocking it from view, such as the air filter or radiator.
Step 2: Detach the Oil Pan from its Mounts and Drain the Oil
Once you have access to the oil pan, it’s time to start removing it. Unscrew all bolts around the pan’s edges and detach them from their mounts. This will allow you to tilt or lift out the pan itself. Before you do this, drain all of the oil from the pan so that none spills onto your driveway or garage floor. With detaching the oil pan, make sure that you place a tray underneath to collect any residual oil.
Step 3: Unscrew the Oil Pump and Remove it from the Block
Now that the pan is loose, you can start to remove it from its housing. Unscrew and remove the oil pump from the engine block. This is usually done by unscrewing the bolts that attach it to the bottom of the pan and then extracting it. While removing the oil pump, be sure to pay attention to any hoses or wires that may be connected to it.
Step 4: Remove the Oil Pan from its Housing and Clean it Out
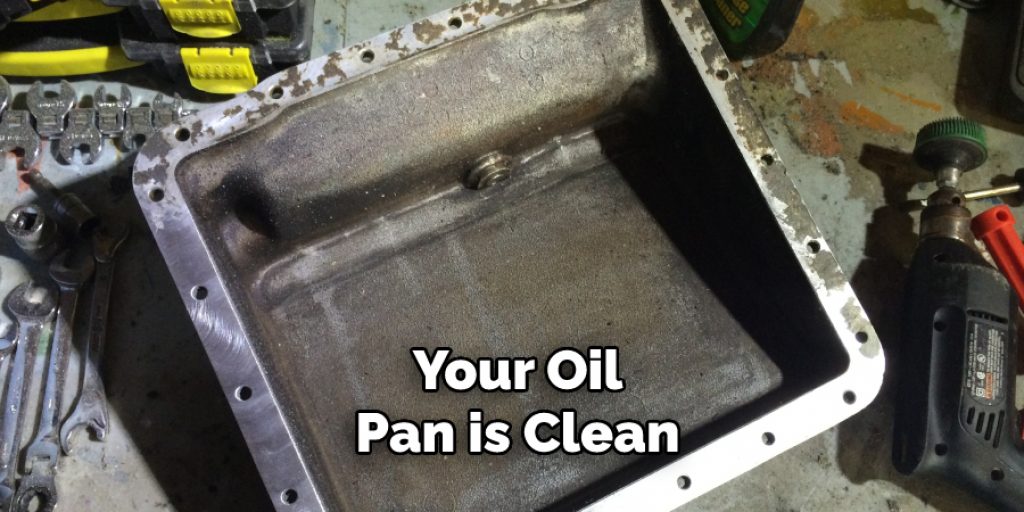
Once the oil pump is out of the way, you can pull out the pan itself. Use a ratchet and sockets to unscrew the remaining bolts. Then, gently lift the pan out of its housing and set it aside. Once you have the pan off, make sure to clean it thoroughly with a degreaser or soap and water before putting it back in place.
Step 5: Reinstall the Oil Pump and Refill it with Oil
Now that your oil pan is clean, you can place it back in its housing and reattach the oil pump. Make sure to screw all of the bolts back into place and then refill your engine with oil. After refilling, double-check that all of the necessary components are properly attached, such as hoses and any other necessary wiring.
And there you have it – a quick, easy guide on how to remove the oil pan without removing the engine piece. With some know-how and elbow grease, any automotive lover can quickly and easily access their motor’s oil pan for maintenance or replacements. Good luck!
Some Tips and Tricks to Remove Oil Pan Without Removing Engine
- Start by draining the oil from the engine, either using a hand pump or drain plug. Make sure to collect all of the oil in an appropriate container for proper disposal later.
- Make sure to unplug any electrical connections that are connected to the oil pan before trying to remove it, as these might be in the way when you are trying to work.
- Using a wrench, loosen and remove the fasteners that hold the oil pan onto the engine block. As you do this, make sure to keep track of which screws go where so you can put them back correctly later on.
- Carefully lift up and out the oil pan from the engine block. If you have an assistant, it can be helpful to have one hold the pan while the other person works on removing the fasteners.
- Using a wire brush or a shop vac, clean out any debris that has accumulated inside and around the oil pan before you put it back in place.
- Once the oil pan is clean, carefully fit it back onto the engine block and replace all of the fasteners that you removed earlier. Make sure to tighten them down securely to ensure a good seal between the two components.
- Finally, refill with fresh oil according to your vehicle’s specifications and dispose of your used oil in an appropriate manner.

By following these tips and tricks, you can remove your oil pan without taking it apart or moving the engine. This will save you time, energy, and money and keep you safe from injury while working on your vehicle. Just make sure to use caution when working on any part of your vehicle, and always consult a professional if you are unsure of what to do. Good luck!
Safety Precautions Need to Follow for Removing Oil Pan Without Removing Engine
- Start by placing an oil pan beneath the engine to capture any spilled oil during the oil pan removal.
- Make sure to wear gloves, safety glasses, and other protective gear before beginning work on the vehicle.
- Support the engine with a jack and securely place jack stands under it to prevent it from dropping once the oil pan is removed.
- Disconnect the negative battery cable from the battery prior to working on it.
- . Remove any obstructions, such as plastic covers, brackets, and wiring harnesses, that might be in your way while replacing the oil pan.
- Unscrew all of the bolts around the perimeter of the oil pan, taking care not to strip them in the process.
- Carefully lift out the old oil pan and discard it responsibly.
- Clean any debris or dirt from the mounting surface of the engine block before installing a new oil pan gasket and installing the new oil pan.
- Make sure all connections are secure when replacing the oil pan, and fill it with fresh motor oil according to the manufacturer’s specifications.
- Once the new oil pan is in place, reconnect the negative battery cable to start up your engine.

Safety should always be a priority when working on a vehicle, so it is important to exercise caution and follow these steps carefully when removing an oil pan without removing the engine. Doing so can help you avoid potential hazards or damage to your car and its components.
Frequently Asked Questions
Does removing the oil pan require engine removal?
No. Accessing and removing the oil pan without removing the engine from the vehicle is possible. However, depending on the make and model of your car, it may be easier or more difficult to do so.
What tools are necessary for this job?
Common tools needed for this job may include a socket set, ratchet wrench, oil pan gasket scraper, sealant, and replacement oil pan gasket. Depending on the size of the space available underneath your vehicle, you may also need an extra-long jack, or jack stands to provide adequate clearance.
How long does it take to remove the oil pan?
Removing the oil pan without removing the engine usually takes about 2-4 hours. It is important to follow safety precautions at all times and be sure to dispose of any used motor oil or other fluids properly.
Are there any tips for making this job easier?
Yes. Before beginning, it is crucial to ensure jacks properly support your vehicle, or jack stands. Additionally, taking pictures and labeling the disconnection points on certain components can provide a useful reference when reassembling the engine at a later time.
What are the risks associated with this job?
When removing the oil pan, it is very important to take safety precautions and ensure all components are properly supported. If done incorrectly, serious damage can occur to the engine or other parts of the car. It is also important to handle all motor oils and fluids cautiously so as to avoid contaminating the environment.
Conclusion
Now you know how to remove oil pan without removing engine. It’s quite a project, but it can be a real time and money saver when executed correctly. If you ever find yourself in a situation where this line of work is needed, tackle it confidently using the steps outlined in this article.
Just make sure to take necessary precautions, like installing jack stands for support and disconnecting your battery before starting any type of repair job, as well as performing regular maintenance on your vehicle as instructed by your manufacturer. Taking good care of your car will save you hassle down the road and help keep it running longer.
Louis Wein
Louis has always been fascinated by cars. He loves the way they look, the sound of the engine, and how they make him feel when he's driving. He is always keen to learn more about different mechanics of cars and how the engine contributes to other aspects of the car. As an automotive technician with over 10 years of experience, he knew how they worked and loved taking them apart to see how they went back together. He was especially interested in the mechanics of combustion engines and loved finding ways to make them more efficient. He loves to work on cars and help people keep their vehicles running smoothly. As a senior editor, he enjoys contributing to Diy quickly because it allows him to share his knowledge and expertise with others.