How to Replace Garage Door Panels
With the right tools and knowledge, replacing garage door panels can be one of the most satisfying DIY projects you will ever undertake. It is a great way to boost your home’s curb appeal while protecting it from the weather and all sorts of pests. Not only will you be able to maintain and refresh the appearance of your home, but in some cases might even save money compared to purchasing a whole new garage door system.
So if you’re looking for an easy yet impactful project that can upgrade your garage doorstep quickly, read on as we explore everything there is to know about how to replace garage door panels!
Tools and Materials You Will Need to Replace Garage Door Panels
- Replacement Garage Door Panels
- Work Gloves
- Safety Glasses
- Drill/Driver
- Socket Wrench Set
- Safety Step Ladder
- Hammer and Pry Bar
- Phillips Screwdriver
- Caulk Gun and Weatherproof Sealing Caulk
- Utility Knife and Putty Knife
- Spring Compressor (optional, depending on the type of door)
Step-by-Step Guidelines on How to Replace Garage Door Panels
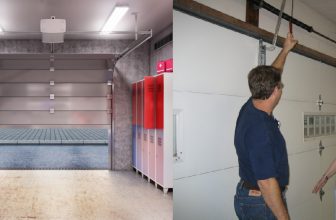
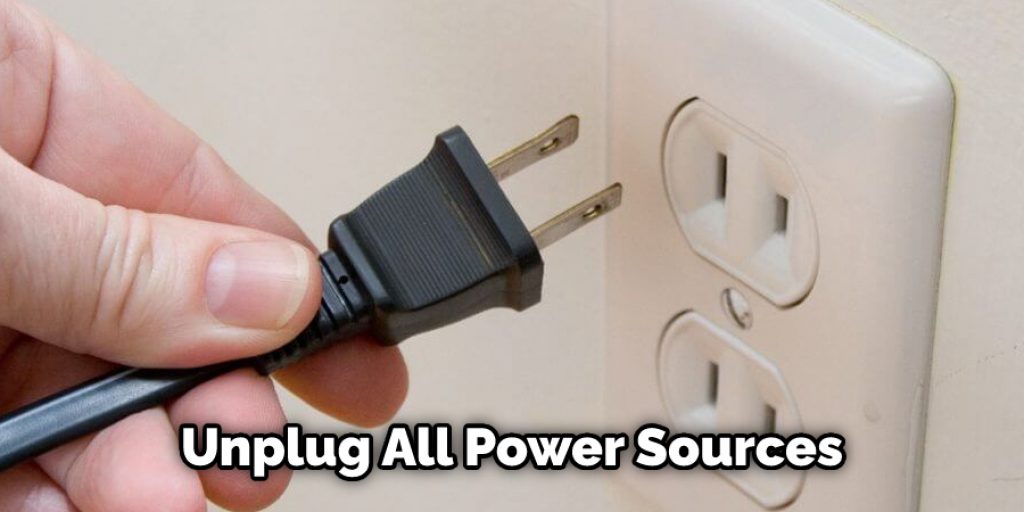
Step 1: Isolate the Power
Before you begin anything, be sure to disconnect the power supply to your garage door opener. This ensures your safety while working on and around the door processor. If you don’t isolate the power, you could be at risk of being electrocuted. So you should always do this first!
Step 2: Remove Panels from Tracks:
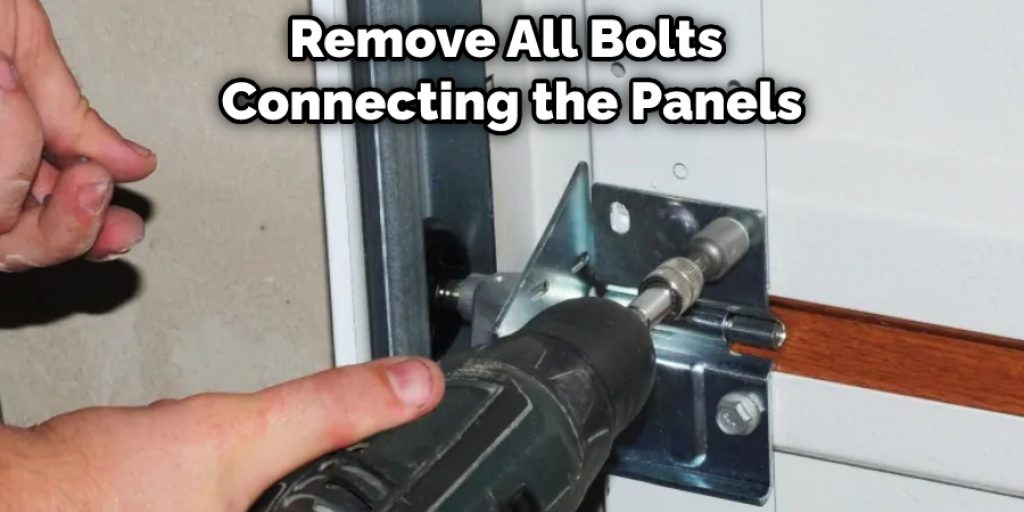
Remove all bolts connecting the panels to the track using a socket wrench set. Once detached from the tracks, carefully lift and remove the panels one at a time. While removing the panels, use a hammer and pry bar to remove any nails or screws that may be holding them in place and remove any old weatherproofing caulking.
Step 3: Measure New Panel Sizes
Measure the existing panel sizes to ensure an exact fit for your replacement garage door panels. Make sure to take note of any differences in dimensions, as this affects how well the new panels will fit in the tracks.
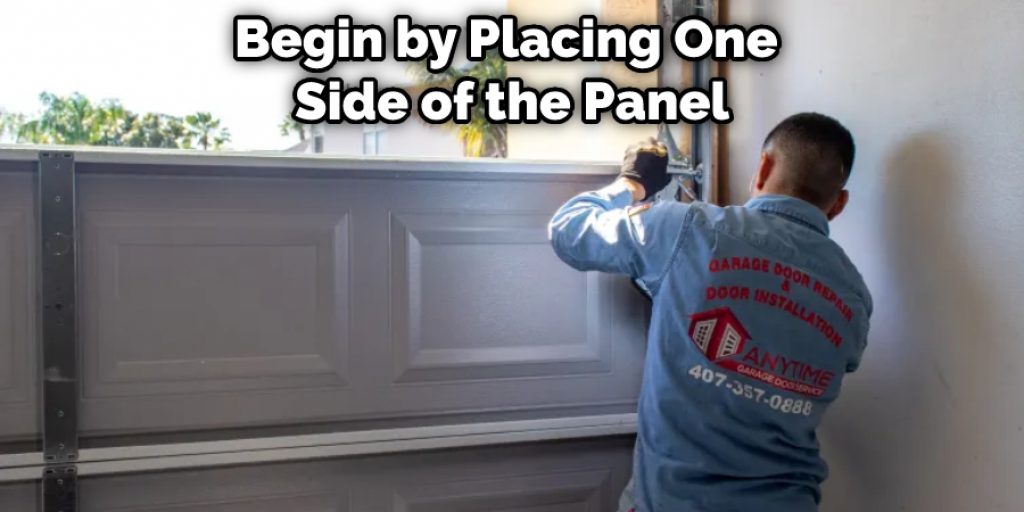
Step 4: Install the New Panels
Now that you have measured the panels, it’s time to install them. Begin by placing one side of the panel in the track and use a drill/driver to secure it in place using bolts. Make sure all connections are tight, then repeat these steps for the remaining sides and panels.
Step 5: Adjust the Tracks
Adjust the tracks where necessary and ensure that they are completely level. This is important for the panels to glide smoothly and open/close properly. During adjusting time, you can use a utility and putty knife to clean out any dirt or debris from the tracks. Remember, clean tracks will reduce opportunities for the panels to stick or jam.
Step 6: Test and Secure the Doors
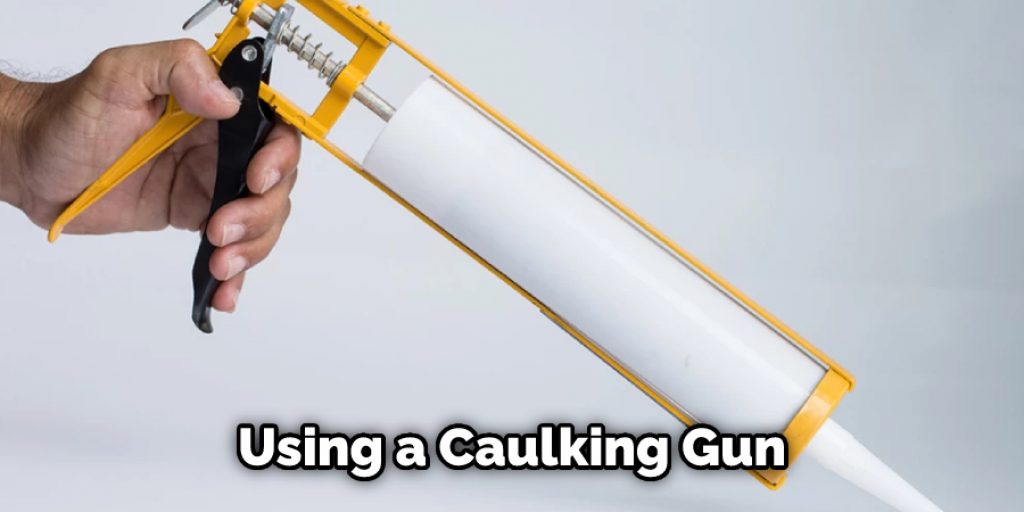
Test whether all panels move freely when opening/closing, then use a hammer and pry bar to secure them in place if needed. If you get any problems in this step, you may need to adjust the tracks again. Use a caulk gun, and weatherproof sealing caulks to seal any gaps between the panels and tracks so that your garage door is completely airtight.
Step 7: Caulk and Seal
Using a caulking gun, apply a generous amount of weatherproof sealing caulk around all edges of the panels. This will help to protect your garage door from any moisture or drafts that may enter. Caulk and seal every joint, seam, and corner of the garage door to ensure a tight seal.
Congratulations! Now you know how to replace garage door panels and can confidently do so on your own. With the right tools and a bit of patience, you can transform your garage doorway into a thing of beauty in no time. Good luck!
Some Tips and Tricks to Replace Garage Door Panels:
- Measure the old panel carefully before purchasing a new one so that you can find an exact replacement.
- Place dropcloths or plastic sheeting on the floor to avoid any mess, and cleaning up afterward will be easier.
- If possible, read your garage door’s owner’s manual and follow its installation instructions.
- Unscrew the old panel and remove it from the frame carefully, not damaging the remaining panels or hardware.
- Place the new panel in its position and screw it into place.
- Repeat this process for each panel you need to replace, ensuring that all of them align correctly.
- Once all the panels are installed, adjust and reattach the hardware as needed.
- Test the door by opening and closing it a few times to ensure everything works correctly.
- Finally, clean up any debris left behind in your work area, and enjoy your newly updated garage door!
- If you need any assistance, contact a professional to help you with the installation process. A garage door specialist can ensure that your panels are installed correctly and safely, so it’s best to get help if needed.
With these tips and tricks, you can easily replace your garage door panels and give your home a refreshed look. Don’t forget that safety is important too, so make sure to follow these guidelines if you choose to do the project on your own.
Precautions Need to Follow for Replacing Garage Door
1. Unplug the Power Source:
Before starting any work on replacing the garage door panels, you must unplug all power sources from the system to avoid any electric shocks or other accidents. This includes disconnecting the opener and removing its power source for safety reasons.
2. Wear Protective Gear:
It is important to wear protective gear such as gloves, safety glasses, and a dust mask when replacing the garage door panels. This will help protect your eyes, skin, and lungs from particles released during the process.
3. Use Proper Tools:
Using the correct tools for each job is essential for the successful replacement of garage door panels. Using improper tools can be dangerous, as they are more likely to cause an injury or damage the door.
4. Have Someone Help You:
It is always a good idea to have someone help you when replacing a garage door panel, especially if the panel is large and heavy. This way, you can ensure the new panel is properly installed without the risk of injury or accidental damage.
5. Test the Door After Installation:
After replacing a garage door panel, it is important to test that it is installed correctly by operating it from its control switch. This will ensure that the new panel is fully functional and safe for use. If any issues are identified, they should be addressed before using the door again.
Following these precautions ensures that the garage door panel replacement process is carried out safely and successfully. Always remember to unplug all power sources, wear protective gear, use proper tools, have someone help with the installation, and test the door after installation. With these tips in mind, you are sure to achieve a successful replacement of your garage door panels.
Frequently Asked Questions
How Do I Measure for the New Panel?
The best way to measure for a new panel is to use a tape measure or ruler, measuring from side to side, then top to bottom. Ensure you include any space that may need to be filled in – such as between hardware or windows. Once you have the measurements, you can shop for a panel that fits your needs.
Can I Replace a Damaged Panel Myself?
Yes, you can replace a damaged garage door panel yourself as long as you have the proper tools and materials. Make sure to follow all instructions closely, wear safety glasses, and use caution when working with power tools or heavy objects. If you are unsure how to proceed, contacting a professional for help is best.
Do I Need Professional Installation?
In some cases, it may be best to hire a professional for the installation of your new garage door panel. If the damaged panel is part of a complicated system, or if you are uncomfortable with removing and replacing the panel yourself, it’s best to hire an experienced installer to ensure everything is done correctly.
Conclusion
Replacing a garage door panel may seem like an intimidating task, but with the right tools and instructions, you can have it done in no time. If you’re having difficulty, don’t be afraid to seek out professional advice or have a professional take over the entire project. The important thing is that you’re safety-focused at every step, ensuring that everyone involved stays free from harm. Don’t forget damaged panels or hardware should be promptly cared for in order to preserve their function and length of use.
Taking good care of your garage door will save you money down the road when it comes time for major repairs. With just a little bit of know-how to replace garage door panels, you can easily replace your garage door panels without any hassle.
You Can Check It Out to Install Door Trim Without Nail Gun
Angela Ervin
Angela is the executive editor of DIY quickly. She began her career as an interior designer before applying her strategic and creative passion to lifestyle and home. She has close to 15 years of experience in creative writing and online content strategy for housekeeping, home decorations as well as other niche efforts. She loves her job and has the privilege of working with an extraordinary team. She lives with her husband, two sons, and daughter in Petersburg. When she's not busy working she spent time with her family.