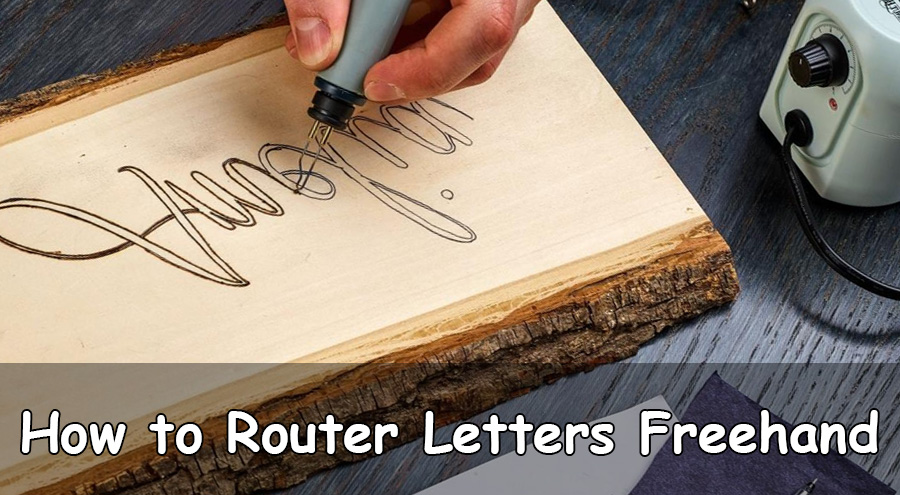
How to Router Letters into Wood
Do you want to know how to router letters into wood? If yes, then follow this article. Operating with a wooden transfer empowers you to include carpentry extends that can be incomprehensible something else. Switches permit carpenters to cut wood and make plans.
There are 20 to 30 different shaped pieces that you can use to create different designs. The shapes range in size, so you can use a small piece to create a small shape like a circle or a letter.

Making a sign with letters is easy if you have the right materials and tools. Just use the router to cut out the lines, shapes, and letters – with the right tool and a steady hand, it’s as easy as can be.
The guide shows how you can easily defeat letters and imprint pictures into the wood, and how flexible a switch can be. In only a couple of developments, you can make sharp, beautiful components or adorn existing pieces of furniture with the perfect switch and steering depth.
The Process
1. Eliminate the customary switch base and the bit from the apparatus.
2. Attach a corner base with a fixed piece to it. This transfer trimmer lets you transport the switch into hard-to-reach places, particularly those you will find while writing letters.
3. Print out letter codecs out of your laptop. Get entry to the website in resources to download a free format.
4. There are two ways to etch your design onto wood: follow the lines with a pencil or use electrically powered etching equipment. Be sure to follow the entire lines, both inside and outside the design.
5. Immovably holding the two sides of the switch handles, move the machine along the lines. Work gradually for best outcomes, particularly if you are making littler letters.
Lastly, we suggest you read the entire article with proper concentration to effortlessly learn how to router letters into wood and apply your knowledge in practical work.
How to Get Started with Routing?
Wood routing is a great way to add intricate, custom designs to your wooden projects. From carving decorative features onto furniture and cabinets to creating new shapes from wood, having the right tools can help you achieve beautiful results. You’ll need a router, router bit set, and other basic items to start.
First, choose a router that matches your needs; for more intensive projects, consider an industrial-grade option. Next, select the type of bits needed for your project. A carbide-tipped bit will resist dulling and maintain its sharp edge better than other types of bits. For extra safety, always use a guard on the bit when routing.
Additionally, pay attention to speed settings on the router; adjust them according to what kind of job you’re doing. Finally, be sure to secure your workpiece properly before routing; if it moves while cutting, it can ruin or even damage your material!
Frequently Asked Questions
What Router Bit Do You Use to Make Letters?
There are many routers bit that you can use to make letters. The most popular router bits are the drill, and the hole saw.
To use a drill, first identify the location on your wood where you want to make the letter. Make a small hole in the wood at this location using a drill bit that is slightly larger than the diameter of your router bit.
Then insert your router bit into the drill and turn it on. Moving the router bit around the hole will create a series of parallel cuts in the wood. Be sure to hold onto the handle of your router because it can be quite heavy!
Once you have finished making all of your letters, simply sand them down and finish them off with a coat of paint or varnish if desired.
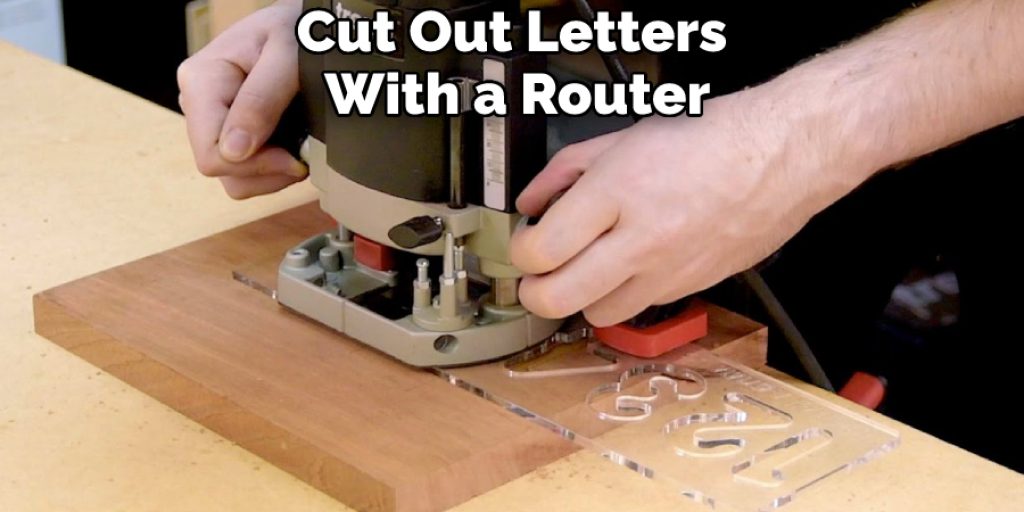
Can You Cut Out Letters With a Router?
Yes, you can cut out letters with a router. However, it is important to be careful not to damage the wood or the router. You can use a jigsaw or a saw to cut out letters, but be sure to wear safety goggles and gloves to protect your hands and eyes from debris.
What Router Bit Is Used for Engraving?
There is no one router bit that is used for engraving. However, there are many router bits that can be used for this purpose. Some of the most common router bits that are used for engraving are the T-bar bit, the V-bit, and the U-bit.
What Is the Difference Between a Fixed Router and a Plunge Router?
A fixed router is a router that has a single antenna and cannot be moved around. On the other hand, a plunge router has two or more antennas that can be moved around to improve signal strength in different parts of your home.
Fixed routers are typically less expensive than plunge routers, but they may not offer as good of signal quality. If you frequently move around the location of your router, a plunge router may be a better option because it will provide a better signal in all areas of your home.
You may read also –