How to Seal a Leaking Sliding Glass Door
Introduction
Sliding glass doors are composed of a series of panels that slide past each other on rollers. They are an ideal choice for adding an elegant look to any home and can be used as a replacement or addition to your patio door or windows. Sliding glass doors are easy to operate and provide a variety of design options. They can be designed to fit any size door opening and can be installed with or without a frame. Sliding glass doors are available in a variety of styles, including traditional, French, and bifold.
In addition, a sliding glass door is a great addition to your deck and provides you with views from inside the room without having to open the whole door completely. In today’s article, I will be discussing how to seal a leaking sliding glass door. So let us get started. To properly seal a leaking sliding glass door, you need to make sure that the door is clean and dry. If there is any moisture on the door, it will cause the sealant to fail.
Why Leakage Occurs in Sliding Doors?
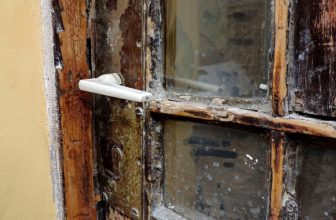
Sliding doors are probably the simplest type of door in construction, as they don’t have any moving parts to cause them to fail. But if your sliding glass door is leaking air or water and you can see that the seal between the two telescoping walls of the door has separated, what caused it? One possibility is that the seal was not applied properly during manufacturing, but another possibility is that the seal has deteriorated over time. Whatever the cause, it’s not difficult to replace the seal on a sliding glass door so that it’s once again waterproof and airtight.
Leaking Door Seals
The most common reason for a leaky glass sliding door is simply that one or both of its seals no longer fits snugly against the wall. When this happens, you’ll notice that your door starts to make more noise than usual when opened or closed. This is because it’s now rubbing against a part of its frame rather than gliding smoothly over whatever surface it’s on. Another common reason for a glass sliding door to leak is that its rollers have started to wear down. Over time, these rollers will become uneven and cause your door to tilt.
As time goes by, this rubbing will wear down the surface both inside and outside the door, and your door won’t be able to close as tightly over time. Eventually, air or water will stream through the resulting gaps. Other signs that your sliding glass door has a seal problem include:
When you try to open or close it and/or won’t open or close more than a few inches, the door sags.
There is condensation on the inner surface of the glass, even though your home’s other windows don’t have this problem. There is visible moisture on the interior surface of your window. The frame and glass are very cold, even though it’s not particularly cold outside.
You notice that the bottom portion of whichever wall has slid past its upper track looks dirty.
This last symptom points to a prevalent cause for seal failure: dust buildup. Whenever you leave your sliding glass door in the “open” position for any length of time – whether because something is blocking it from closing fully or simply out of habit – little bits of dirt and grime will make their way between the two walls and block up whatever channels are supposed to carry away excess air When that happens, the air pressure inside and outside of the door will be at different levels, and that’s what causes your sliding glass door to leak.
Step-wise Guide on How to Seal a Leaking Sliding Glass Door
- Get a bucket or other container that can hold water and place it in front of the door when it rains or before you go to sleep at night. In this way, you’ll capture as much water as possible.
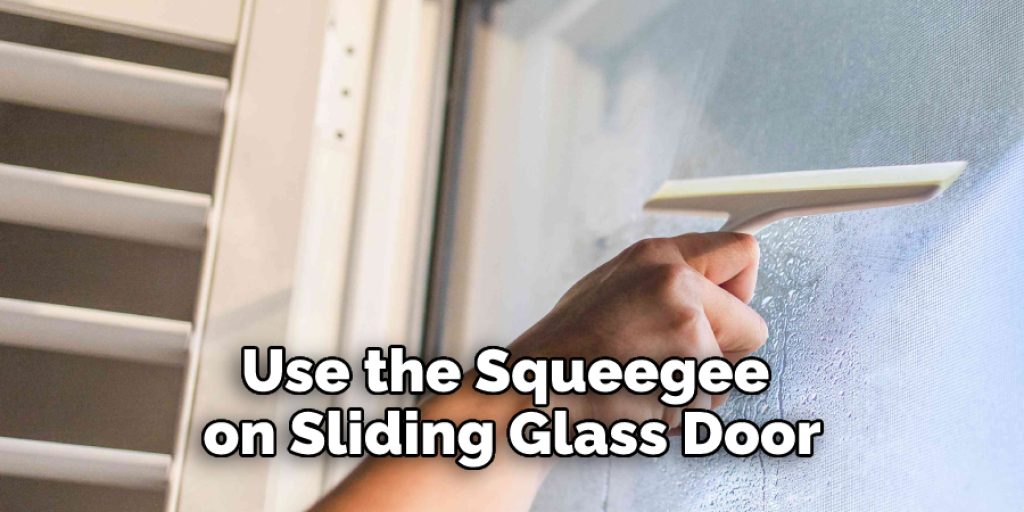
- Also, get one squeegee (for sliders) and a mop (for tilt and turn). Or, invest in a vinyl floor squeegee, as shown here. This will help keep debris from getting into your tracks so that your sliding glass door lasts longer.
- Use the squeegee/mop on the track of any sliding glass door immediately after rainfall or snowfall to prevent debris build-up from causing damage to the rollers of your sliding glass door hinges over time which could result in a leak.
- Keep the other end of the squeegee out of the way so that it doesn’t block your sliding glass door from closing all the way.
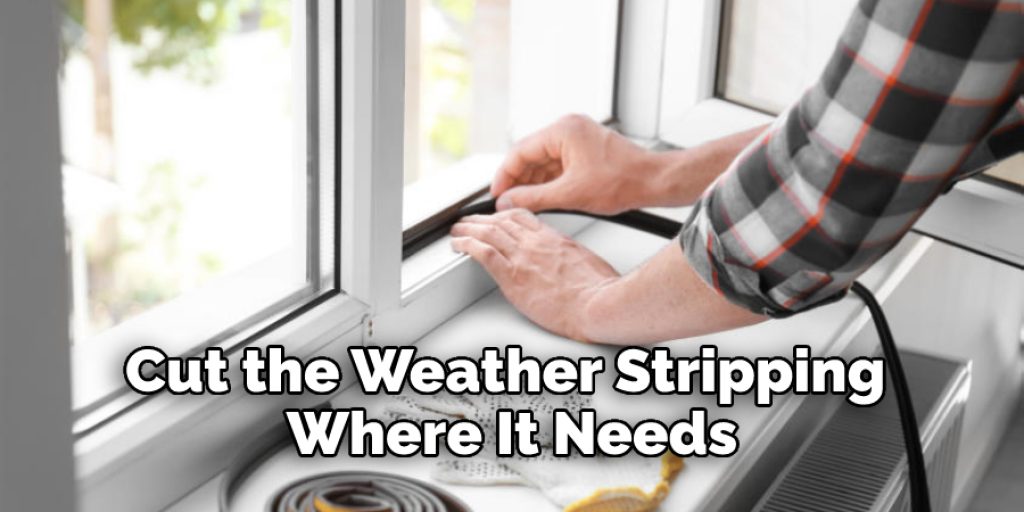
- Buy plastic weatherstripping for each side of your sliding glass door. The typical size is 4″ wide and 16″ long (both from Lowes). A different brand may have to be used. Still, anything wider than this will likely not fit without extensive modifications to your existing casing around each track (which should not be done unless you’re going with stainless steel, which requires more material to hold them in place). If you can, buy a 10′ roll so that you can cut strips as needed – typically cut two at a time because this ensures that the ends of each strip are straight and not curled up from being on a roll.
- If your track is fairly smooth inside (as opposed to pitted), you can use regular weatherstripping rather than any of those super-grippy adhesive strips that have rough edges sticking out.
- Cut the weather stripping where it needs to be cut so that you get two pieces per side – one for the top of your door and one for the bottom of your door.
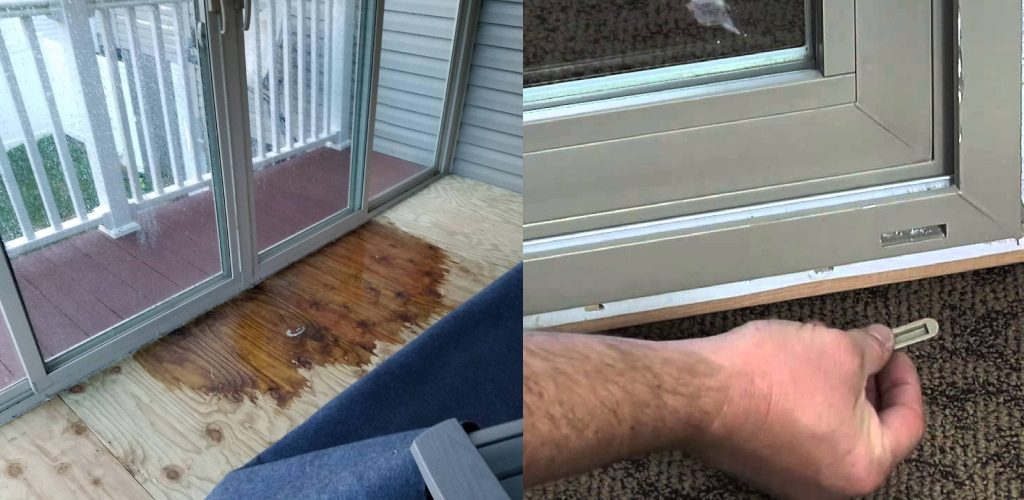
- Lift an edge of your sliding glass door by grabbing it with both hands about halfway down its length and lift towards yourself, as shown in the photo below. As you do this, watch how far it lifts and make sure that you don’t lift it too high (and create a gap) or not high enough (and leave space in the middle). You’ll probably need to tweak this every time you lift your sliding glass door, but after a few times, you’ll get an idea of how much it lifts and what needs to be done for that situation.
- Once the bottom weatherstripping is completely out from inside your track, fold it over on itself so that the edges are together and hold it under, as shown in the photo below.
- Then, use your hand or another object (such as a screwdriver handle if there’s room) to wedge its end into place in between the two pieces of the channel around your tracks. This is why making sure both pieces of weatherstripping are wide enough is important – if you’re using regular weatherstripping, the bulkier 4″ width allows its end to fit in between both pieces of the channel without getting stuck.
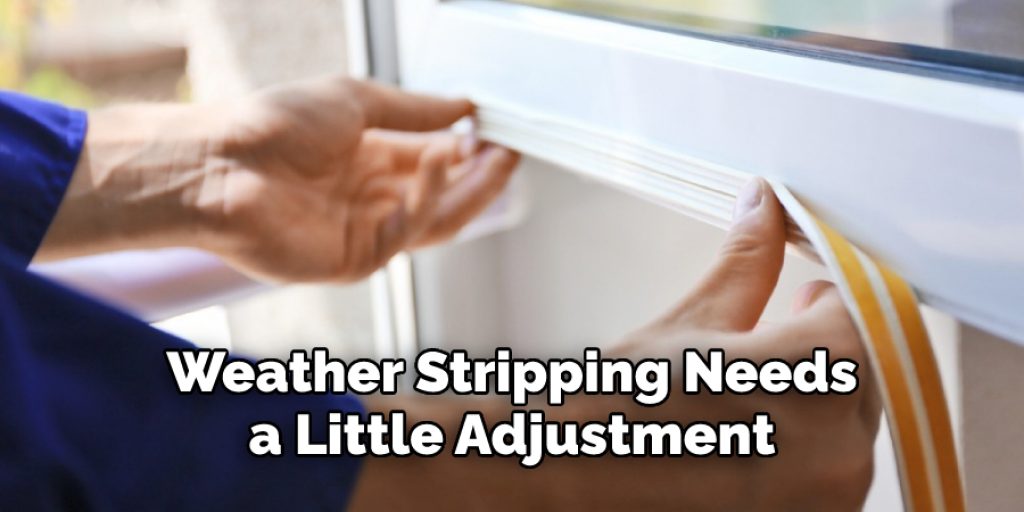
- Repeat this process on the other side. The top weatherstripping needs a little adjustment because there’s less room in that track, so what I did was put that one completely inside and then use my screwdriver handle to pry up an entire section and wedge it into place. However, since all sliding glass doors are made differently, you may need more or less space depending on how tall your sliding glass door is. So, watch what happens as you move it around and adjust as necessary until both sides are equal distances from each other and the bottom edges of your sliding glass door.
Conclusion
I hope you have obtained all the necessary information on how to seal a leaking sliding glass door from this article. Thank you, and have a nice day!
You may read also – How to Rescreen a Sliding Door
Angela Ervin
Angela is the executive editor of DIY quickly. She began her career as an interior designer before applying her strategic and creative passion to lifestyle and home. She has close to 15 years of experience in creative writing and online content strategy for housekeeping, home decorations as well as other niche efforts. She loves her job and has the privilege of working with an extraordinary team. She lives with her husband, two sons, and daughter in Petersburg. When she's not busy working she spent time with her family.