How to Seat Tubeless Tire
Tubeless tires have taken the biking world by storm. They offer several advantages over traditional pneumatic tires, such as improved rolling resistance, reduced risk of punctures, and lower tire pressure. However, installing them can be a bit tricky. The most challenging part is seating the tire on the rim. In this blog post, we will provide you with a step-by-step guide on how to seat tubeless tire like a pro.
Can You Seat a Tubeless Tire?
As a cyclist, you may have heard of tubeless tires – a revolutionary way to ride your bike. But can you actually seat a tubeless tire? The answer is, ultimately, yes – with a little bit of know-how and the right tools. When installing a tubeless tire, you must ensure that the bead of the tire is properly in place in the rims’ bead seat. This can be done using compressed air or a tubeless tire inflator.
While it may take a bit of practice, once you have successfully seated your tubeless tire, you’ll never want to go back to traditional tubes again. So, give it a try and elevate your cycling experience to the next level.
Why Should You Seat a Tubeless Tire?
If you take road safety seriously, you’ve probably heard that tubeless tires are becoming increasingly popular among car owners. They’re reliable, puncture-resistant, and can save you a ton of money in the long run. Seat a tubeless tire, and you’ll have a better grip on the road, thanks to the decreased risk of a sudden blowout or loss of pressure.
Tubeless tires are also lighter, which means your car will operate more efficiently, leading to better fuel economy. Plus, you’ll have fewer worries about maintenance and repair costs, making tubeless tires a smart and worthwhile investment for any car owner looking to enhance their driving experience.
How to Seat Tubeless Tire Step-by-Step Process
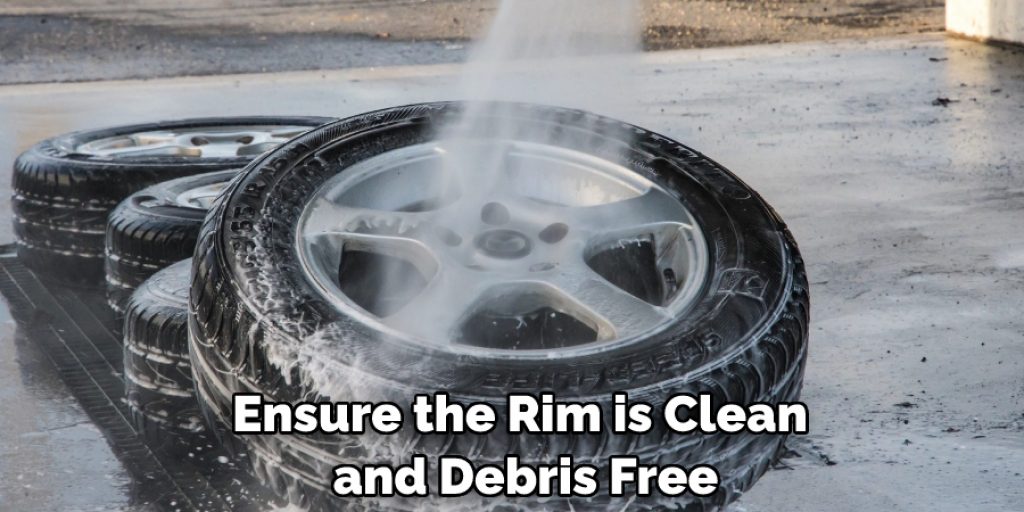
Step 1. Properly Clean and Prepare the Rim
Before installing the tire, ensure the rim is clean and debris-free. This will help to create a better seal between the tire and rim. Also, apply tubeless rim tape to seal the spoke holes and any other gaps in the rim. This tape will provide an airtight seal and prevent the sealant from leaking.
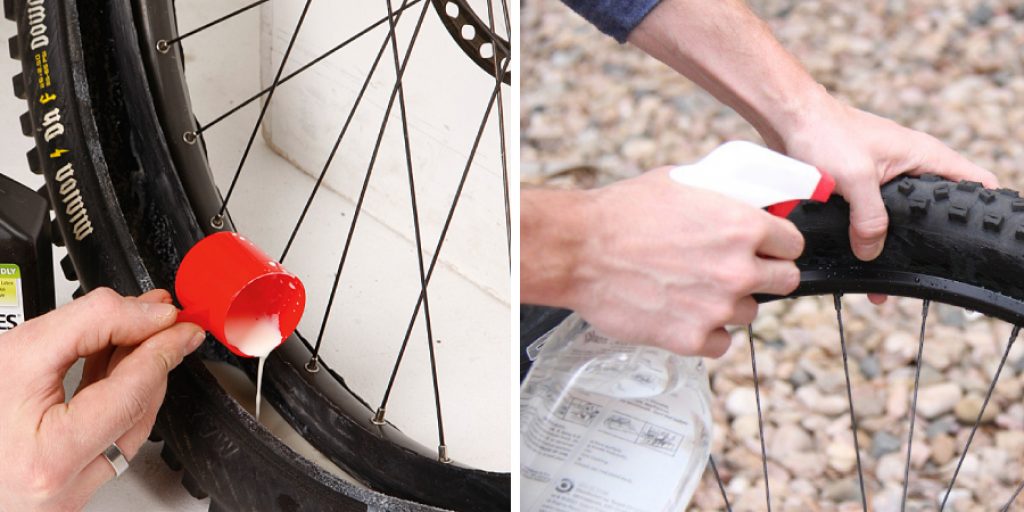
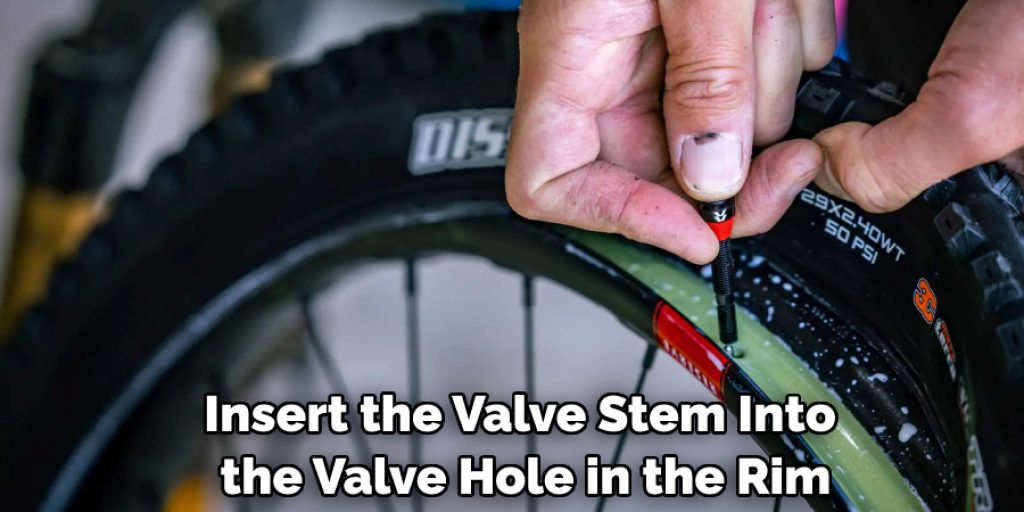
Step 2. Install the Valve and Sealant
Insert the valve stem into the valve hole in the rim. Ensure that the base is snug against the rim. Next, pour the sealant inside the tire. The amount of sealant to use depends on the tire size and your personal preferences. However, you can use the recommended amount by the tire manufacturer.
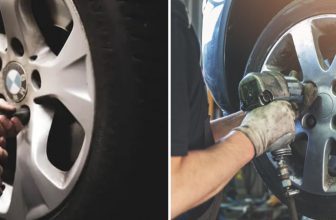
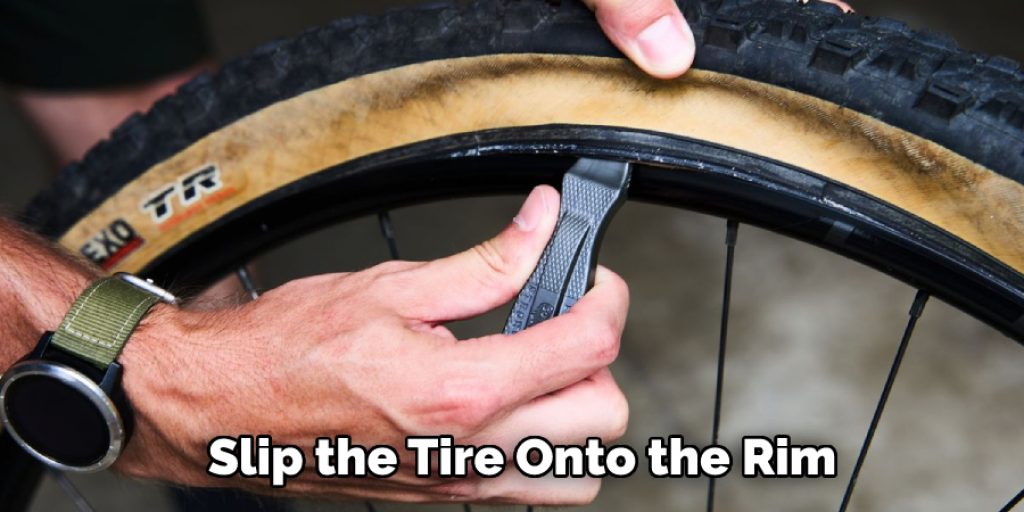
Step 3. Put the Tire on The Rim
Slip the tire onto the rim, starting at one side, and then work it around the rim’s circumference. Ensure that the tire bead is seated in the center of the rim. If you have difficulty seating the tire, try using a bead jack or a tire lever.
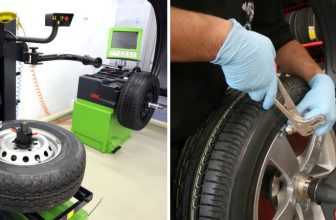
Step 4. Inflate the Tire
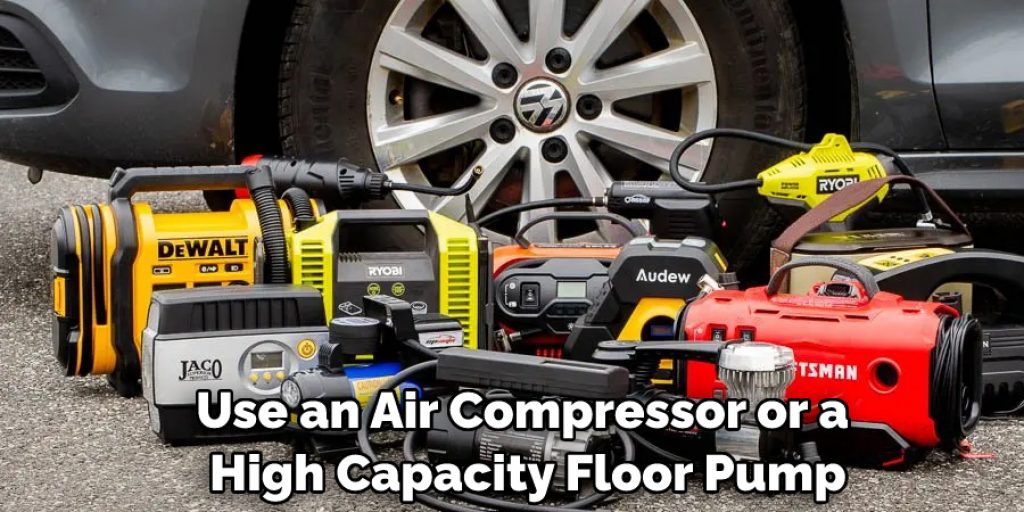
Use an air compressor or a high-capacity floor pump to inflate the tire. Inflate the tire to the recommended pressure for your tire size. You can also use an inflation tank or a CO2 cartridge for a quick burst of air to help seat the tire. If the tire doesn’t sit immediately, hold the wheel with the valve at the top and bang the tire gently onto the ground.
Step 5. Verify the Seal and Adjust Air Pressure
Once the tire is seated, listen for any air leaks. Rotate the wheel and look for any fluid that may escape from the tire as it seals. If you notice any leaks, try shaking the tire or adding more air pressure to seal the tire. After the seal is completed, adjust the air pressure to match your preferred tire pressure.
Step 6. Test the Tire
Before using the tire, you should test it for any leaks or punctures. Take a few laps around your local trails to check how well the tire is holding air and if you are getting good traction from it.
Step 7. Re-Check the Valve Stem Torque
Before each ride, make sure to check that the valve stem is properly tightened. If the valve stem comes loose, it can lead to serious air leaks and potential blowouts. So make sure you tighten the nut down securely, as this will help prevent any problems while on the trail.
That’s it! You’ve now learned how to seat tubeless tire. Be sure to follow these steps for each new tire that you install, as proper installation will ensure the best performance from your tires.
5 Considerations Things When You Need to Seat Tubeless Tire
1. The Right Tools
One of the most important things you need when seating a tubeless tire is the right tools. You’ll need a tubeless-specific rim strip, valve stems, and sealant. You’ll also need a floor pump or an air compressor that can reach at least 100 PSI.
2. The Right Technique
You must also have the right technique when seating a tubeless tire. Start by removing the valve core from the valve stem. Then, add sealant to the tire and inflate it to about 30 PSI. Next, place the tire on the rim and use your hands to work it into place. Finally, inflate the tire to its recommended pressure.
3. The Right Tire
Not all tires are created equal, and not all tires are compatible with tubeless systems. Make sure you’re using a tubeless-specific tire before you attempt to seat it. Additionally, make sure the tire is compatible with your rim size and width.
4. The Right Rim
Not all tires are created equal, but not all rims are created equal. Ensure you’re using a tubeless-specific rim compatible with your tire size and width. Additionally, make sure the rim has an adequate bead seat diameter (BSD) for your tire size.
5. The Right Sealant
Last but not least, you need to use the right sealant when seating a tubeless tire. Sealant helps to fill any small holes in the tire so that air doesn’t leak out. Choose a sealant that is compatible with your tires and rims, and follow the manufacturer’s instructions for mixing and application. Additionally, make sure to check your tires every few weeks to ensure adequate sealant levels.
Benefits of Seat Tubeless Tire Seat Tubeless Tire
Do you want to upgrade your bike’s performance? Look no further than switching to seat tubeless tires. These tires offer several benefits, including improved durability, better traction, and a smoother ride. Their lack of tubes means that they are less prone to punctures and flats, and they also reduce the overall weight of your bike.
Plus, without a tube taking up extra space, you can run these tires at a lower pressure, resulting in better traction and a more comfortable ride. If you’re looking to take your cycling game to the next level, consider making the switch to seat tubeless tires.
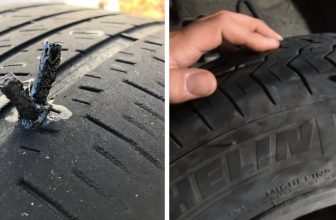
Some Common Mistakes People Make When Trying to Seat Tubeless Tire
Tubed tires have long been the norm for most bikes, but with the advance in technology, tubeless tires have become a popular trend. The allure of airing down and not worrying about pinch flats is quite irresistible, but just like with any new invention, there is a learning curve. Unfortunately, seating tubeless tires ranks high among the number of annoying experiences cyclists have to go through.
Some common mistakes people make include failing to remove the old valve or the valve core, being impatient with the inflation process, and underestimating the amount of sealant needed. Nevertheless, with a bit of patience, determination, and following the right steps, anyone can master the art of seating tubeless tires.
Can Bike Pumps Be Used for Seating Tubeless Tires?
For all the cyclists out there, you may be wondering if you can use your bike pump to seat tubeless tires. The answer is yes, you absolutely can! But wait – before you go and pump away, knowing the proper technique and tools is important. Tubeless tires require a strong burst of air to fully seat the bead onto the rim, so a standard bike pump may not cut it. You’ll need a high-pressure floor pump or an air compressor to get the job done.
Additionally, some tubeless setups require an air booster or a tubeless inflator, so make sure to do your research beforehand. With the right tools and technique, using your bike pump to seat tubeless tires can be a quick and easy process.
Conclusion
Seating a tubeless tire may seem like a daunting task, but it’s not that difficult if you follow the steps outlined above. With the proper preparation and technique, you can easily install your tubeless tire. Remember to have patience and don’t rush the process. You may need to make a few attempts to seat the tire fully, but the effort will be worth it. Once you’ve successfully seated your tire, you’ll enjoy the numerous benefits of tubeless tires as you take on the trails. Thanks for reading our post about how to seat tubeless tire.
Louis Wein
Louis has always been fascinated by cars. He loves the way they look, the sound of the engine, and how they make him feel when he's driving. He is always keen to learn more about different mechanics of cars and how the engine contributes to other aspects of the car. As an automotive technician with over 10 years of experience, he knew how they worked and loved taking them apart to see how they went back together. He was especially interested in the mechanics of combustion engines and loved finding ways to make them more efficient. He loves to work on cars and help people keep their vehicles running smoothly. As a senior editor, he enjoys contributing to Diy quickly because it allows him to share his knowledge and expertise with others.