How to Wire a Garage Door Opener Without Sensors
When it comes to wiring a garage door opener, the most complicated part of the process is making sure that you have enough wire to place your remote control in any location and not be too far from the power source. The following steps will show you how to wire a garage door opener without sensors.
This article will walk you through all of the steps necessary for installing a new or replacement wired-only garage door opener. We’ll take an old one out, install a new one, and then rewire both units with standard household current.
Required Tools
- Phillips screwdriver
- Wire cutters and strippers
- Pliers or Channel-Locks
- Tape measure
- Electrical tape or wire connectors
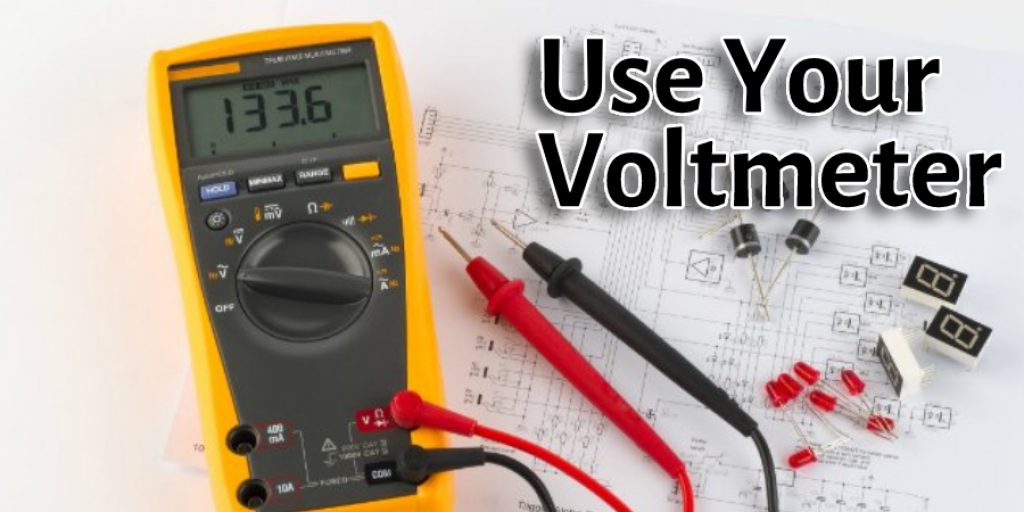
- Volt Meter (test light)
Instructions: How to Wire a Garage Door Opener Without Sensors
Step 1: Removing the Old Door Opener.
This is likely a straightforward process because most of these units are just screwed into place on the garage ceiling with a few screws. First, however, you’ll want to take the time to label all of the wires so that you know which wire is which.
Step 2: Installing the New Door Opener.
This process is easy if you’ve labeled your old wires properly. First, unscrew the new unit and install it in place, ensuring no kinks or twists in any of the wires. The electrical box itself should have a wiring diagram posted inside it to help you identify which wire goes where.

Step 3: Re-Wiring the New Door Opener.
This is where your experience will be useful. If you’ve labeled your wires properly, this could be as simple as matching up each new wire with its old partner. However, you’ll undoubtedly encounter a few wires that don’t match up to any others. In that case, it’s best to use your voltmeter and test light to figure out what wire goes where.
Step 4: Finishing the Job.
Once all of the old wires have been matched with new ones or re-routed through the new wiring, you’ll want to secure the new wires to the garage ceiling with a few cable ties. Then, you can label each wire using your voltmeter so that if there are any future problems with your opener, you’ll know exactly which wire is at fault and where it goes on the opener.
Step 5: Testing for Power.
Once all of the wirings are secure and properly labeled, you’ll want to test it for power. First, use your voltmeter to figure out which wires are hot and which ones are neutral wires. Then, you can test each wire one by one to make sure it has electricity running through it before taping them all over the top of the opener with electrical tape. Finally, you should test the opener itself to make sure it’s working.
Step 6: Final Taping Up.
When you’re certain that your wiring is correct and that your opener works, you can go ahead and tape up any wires that aren’t being used or are too short to be of use from top to bottom with electrical tape. This will keep them from being chewed by the garage door or cut by future hands.
Step 7: Screw the New Unit
Once you have your opener wired up and working, you can screw the new unit in place with the same screws holding the previous one in place. Then, all you’ll need to do is test it out by going back into your garage and opening and closing your door.
Step 8: Close Up Garage Door
Finally, when you’re certain that the unit is in proper working order, go ahead and close up your garage door and mark it with a piece of painter’s tape or some other sort of marking so that you don’t accidentally bump into it in the future and cut yourself.
Some Tips & Advice
- Always test your new wires with a voltmeter before cutting them. This will help you avoid accidentally cutting into the wrong wire or connecting two wires that aren’t supposed to be connected at all.
- If you’re having trouble locating some of your wires, use your multimeter to check the voltage on different points of the ceiling until you locate a hot wire.
- Never tape over any wires unless you know for certain that they’re not carrying current.
- Be sure to cut off the old remotes and receivers from the old door opener before removing it, or else your new unit won’t be able to control your door.
- If you’re uncertain about how to proceed at any point in the process, you can always call a professional door opener installer to help.
Frequently Asked Questions: How to Wire a Garage Door Opener Without Sensors
How do Garage Door Sensors work?
Garage door sensors are part of a safety feature that prevents people from accidentally walking into the garage while it’s closing. For it to work, all you have to do is put the sensor in at waist level and run an electric eye wire along the top of your door tracks (it slides easily under the track). Then, the sensor detects if an object has entered the path of the electric eye wire.
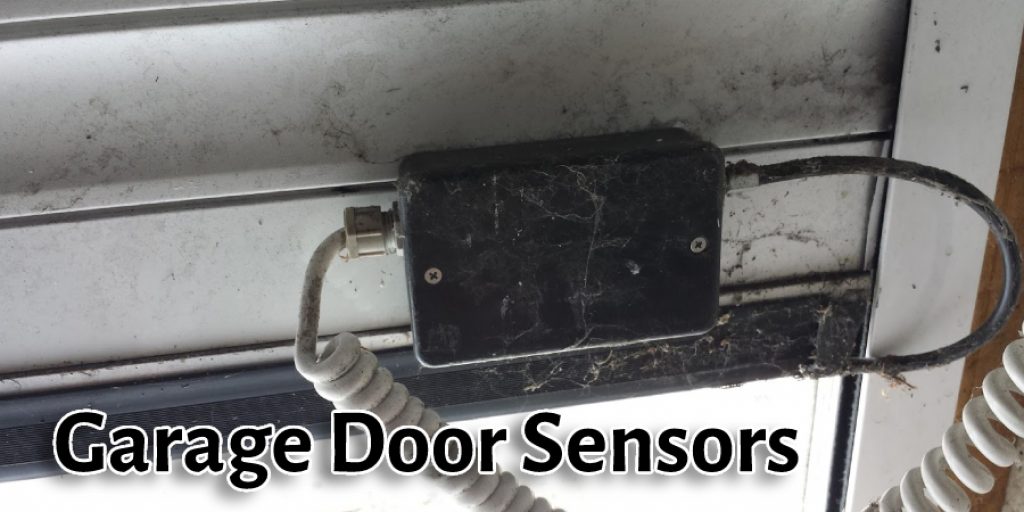
If it does, the safety reverse feature on your garage door opener will automatically stop the door from closing. If you are less than 4 feet tall and have problems hitting your head on top of your garage door when closing, you can adjust the electric eye wire to a higher height. It’s effortless and straightforward! You won’t need any tools or lumber. You’ll be using double-sided tape that comes with your sensor.
Do All Garage Door Openers Have Sensors?
Garage door openers that are not equipped with sensors will need to be connected differently. The following is an example of how you can wire one without the use of any extra components. The first step is to connect your garage door opener to an existing wall switch, which you will do by running a new cable between the two.
If you already have a wall switch and want to use that, attach the opener’s cable to the switch’s wire. If you don’t have an existing wall switch, run your new cable from the opener terminal block to an unused pair of terminals on a single-pole switch box. Then connect one terminal on this switch box to the black wire on your wall switch.
Conclusion
Garage door openers are a simple and practical way to automate your garage, but they can be difficult to install. If you don’t have the right sensors installed on the ceiling, it may not work properly with just wires. This blog post will show you how to wire a garage door opener without sensors so that you can get this project done in no time!

If you find yourself in need of a new installation and don’t want the added hassle of sensors, we recommend using double-loop wiring or running two wires from your opener’s motor 180 degrees apart. This ensures that if one wire breaks, then the other will still work for opening the door. So now that you know this simple trick gets out there and show off your skills!
You may read also:
Angela Ervin
Angela is the executive editor of DIY quickly. She began her career as an interior designer before applying her strategic and creative passion to lifestyle and home. She has close to 15 years of experience in creative writing and online content strategy for housekeeping, home decorations as well as other niche efforts. She loves her job and has the privilege of working with an extraordinary team. She lives with her husband, two sons, and daughter in Petersburg. When she's not busy working she spent time with her family.