How to Build a Reception Desk
Are you looking to add a professional touch of class to your office or business? Adding a reception desk can be the perfect way to provide stunning aesthetics and amplify efficiency.
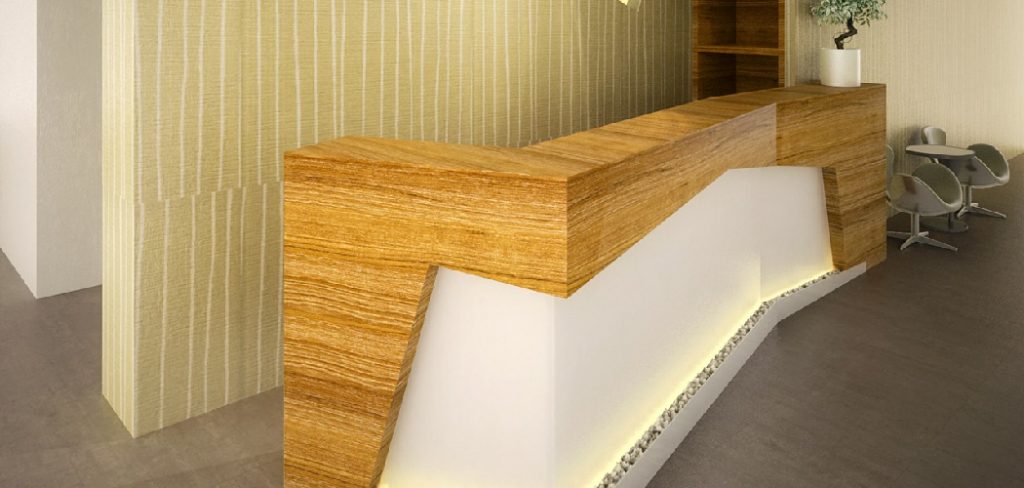
A reception desk is one of the most important areas in any office or business space. It not only serves as a focal point, but it’s also the first thing visitors and customers will see when they arrive at your business.
In addition to improving the aesthetic appeal of your workspace, having an aesthetically pleasing and efficient reception desk can create positive experiences for employees and guests alike. Building a reception desk may seem difficult, but with the right supplies, vision, and carefully thought-out plans, it’s achievable!
In this blog post, we will provide detailed steps on how to build a reception desk.
What Will You Need?
Before you start, it’s important to gather all the necessary supplies and materials you will need for your project. The exact items will depend on the type of desk you are building and how large or small you want it to be. Some common materials include:
- Plywood or other sturdy wood planks
- Lumber
- Handheld or stationary power tools, such as saws, drills, sanders, lathes, etc.
- Nails and screws
Once you have all of your materials on hand, you can begin the process of building your reception desk. Here is how to do it.
10 Easy Steps on How to Build a Reception Desk
1. Plan Out the Design.
The first step in building a reception desk is carefully planning how you want it to look and function. This may involve sketching out ideas on paper or using computer software, such as CAD or 3D modeling programs. Be careful to consider how much space you have available, how many people will need to use the desk at a time, and any other factors that may be important for designing your perfect reception desk.
2. Gather Your Supplies.
Before you start construction, it’s important to gather all the materials you will need for your project. This may include wood planks or plywood sheets, lumber or other building supplies, hand tools or power tools like saws and drills, and nails and screws.

Always read the manufacturer’s instructions when using power tools carefully, and always wear protective safety gear such as safety goggles and gloves while working on your desk build.
3. Measure Twice, Cut Once.
Once you have your supplies and materials gathered, it’s important to carefully measure out and plan how you will cut your wood pieces to build the perfect reception desk.
This may involve marking up the wood with a pencil or marker, but always double-check your measurements before cutting any pieces of wood to ensure that everything is aligned correctly.
4. Assemble Your Desk Frame.
Your next step will be assembling your reception desk’s frame according to your plans and designs. You may need to secure certain pieces together using nails, screws, or other fasteners, depending on the construction tools you use. Ensure that all joints are secured properly, and that any nails or screws are flush with the wood to have a strong and sturdy reception desk.
5. Add Additional Pieces as Needed.
Depending on your reception desk’s size, shape, and style, you may need to add additional pieces of wood or other materials to complete your build fully.
For example, building a desktop for your reception desk will likely involve adding supports or a backing material to keep the wood steady and secure. You may also need to add drawer pulls or other accents using screws or nails to finish off your desk design.
6. Sand and Polish Your Desk Surface.
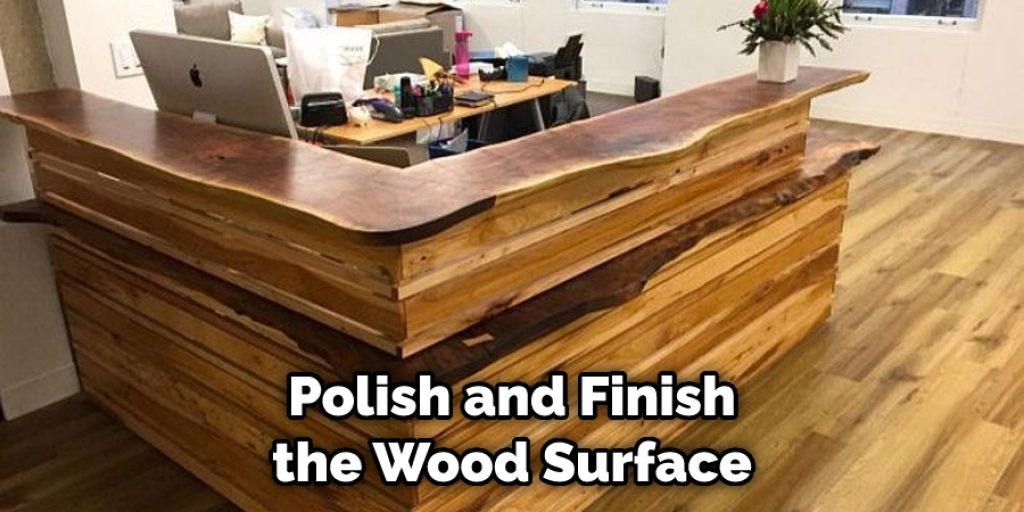
One final step before you can start enjoying your new reception desk is to sand down any rough edges or surfaces and polish and finish the wood surface to give it a smooth and professional look. This may be done with sandpaper, buffers, polishers, or other tools, depending on how much work needs to go into your desk surface.
7. Decorate Your Desk as Desired.
Once your reception desk is fully built and finished, you can add any additional decorations or accents that you want to help personalize and customize your space.
For example, you may choose to add photos of your company’s team members along the top of the desk surface or perhaps hang up some artwork for a pop of color and style. Whatever helps make your reception desk feel like home is fair game!
8. Arrange Your Supplies and Equipment.
Once your reception desk is complete, it’s important to organize all of your supplies and equipment to be within easy reach when needed. This may include stowing away extra tools or materials under the desktop surface, organizing office supplies like pens and paper in drawers or shelves, or simply making sure that everything has a designated place on or around your desk.
Keeping things organized will help you stay efficient and productive at work every day.
9. Test Out Your Desk Before Use.
Before you regularly use your new reception desk, it’s important to ensure everything is set up properly and ready for use.
This may involve testing out how well each drawer and shelf opens and closes, how well the desk surface holds up to typing or writing, and how comfortable you feel sitting at your new desk for extended periods of time. Be sure to address any issues that may arise so that you can enjoy your reception desk for years to come.
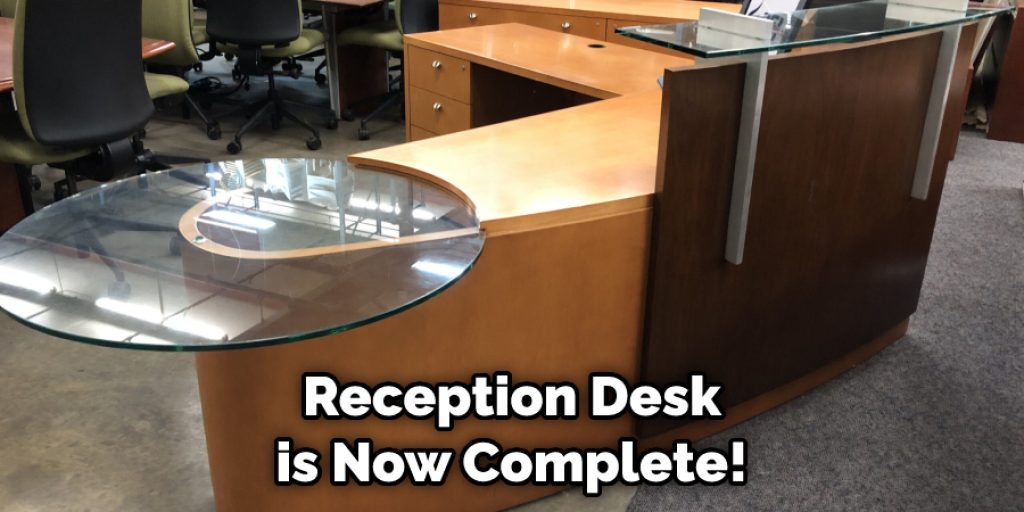
10. Enjoy the Set Up:
Your perfect reception desk is now complete! Take a moment to marvel at how well it looks, how sturdy it feels, and how easy it is to use. You can rest easy knowing that you built your desk all by yourself, with the right tools and materials, and that it will help keep your office running smoothly for years to come. Congratulations on creating something truly special!
By following these steps, you can build a beautiful and functional reception desk that will help support your business for many years to come.
You Can Check It Out To Measure a Desk
5 Additional Tips and Tricks
- Measure the available space and determine how many desks you need.
- Select a style of desk that works with your existing decor and fits in the available space. Some popular styles include modern, minimalist, traditional, rustic, and industrial.
- Consider how you want to organize your reception area. Do you want a simple desk with storage for supplies, or do you want something more elaborate with multiple shelves, drawers, and cabinets?
- Inspect all materials before beginning construction to make sure there are no defects or damage. You don’t want any surprises once the project is underway!
- Don’t be afraid to get creative with your design choices – plenty of unique options can help set your reception desk apart. Whether you want to incorporate natural materials like wood or stone, add vibrant pops of color with upholstery and accessories, or create a sleek modern look with clean lines and metallic accents.
With a little planning and forethought, you can easily build a stunning reception desk that suits your space and needs perfectly.
You Can Check It Out To Build a Built in Desk
What Material is Used for the Reception Desk?
Various materials can be used to build a reception desk, including wood, metal, glass, and laminate. The material you choose will depend on your preferences and budget, as well as the style and layout of your space.
For example, a modern or minimalist design would typically work best with sleek and simple materials like metal or glass. At the same time, a more traditional or rustic look may be better suited to richly-hued wood or warm-toned stone.
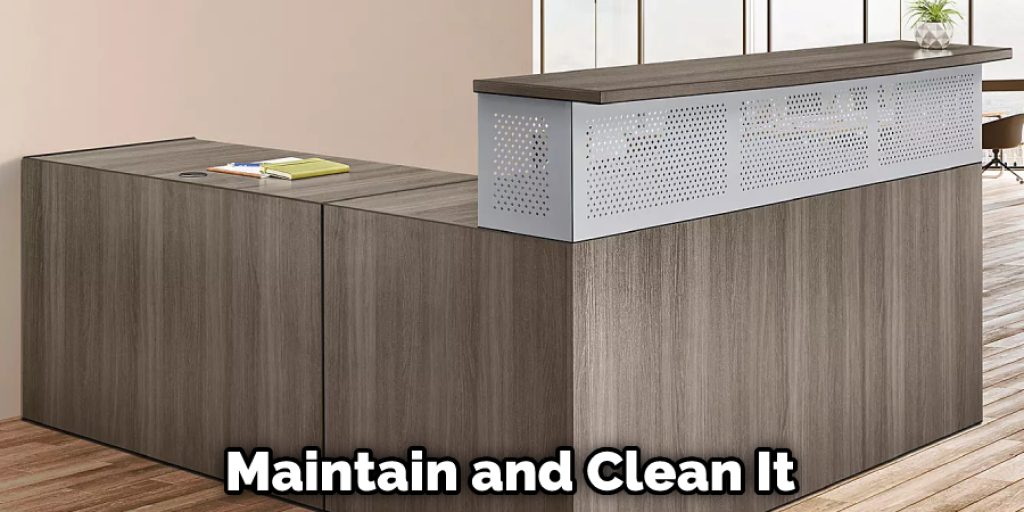
Other factors to consider when choosing a material include how long you expect the desk to last, how easy it is to maintain and clean it, and how much the final product will cost.
Ultimately, the right material for your reception desk will fit your space’s aesthetic, complement the other furnishings and décor in the room, and meet your functional needs. Whether you opt for wood, metal, glass, stone, or a combination of materials, you can be sure that your new reception desk will look great and help support your business for many years to come.
You Can Check It Out To Organize a Desk Without Drawers
Conclusion
Building a reception desk is not as difficult as it may seem. With the right tools and materials, you can create a professional-looking desk that will last for years. Follow these simple steps, and you’ll be on your way to building the perfect reception desk for your business.
That’s it! You now know how to build a strong and sturdy reception desk that will look great in any office space. With a little bit of time and effort, you can create a desk that is both stylish and functional.
Hopefully, the article on how to build a reception desk has been helpful and informative. Whether you’re a first-time DIYer or a seasoned home improvement expert, we wish you the best of luck as you take on this exciting project. Good luck!
Angela Ervin
Angela is the executive editor of DIY quickly. She began her career as an interior designer before applying her strategic and creative passion to lifestyle and home. She has close to 15 years of experience in creative writing and online content strategy for housekeeping, home decorations as well as other niche efforts. She loves her job and has the privilege of working with an extraordinary team. She lives with her husband, two sons, and daughter in Petersburg. When she's not busy working she spent time with her family.