How to Draw Scars on Dark Skin
Introduction:
Drawing on dark skin can be difficult. The pencil marks will show up much better if you use a white-out pen first, likely to be found in the same section as the colored pencils. You should also avoid using red or other colors close to black on dark skin because of this issue. It’s best to use light colors like yellow and orange instead. If you want your drawing to stand out, then make sure it contrasts with the person’s skin color. In this article, I will discuss how to draw scars on dark skin. So let us get started.
A Detailed Discussion on How to Draw Scars on Dark Skin: Step by Step
Step 1:
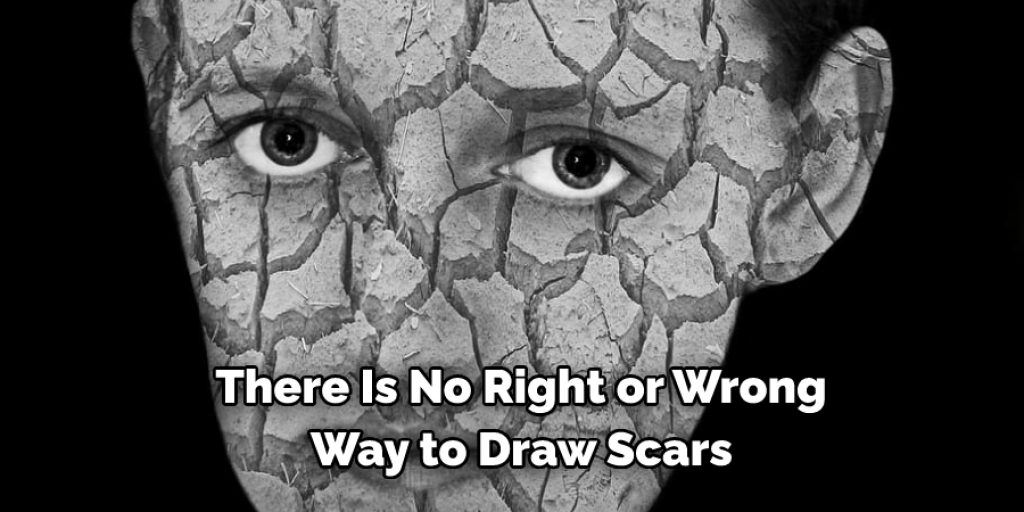
The first step is to use a 0.5 or 0.7 mechanical pencil with a 4B lead and sketch out the basic outline of the scar on the model’s face. At this point, we are just laying down a guideline for ourselves to follow later during shading/coloring, so follow your imagination because there is no right or wrong way when drawing scars!
Try not to overdo it, though, as we want our scars to be realistic looking, so keep in mind that these are individual wounds that add up and, over time, affect the body as well as how you move. While I am using a female model for my example here, male acne scars would look the same only as breasts on young girls, and acne scars are commonly present on young males.
Step 2:
Now, we can build out the scar with a bit more depth and detail. This will help establish what kind of wound this is, from natural disasters like tornados and hurricanes to the cosmetic industry that creates at-home products for people to make their skin look flawless.
In my example above, I lay down a nice base for later use during shading/color. Again, it doesn’t matter if you follow my example because, as I said before, there is no right or wrong way to draw scars!
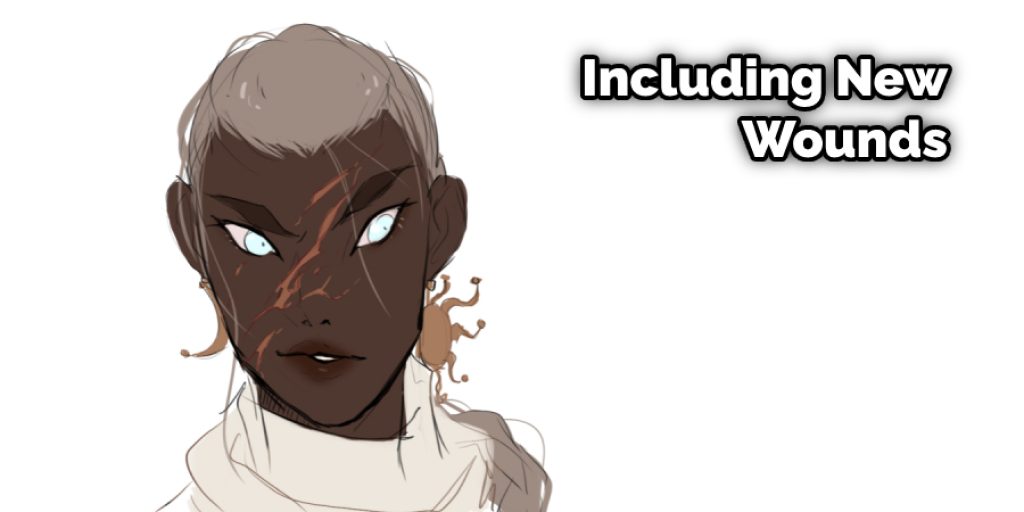
Step 3:
At this point, you should have your basic outline drawn out in pencil showing where each cut/wound occurred, so now we can continue adding more detail and including new wounds to cause more scarring.
Step 4:
Now that we have added new cuts/wounds to our drawing, it is time to start building out the color around each wound with a brush pen filled with dark brown or black ink. This will give off the illusion of depth and show where each scar occurred on the model’s skin, so we don’t forget later during coloring. Remember here that these are individual scars, layered over time, causing irregular bumps/imperfections on the body.
Step 5:
Now that we have all of our basic colors laid down onto our scar(s), it is time for us to take out our foundation color and start sculpting them into something more “realistic” looking. You can use a brush pen or even an airbrush if you want, but I use my hands because it gives off a natural-looking texture for the skin once I am done.
Step 6:
Now that we have added a bit of foundation to our scar(s), it’s time to refine them with the brush pen that we used earlier before. It’s important to keep in mind here when doing this step that there are no mistakes! Artists like myself and others who draw scars must go through several drafts before getting it just right; as we do not want to end up with something unrealistic and basically bad artwork which will be posted all over the internet, as well as getting your name called out by fellow artists on DeviantArt as a “Wannabe.”
Step 7:
Now that we are all done with our scar(s), it’s time for us to move onto the final stage of this tutorial. This is where we can finally add some more realism to our scars by adding small details like bumpy, uneven skin and some blood vessels if you want! Try not to make them too big because that will look almost silly once you start shading them in. I decided to add just a bit of blood vessel action on my SCAR-A, which adds to the illusion of depth on the wound itself.
Step 8:
Lastly, I added smudges around each individual wound/scar, so it looked as if dirt and oil had built up over time on the model’s skin and also to add some more color variation to blend things in with everything else that we had already done.
Conclusion:
Well, there you have it, a step-by-step tutorial on How to Draw Scars on Dark Skin! Hopefully, you learned something from this lesson today and that it will help you improve your artwork and your skills when drawing scars. Thanks for reading guys, hope you have a wonderful day.
Check out our article! How to Draw a Doll Face on Fabric
Elizabeth Davis
Elizabeth is a creative writer and digital editor based in the United States. She has a passion for the arts and crafts, which she developed from a young age. Elizabeth has always loved experimenting with new mediums and sharing her work with others. When she started blogging, she knew that DIYquickly would be the perfect platform to share her tutorials and tips. She's been writing for the blog from the beginning, and her readers love her helpful advice and easy-to-follow instructions. When she's not writing or editing, Elizabeth enjoys spending time with her family and friends.