
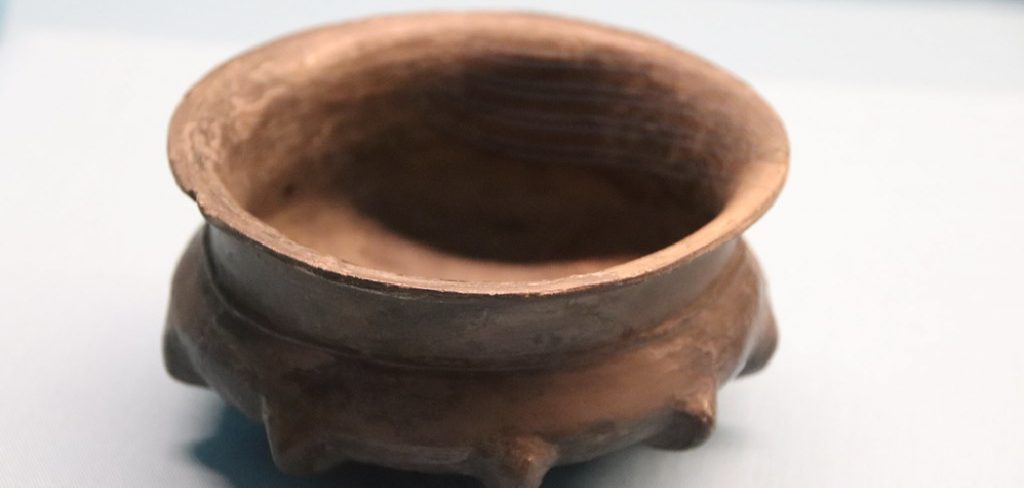
How to Make a Clay Bowl by Hand
If you’re looking for a new and unique DIY project, look no further than making a clay bowl by hand. This is a great way to show off your crafting skills, and the result is a beautiful, one-of-a-kind piece that you can use to hold your favorite flowers or as a centerpiece on your dining table.
Read on for instructions on how to make a clay bowl by hand. You will need some basic supplies, time, and patience, but the results are worth it! So get your crafting supplies ready, and let’s get started.
10 Ways on How to Make a Clay Bowl by Hand
1. Get a Lump of Clay.
Make sure it is moist. Square off two sides of the lump to create a straight edge. Begin rolling the clay into a coil with your hands, much like you would when making a cinnamon roll. Apply water and continue rolling until you reach your bowl’s desired thickness and size (about an inch thick). Shape the clay into a bowl by flattening the bottom and curving the sides.
2. Make a Glass Bottle into a Basket or Vase.
Turn an empty, clean glass bottle on its head. Cut two slits on opposite edges of the bottle with a sharp utility knife to create tabs that can be bent back. Bend these tabs over until they meet, then use masking tape to adhere them together.
Gently pull the tabs apart to create a space between the top of the bottle and the tabs (about an inch should do it). Then, fill your new vase with flowers, dirt, or anything displayed.
3. Make a Bowl out of Sheet Metal.
Cut two “U” shapes out of sheet metal that are slightly smaller than the desired size of your bowl. Curve one side of each shape into a circle and tape them together at the top to form an open-ended cylinder. Use pliers to form decorative edges around the bottom rim of your bowl, where there is no seam. Bend back other edges downward to create the finished bowl.
4. Make a Beaded Bowl.
Cut a tube-like shape out of clay sheeting, about 2 inches in diameter and 4 inches long. Secure both ends together to form a cylinder with your hands or a set of clamps. Ensure that it is secure enough not to come apart when in use. Next, cut another sheet of clay half lengthwise, then roll the smaller strip into a thin cord.
Roll it around the larger cylinder shape (the bead) until you achieve your desired thickness. Use your hands to pinch together the seams where the cord meets itself. Use a craft knife to trim away excess clay, then smooth out the cut marks with a wet finger.
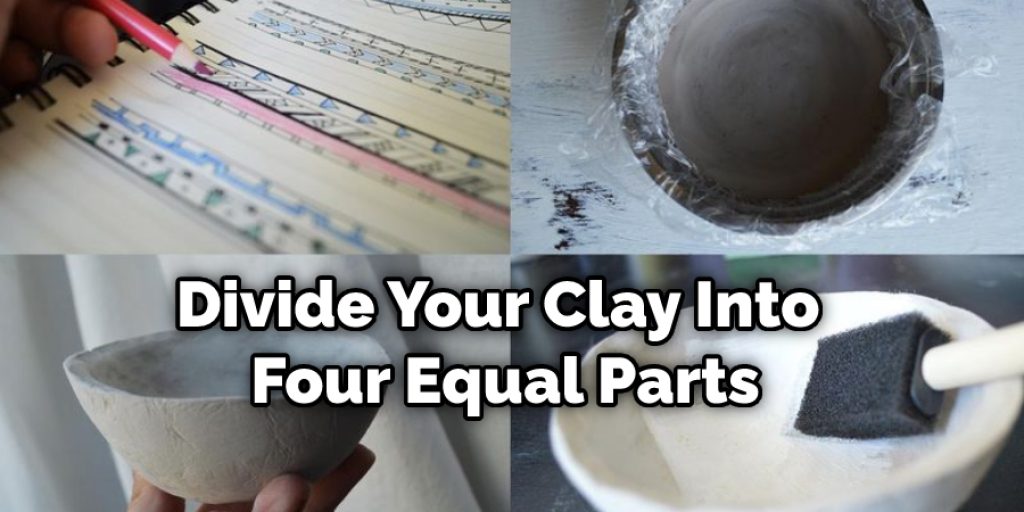
5. Make a Bowl with Pinch Pleats.
Divide your clay into four equal parts. Roll each part until it’s about 1/4 inch thick and large enough to cover the bottom of your bowl, plus an inch or so on all sides. Cut out a square shape with the craft knife, then place it over the top of your bowl (make sure that it is centered). Use your fingers to press the edges of the clay into the bowl. Continue alternating between folding, pinching, and adhering sides until you reach the top of your bowl.
6. Make a Stoneware Bowl with Slips.
Mix equal parts white slip, porcelain clay, and water in a plastic bucket. Dip your hands in rubber gloves to keep the slip from sticking to them. Apply a layer of slip on the outside edges of your bowl, then place it upside-down in a drying rack. Once dry, apply another layer of slip and let it dry again. Repeat this process until the outer rim and inner walls are completely covered.
7. Roll the Ball Around.
Roll a ball of clay until it’s 1/2-inch thick. Use your craft knife to cut an opening in the center, then place it over the top of your glass bowl or vase. Press down on the edges with your hands until secure. Make decorative cuts around the opening if desired, then smooth out any remaining marks with your palm or wet fingers.
8. Make a Bowl with Plastic Wrap.
Cut three square pieces of plastic wrap, each about 12 inches long and 10 inches wide. Moisten your ball of clay, then lay the first square on top of it. Press the edges into the clay to adhere them together, then roll your new shape into a ball.
Place the second square on top of your bowl shape, then use your palm to flatten out its thickness until it’s 1/2-inch thick. Next, remove the plastic wrap, dampen the remaining clay and repeat this process for the third square.
9. Make a Bowl with Felt.
Cut two pieces of felt long enough to cover the outside rim of your bowl, plus an inch on either side. Press the felt into the clay with your fingers until you reach the desired thickness of your bowl. Use a craft knife to trim away any excess material around the top edges, then dry it upright in a foam display box, turning it over occasionally so that all sides dry equally.
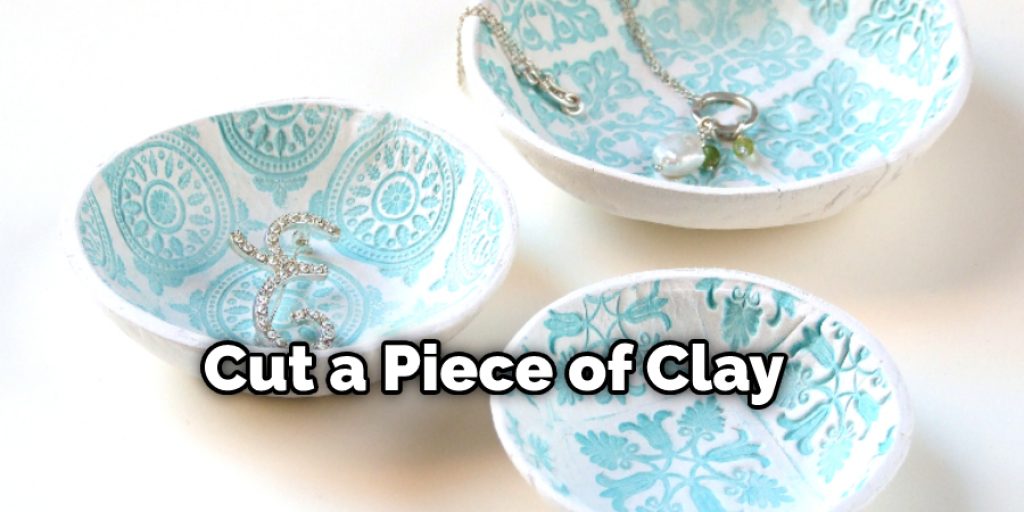
10. Roll the Clay Out Thickly.
Cut a piece of clay big enough to cover your bowl, plus an additional inch or so on all sides. Moisten your hands and lay the sheet over the top of your glass bowl or vase, ensuring it is centered. Press down with your palms or fingers until you have reached the desired thickness. Use the craft knife to trim away any excess material around the top edges, then dry it upright in a foam display box, turning it over occasionally so that all sides dry equally.
Some Helpful Tips and Suggestions
Here we have given some tips and suggestions on how to make a clay bowl by hand.
1. You can make a bowl out of almost any type of clay.
2. If you’re looking to use a specific type of clay for your reasons, make sure you know the best way to work with it before beginning.
3. If your bowl is lopsided or if you want to make a more rigid template, make it out of hardboard instead of clay.
4. Always smooth down sharp edges on your clay for safety and general appearance.
5. If you’re planning to make a bowl of polymer clay, you’ll need to bake it for 30 minutes at 275° Fahrenheit.
6. Depending on your clay or how much pressure you apply, your tool’s smallest size is about 1/8th inch in diameter.
7. Make sure the coils are relatively even and that there are no air bubbles trapped under the clay before baking.
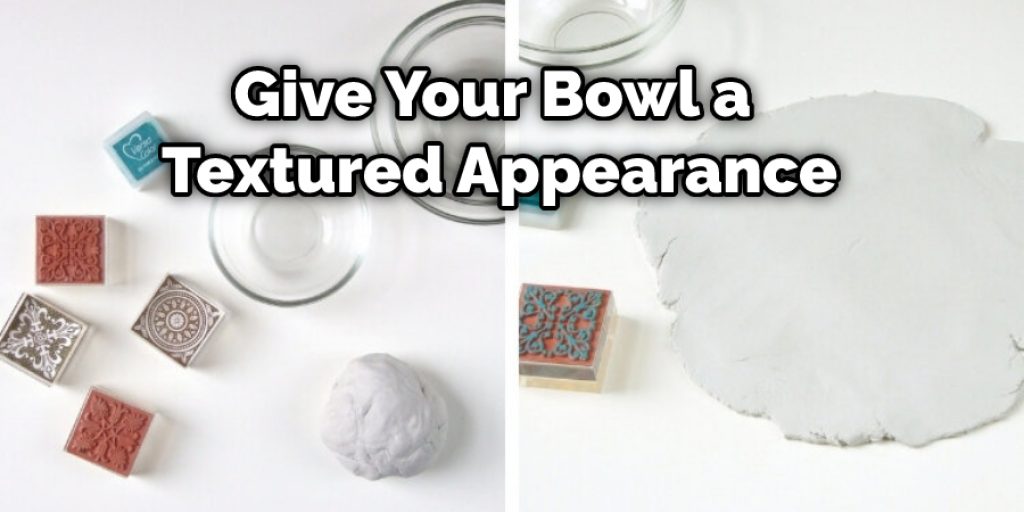
8. You can add fine sand, rocks, or other materials to give your bowl a textured appearance and add weight.
How Do You Make a Small Bowl Out of Clay?
Making a clay bowl can be simple; you just need to know the steps to follow. With the right information, anyone can make beautiful bowls out of clay.
Step 1: Gather Materials
There are many types of materials needed to make this bowl. You will need pieces of wire mesh (typically used for reinforcing concrete and ductwork), a couple of pieces of newspaper, modeling clay, and straws. If you plan to make a larger bowl, you will need more materials such as spoons and wooden dowels.
Step 2: Make the Bowl Shapes
Take two sections of wire mesh (make sure both sections are cut from the same piece of wire mesh) and overlap them by 1/4 to 1/2 an inch. Now you will make a “bowl” shape that is the same size as the straws.
To do this, mark off every 3/4 of an inch on each side of your mesh with a marker or pen. Then, bend the wire at every mark inside the bowl. Finally, cut off any excess mesh so the wire only forms the inside of your bowl shape. You should have two separate wire mesh bowls at this point.
Step 3: Make a Base for the Bowls
You will need a base that you can set your bowls on top of while they dry. To make one, take a large piece of newspaper and roll it up tightly. Next, put a small amount of modeling clay on the end of your rolling pin and roll it out to make a flat base for your bowls. The clay should be thinner than pie dough but thicker than paper.
This will not be visible if you do not choose to paint your bowl after it has dried, which is why the newspaper is a good solution. Now take your rolling pin and roll it over the clay, so the clay spreads out even more to form a flat base for your bowls. Do this until you have at least one large enough for each bowl.
Step 4: Arrange the Bowls on Clay Bases
You are now ready to set your bowls on top of clay bases. Make sure the bottom of each bowl touches the clay, and make sure they are evenly spaced apart. Place them far enough apart to get between them with a spoon later, but not too far that the clay will break when wet.
Step 5: Put Newspaper Under Clay Bowls
Take a sheet of newspaper and place it under each clay base. This is to prevent them from sticking to the surface you will be putting them on later.
You Can Check It Out to: Center Clay on the Pottery Wheel
Conclusion
The process of making a clay bowl by hand is simple and easy. All you need is time, patience, and creativity to create something beautiful that will last for generations! It’s never too late to learn how to make a clay bowl by hand.
The best way to make a clay bowl by hand is to use your hands and be creative. Then, you can create a beautiful piece of art that you will enjoy for years! We hope that these instructions will help guide your way through the process so that you can create something beautiful with just one material! Happy crafting!


