How to Program Craftsman Garage Door Opener to Car
Introduction
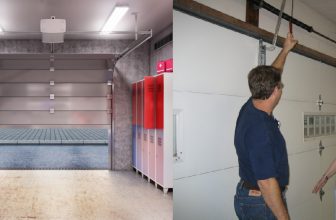
A craftsman garage door is one of the most popular models around. This type of garage door can be opened and closed by remote control, through a wall console, or via your computer. You can change the settings and configurations of your garage door with the push of a button. A garage door opener is a motorized device that opens and closes garage doors. Most garage door openers have a remote control that can be used to open and close the door from outside the garage.
This type of door is extremely durable, has a low maintenance cost, and is backed up by a lifetime warranty. This makes it one of the most valuable investments that you could make regarding your home. With so many useful features, this garage door will be able to meet all kinds of needs. It is probably better than any other product on the market today, which is why so many people choose it over others. Today I will be discussing how to program craftsman garage door opener to car. So let us get started.
Advantages of Craftsman Garage Door
- High reliability. This garage door opener has a load of about 500 pounds, and this is 1/3 more than the standard size of a Garage Door Opener
- Durable material. Its rollers are made up of steel and not plastic, the chain is also made of steel which usually is used in industrial products rather than any home equipment, so when you roller goes down, then it will reduce bending plastic parts usually cause that while they are under high-pressure form the weight of your car/items. Also for adhesives used on these parts instead of oil grease for long-lasting to handle the high temperature from sunlight
- Easy installation. All features are easy to understand; just read the manual carefully before using it to prevent damage to your garage door or car.

- Good company service. 25 years quality warranty and customer service available on weekends for emergency call out.
- Attractive design. It will save a lot of space inside your garage, compare with the older model which biggest problem is it needs at least 6 inches from the wall to build it up (If you don’t choose extension roller) and then around 12 inches of free floor space before the floor touch with the cover of the opener, also because it’s compact size, so that makes it easier to install door trough in the same time
- Reliable sensor system. Detects if any obstacles are on their way before open / close, this feature makes you feel safer using this device inside your garage, and also, it can assist you in parking your car in a much more efficient way.
Disadvantages of Craftsman Garage Door
- Repair parts are not as easily available as some other brands (if you don’t want to replace the entire unit).
- Sometimes, the remotes may stop working for no reason and require replacement even within the warranty period, while it is not the case with all the units.
- You need to tape down two sensors for smooth performance, but still better than Genie Intellicode openers that require four sensors taped down for smooth functioning.
- The unit can make a loud beep sound during power-on, again better than Genie units, which can cause deafness to any person standing next to the unit while turning on.
- The problems are not so common in this DIY model as they occur in low-end models of Genie and some Liftmaster units (those that have yellow stickers with “Do Not Open” printed). It would help if you only had only one screwdriver, a level, and a tape measure to install it, but you will need a second set of hands for help sometimes.
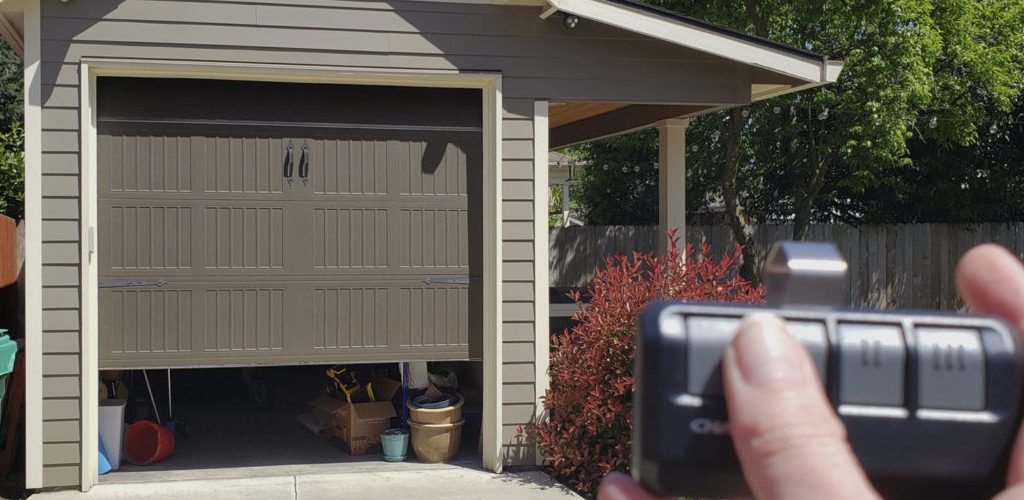
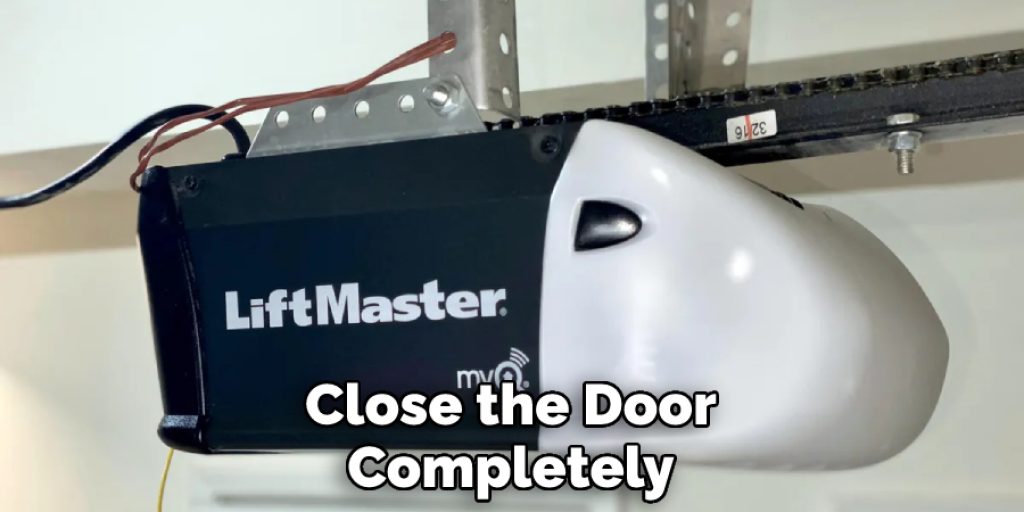
- It won’t work properly if you don’t close the door completely before opening it; this may seem too obvious, but it happens almost every time we use these devices.
- It is not very good at detecting the door swing; again, this may seem too obvious, but it can cause some bad results sometimes.
Step-wise Guide on How to Program Craftsman Garage Door Opener to Car
Step 1:
First, you need to open up the car’s driver-side door and put your Craftsman Garage Door Opener inside. Next, put the handheld device that came along with your garage door opener in the car’s front passenger seat. Now, take your car’s key and insert it into the ignition. Turn on the car, and then press and hold the “learn” button that is located on the garage door opener. After a few seconds have passed, you should see the LED light on the garage door opener blink.
In order to program the system, you will need to press a button on its side. Once you have done this, you will need to start recording all of the information that is displayed on the LCD screen. You can do this by using a pen and notebook paper. This step-by-step guide will help you to get through all of the information that you need to program the system. If you forget anything, you will always have a backup available. Therefore, it is important to record everything.
Step 2:
Ensure that each digit of the car’s VIN is recorded on one specific line of your notebook.
Step 3:
To complete this task, you will need a 9-volt battery, some wire, and two conductive strips. The first step is to insert one end of all wires (including those connected to the hands-free device) into the topmost and bottommost holes on either side of the front driver side door. Make sure to put both ends in opposite directions once they are inside the metal grooves leading towards the driver side’s floorboard.
To do this task properly, you need to make sure that all of the wires touch the different parts of your vehicle’s body. You will know that you have done it correctly when you see some lights flashing and hear some beeping sounds. Give yourself 30 seconds to double check everything before moving on.
Step 4:
The next step consists of placing all other ends of your wires (including the one coming out of your hands-free device) into the ground using a conductive strip. If there is a red line on any part of said piece of metal, you need to connect it to the terminal that shows 0 volts (black with no marking). If two black lines are marked on one side, connect them both using another wire or conductive strip and that too onto the main part, which comes with every basic car battery. This connection will lead to a situation where power is constantly being supplied from the battery to your car’s body.
Step 5:
Make sure you note everything written on the display screen, such as the numbers and letters displayed by the handheld device once all of its buttons are pressed. Then, compare them with those you noted previously (you will find these letters and numbers after pressing each button briefly). Again, make sure everything matches if needed; otherwise, go back to step 1 and start over.
step 6:
again. The third step, however, must be performed carefully in case something doesn’t match that well! It is recommended to do it a little bit at a time so that you can see whether or not anything had gone wrong until the date/time when your Craftsman Garage Door Opener was sold (if any).
Step 7:
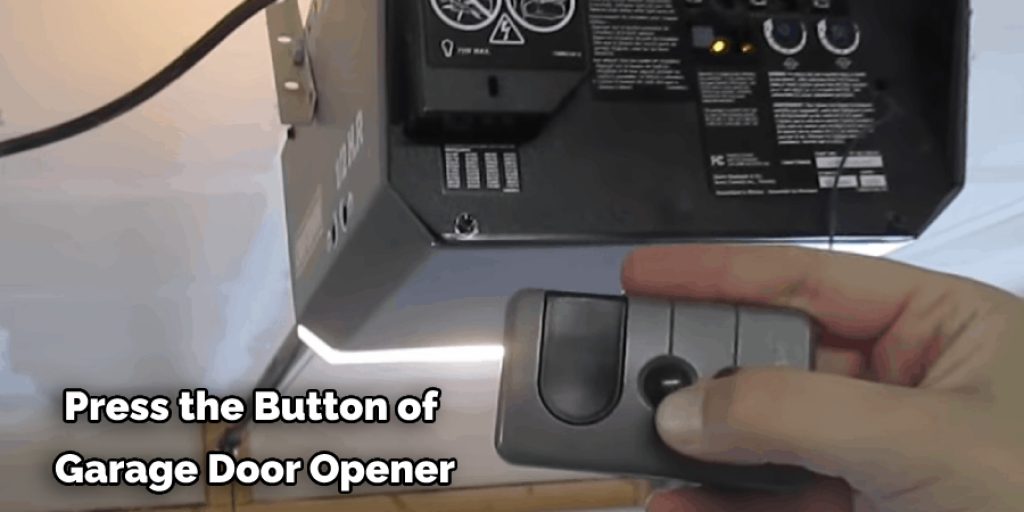
Once everything has been programmed properly, press the button on the side of the garage door opener, and your new driver’s car will be ready for use. Now, you can test it by programming the Craftsman Garage Door Opener to open and close your garage doors! However, bear in mind that a signal from this device must travel through wires attached to either end of your handheld device or the main part of the battery along with the ground. And as soon as these three parts are connected properly, you will see an “open” or “close” command activated immediately after pressing one button on said device.
Step 8:
If all is well with both devices, then they should form a complete circuit. If not, they are not supposed to be connected like this, and you must find out ways to solve this issue or change batteries if need be.
Step 9:
Now, this is the final step of programming the Craftsman Garage Door Opener to Car in case a car with a given VIN was sold after the manufacturing date for that specific model of your craftsman garage door opener. You have to press and hold the button from any device and the power button to enter into program mode.
Once you see an “E” on the LCD screen, remove one wire attached to the ground but keep all other ends of wires inside their correct positions (you will have some lights flashing within 30 seconds).
Now, press the again button and wait for another 30 seconds or so. Once done, you will hear some sounds like a beeping sound or an alarm if ever your car had any on it. Finally, once every single wire is out of the way from the battery/conductive strip, take them all out of their mentions (if you don’t do this step, nothing will happen when pressing any buttons).
Precautions While Learning How to Program Craftsman Garage Door Opener to Car
- Never program the remote to a vehicle that has transponder keys or chips keyless entry system, or it may cause serious injury when attempting to start the vehicle engine (since these systems require time-delay operation).
- Do not use this unit for other purposes except for what is described in this manual. Please refer all inquiries on how to operate the Craftsman garage door opener to a car DVD player with remote control(system) service personnel.
- This unit is designed only for use in vehicles whose operator’s manual and warning labels are provided a notice against attaching objects to steering wheel controls. Please do not attach any tools or auxiliary devices of any kind to your steering wheel as they may prevent the driver from sitting properly behind the steering wheel.
- Before starting to program, ensure that the garage door opener and car remote control batteries have been installed properly. Please program only one remote control per vehicle at a time to avoid any undue interference from other remotes.
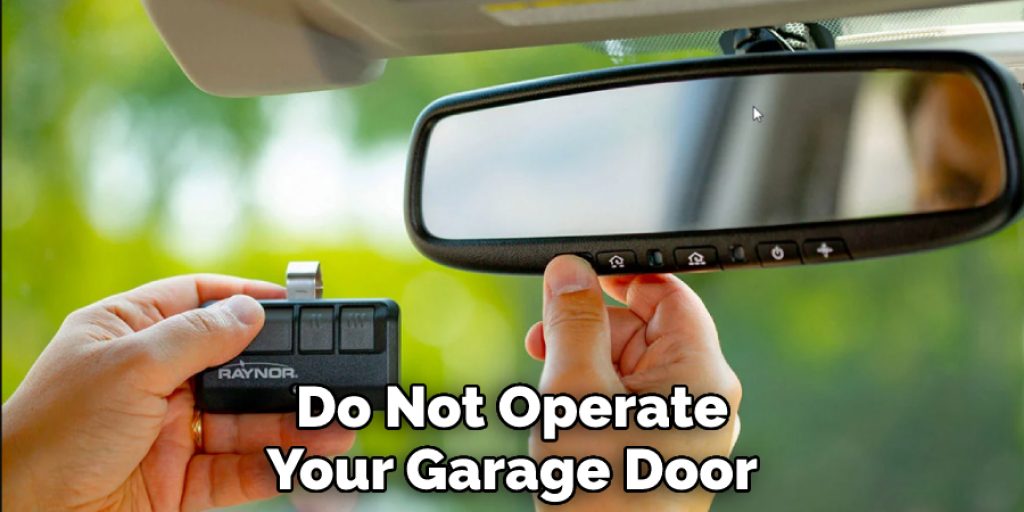
- Do not operate your garage door while programming overhead door system with car remote control(system). Wait until after you have finished programming before operating the overhead door system with car remote control(system). Failure to do so may result in damage or injury!
Where Is the Learn Button on Craftsman Garage Door Opener?
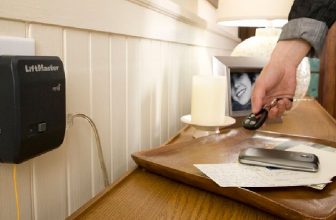
The Learn button is always located near the keypad of your remote control. For those two-button remotes, it’s on the side. Most often, the learn button is blue in color and has a piece of paper with an arrow pointing to it. Sometimes you might find this button which usually looks similar when push to learn mode: the bottom part of the remote control (the one with LCD) lights up, displaying “LEARN.”
This function makes programming the Craftsman garage door opener easy because no additional tools are required for operation. If you have more than one car or truck, use the same garage door opener, then there is no option except to use these buttons as soon as you realize that you need to program different vehicles into Garage Door Remote Control.

Do Craftsman Garage Door Openers Work With Homelink?
The Craftsman garage door opener, which was manufactured between 1995 and 2001, uses 2 different frequencies for security reasons. The newer frequency is more advanced and secure. Unfortunately, the Homelink frequency generated by GM Cars in 1995-2001 models were identically programmed with the older Craftsman Garage Door Opener.
So if you have a car with Homelink and purchased a new Craftsman Garage Door Opener from them, it won’t work properly because of incompatibility. However, there are some simple solutions to avoid this problem:
This should be printed out as a regular sticker attached anywhere on your Car’s windscreen or near the garage door inside. This sticker can also prevent interference from other external garage door opener frequencies. So if you want to install the Craftsman Garage Door Opener for your car’s Homelink, make sure that you don’t have this sticker on it and remove it from any other remote devices.
A simple solution is to reprogram your Homelink again with another code or without any code at all. This may cost you some hard cash, but it definitely works wonders and can open both doors (car+garage).
However, to avoid future problems like this, you should buy a new Craftsman Garage Door Opener especially designed for GM Cars which uses the newer security system. You might also need an additional remote control if one of these stops working properly or completely disappears out of sight.
Conclusion
I hope this article has been beneficial for learning how to program craftsman garage door opener to car. Ensure proper safety while performing the process. Thank you and have a nice day!