How to Remove Propane Tank From Grill
Do you want to remove your propane tank from your grill, but don’t know where to begin? Removing a propane tank can be intimidating, especially if you don’t know the proper procedure or safety precautions. It is important to know how to remove propane tank from grill.
In this blog post, we’ll provide step-by-step instructions and all the information needed for safely removing a propane tank from your grill. With our expert tips and sound advice, it will take no time at all for you to feel confident in removing any type of propane tank from any kind of grill! So read on to make sure that your grilling is safe and secure.
Tools You Will Need
- Adjustable wrench
- Flashlight
- Protective gloves
- Eye protection
6 Steps Guide on How to Remove Propane Tank From Grill
Step 1: Put on Protective Gear
Make sure you’re wearing the proper safety gear, including eye protection and gloves, to protect yourself from any possible gas leaks or other hazards.
Before attempting to work on your propane tank, it is important to invest in the proper safety equipment. Eye protection and gloves are essential for this task as they will help protect you from potential gas leaks or any other hazards that may arise during the process.
Make sure you take the time to put on your protective gear before working with any type of tank or combustible material to ensure your safety. Doing so will give you peace of mind and create a much safer working environment.
Step 2: Shut Off the Gas Valve
Before attempting to remove the propane tank, make sure that you turn off the gas valve on the tank itself.
To ensure your safety when removing a propane tank from your grill, it is important to remember to shut off the gas valve on the tank itself. Before attempting to move or transport the tank, take a few moments to locate the gas valve and make sure that it is securely closed.
Once you have confirmed that the gas valve is closed, you can place the tank in a safe location away from heat sources or flames and begin disconnecting any hoses attached to it. Don’t forget this critical step before removing a propane tank from your grill – turn off the gas valve first and be sure that it stays shut for everyone’s safety.
Step 3: Check for Leaks
Use a flashlight to check for any gas or propane leaks around the area where you’ll remove the tank from. If you find any, follow all safety precautions necessary to reduce risk and exposure.
Before you start removing the propane tank from your grill, take a few minutes to make sure there are no leaks. Using a flashlight, inspect all areas around the tank for any gas or propane leaks. Be sure to pay close attention to hoses and valves, as these are often sources of leaks.
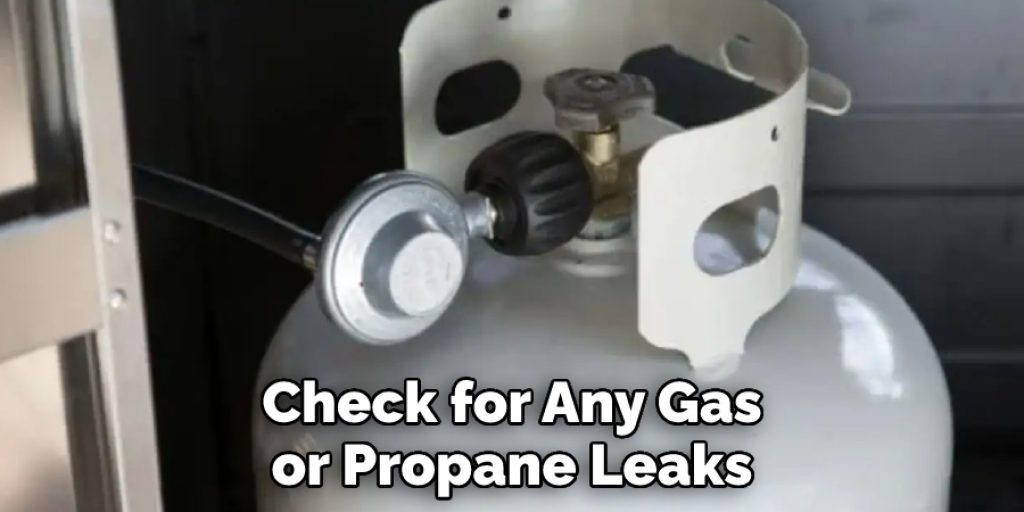
If you do find signs of leakage, be sure to follow all safety precautions specified by your local gas provider—it’s always better to be safe than sorry! Taking just a few extra minutes can prevent potential danger down the road and help ensure that everyone can enjoy grilling season safely.
Step 4: Get Tools Ready
Gather the tools needed such as an adjustable wrench and any other tools specified in your grill’s owner manual.
Before you can begin the process of removing your propane tank from your grill, it is important to ensure you have all of the appropriate tools. These might include an adjustable wrench, multi-tool for smaller screws, screwdriver, and any other items specified in your owner’s manual.
Gather up these essential tools and make sure they are within easy access before beginning work on your tank. Being prepared with the right equipment will save time and ensure a safer installation or removal of the propane tank. So take a few minutes to get organized and ready for this project!
Step 5: Loosen the Connection
Using the adjustable wrench, loosen the connection on the tank until you can unscrew it by hand. Once loosened, remove the propane tank from your grill.
Loosening the connection on your propane tank with an adjustable wrench is an important step in making sure you can properly remove it from your grill. After you’ve turned the knob to ‘off,’ wait at least 15 minutes for the gas levels to drop, and then ensure that there are no open flames or sparks around.
Employing the proper safety measures and utilizing a wrench, turn the connection until it is loose enough to unscrew by hand. After this has been accomplished, carefully remove the tank from your grill and store it somewhere safe until needed again.
Step 6: Place the Propane Tank in a Safe Location
Put your propane tank in an area where it can be safely stored or disposed of. Do not store it near any flammable materials, and never leave a tank inside a closed area such as a garage or shed.
Storing your propane tank in a safe location can protect you and your family from any potential harm. When moving or storing, make sure the propane tank is placed away from any flammables like gasoline, oil, wooden objects, lighters, matches, and other sources of ignition. Make sure to never leave a tank inside a confined area such as a garage or shed. Additionally, before disposing of the propane tank.
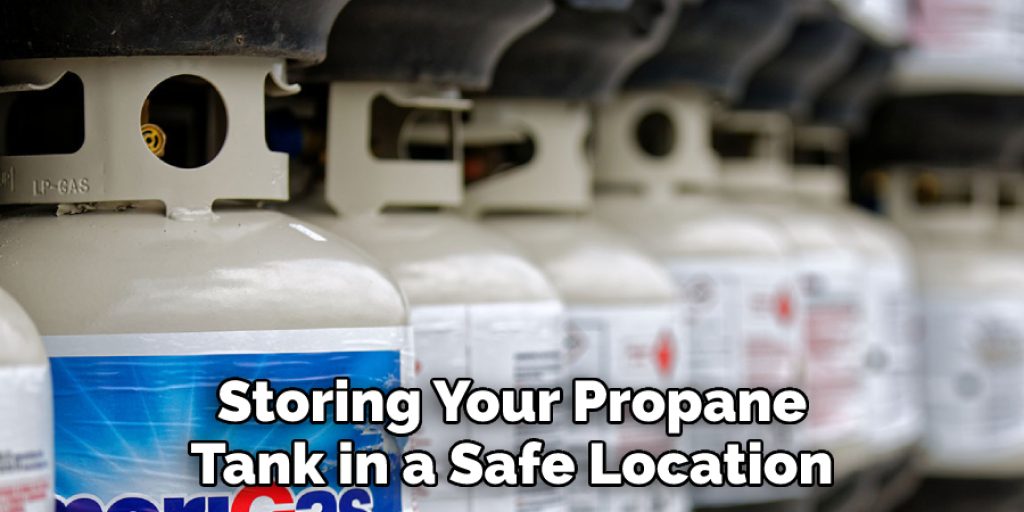
Be sure to remove it from the grill first. Having awareness and understanding of safe storage practices and regulations can go a long way in protecting yourself and your family while also ensuring the environment is being taken care of properly.
Follow these steps to easily learn to Remove Propane Tank From Grill. With these six steps, you’ll be able to safely and easily remove your propane tank from your grill in no time! Just remember to take all necessary safety precautions and if you’re ever unsure or confused, don’t hesitate to consult with a professional.
Tips on Removing Propane Tank From Grill
- Make sure that the grill is turned off and that all of the valves are closed.
- Disconnect the propane tank from the grill.
- Place the propane tank in a well-ventilated area.
- Use a wrench to loosen the valve on the propane tank.
- Turn the valve counterclockwise to release the pressure in the tank.
- Once the pressure has been released, remove the valve from the tank.
- Use a brush and soapy water to clean the valve.
- Rinse the valve with clean water and dry it with a clean cloth.
- Replace the valve on the propane tank and tighten it with a wrench.
- Store the propane tank in a cool, dry place.
How to Safely Remove a Propane Tank From Your Grill
Removing a propane tank from your grill may seem like a daunting task, but it doesn’t have to be. All you need to do is make sure that the tank is turned off and not in use before attempting to remove it. Carefully unhook the connection between the propane tank and the gas shutoff valve, disconnecting the regulator from the propane tank handle. Once disconnected, close both valves (the gas shutoff valve on the cylinder and the regulator) tightly.
And remember to keep them closed while transporting or storing your propane tank. Next, slowly lift the tank away from your grill so that you avoid any sudden jostling. Always be mindful of safety precautions when carrying your heavier tanks; make sure you lift with your legs and not with your back. Remember these simple steps for safely removing a propane tank from your grill, so everyone can enjoy grilling in peace!
How to Effectively and Quickly Remove a Propane Tank from Your Grill
To efficiently and safely remove a propane tank from your grill, first, make sure the grill’s knobs are turned off and that no flames or hot surfaces are present. Then, slowly loosen the valve on the tank using an adjustable wrench to release any gas pressure left in the tank.
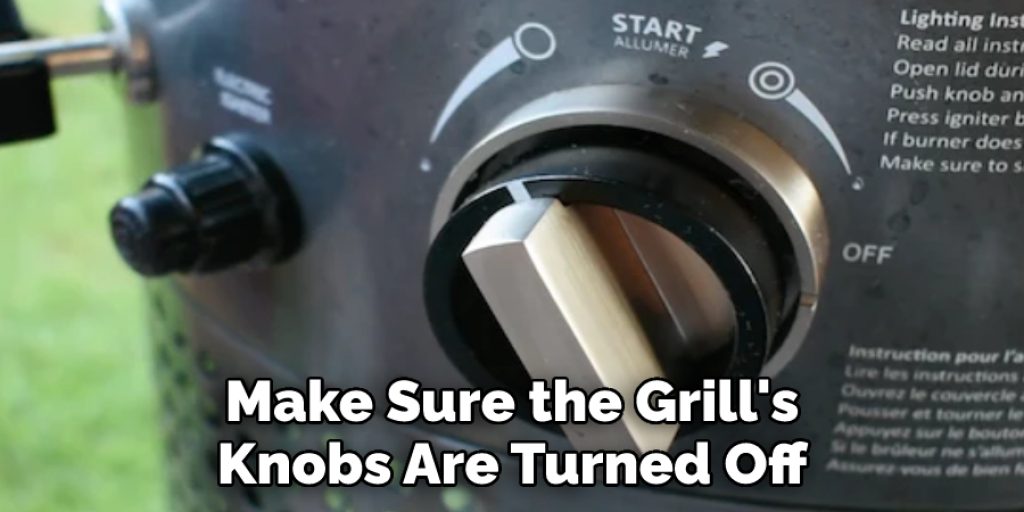
Lastly, use the hand wheel on the bottom of the tank to steadily separate it from the grill; avoid lifting or jerking as this can create dangerous sparks. This proper procedure will ensure you remove the propane tank quickly and without incident.
How to Disconnect and Store A Propane Tank the Right Way
Storing a propane tank is easy if you know the correct process. To disconnect and store the propane tank safely, first shut off the gas control valve on the appliance that’s connected to the tank. Then make sure any remaining gas in the line has been released by turning on all of the appliances connected to it one at a time until no more gas exits when turned on. Once that is done, you can detach the propane tank from its appliance using your wrench. It’s important to use a wrench and not other tools such as pliers or screwdrivers to ensure proper connection when reattaching the tank in the future.
Then take the empty tank outside away from your house and store it upright or resting horizontally for safety reasons. Make sure to keep safety caps (which come with most tanks) on the valves during storage since these would prevent dirt and moisture from getting into them which could otherwise cause damage or unwanted leakage.
Conclusion
If you find yourself in need of removing your propane tank from your grill. Hopefully, this article has been of some help. While it may seem like a daunting task, it’s fairly simple once you know what to do. You should carefully determine how to remove propane tank from grill. Just remember to always take caution when handling any type of gas line and to follow the proper steps so that everything goes smoothly. With a little bit of effort, you’ll have that propane tank removed in no time!
Angela Ervin
Angela is the executive editor of DIY quickly. She began her career as an interior designer before applying her strategic and creative passion to lifestyle and home. She has close to 15 years of experience in creative writing and online content strategy for housekeeping, home decorations as well as other niche efforts. She loves her job and has the privilege of working with an extraordinary team. She lives with her husband, two sons, and daughter in Petersburg. When she's not busy working she spent time with her family.