
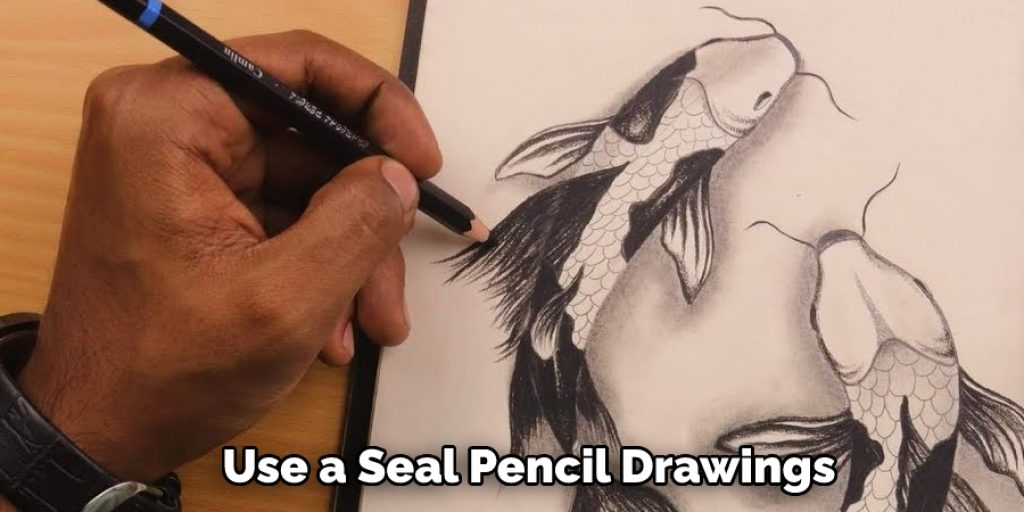
How to Seal Pencil Drawings on Paper
Introduction:
A pencil drawing is the work of an artist who uses a pencil to draw art. The art can be sketches, drawings, paintings, or other forms of artwork. The artist can use different types of pencils to achieve the desired effect.
Some artists prefer one type, while others may use a combination of two or more. Most people assume that all drawings are done on paper, but this is not true How to Seal Pencil Drawings on Paper because some professionals work directly on canvases or wooden boards without going through the paper.
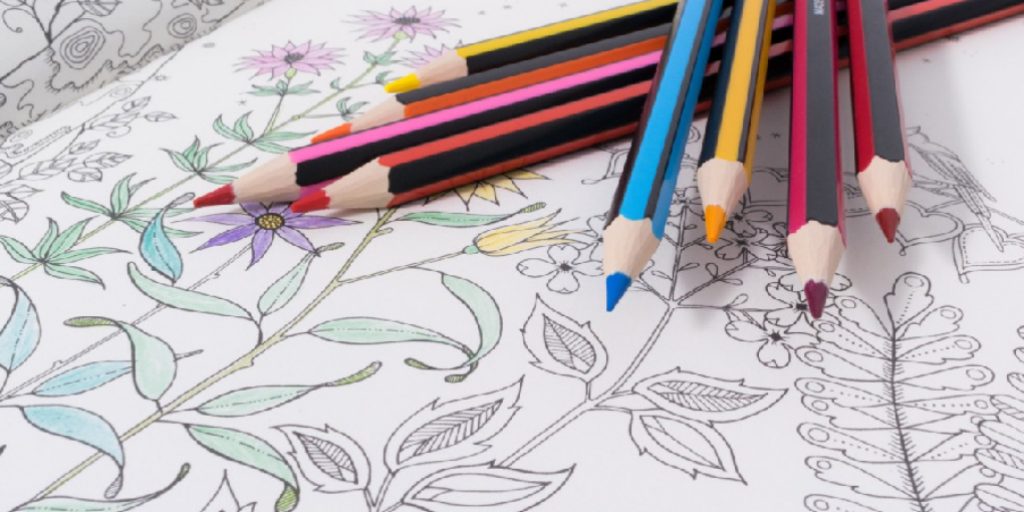
Many people love to collect pencil drawings mainly because they are affordable. Most amateur artists can afford to buy pencils and paper to create their drawings instead of oil paintings that require expensive materials and brushes. There are many sources from which one can get good quality pencils. In this article, I will discuss how to seal pencil drawings on paper. So let us get started.
How to Seal Pencil Drawings on Paper:
Step : 1
Select a drawing pencil or graphite pencil that suits your style and creativity.
Step: 2
Get a paper made from high-quality art paper, which is acid-free and made of 100% cotton fiber.
Step : 3
Choose an eraser that will help you remove smudges after sketching on paper. When buying an eraser, make sure it doesn’t leave any wax or soot marks on the paper, as these can ruin the entire picture by sticking to it and spoiling the surface with discoloration.
Step: 4
Purchase an artist’s fixative (a spray-based varnish) or try a clear fixative spray. It would help you seal your pencil drawing on paper to its surface while giving it the finishing touch and ensuring that it does not get rubbed off easily.
Step: 5
You can purchase glassine sheets to help protect your wet drawings. The cellulose coating on the glassine sheets will keep away any moisture or stains that could ruin the drawing or its texture.
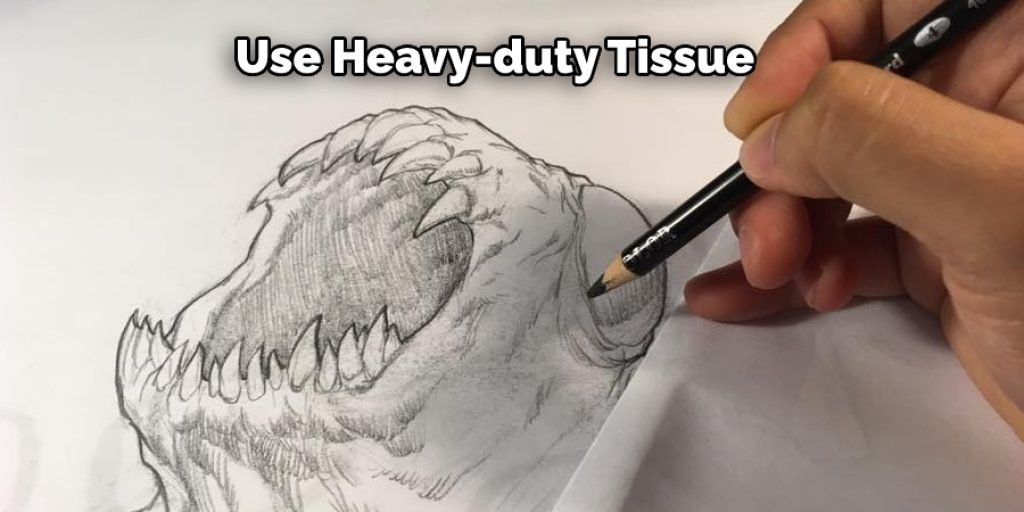
Step: 6
Use heavy-duty tissue papers to dry up the particular area where you want your drawing to be placed over it. Ensure that you do not tear away your own drawing if there is more humidity than the cellulose covering glassine sheets. Tissue papers add to the visual appeal of your drawing and give it an elegant finish to place it in a frame for display purposes.
Step : 7
The last step is to put your drawing over the tissue paper and take off the part that is not dry yet. Be careful not to ruin or tear your drawing.
In case you have sketched out more than one picture on paper, then these steps are to be followed only after they’ve dried up completely, never when they’re wet else, there’s a danger of smudging them with the fingers while handling them. The process of sealing a pencil drawing on paper takes some time and patience to get well mastered, but with practice, you can master it without much trouble.
Precautions While Performing How to Seal Pencil Drawings on Paper:
Sealing drawings on paper is time-consuming, so it should not be carried out in the same room where you have been working. Before sealing your drawings, work on them to eliminate any smudges or spots caused by erasures and pencil sharpening. Seal drawings on separate sheets of paper as well as keep the originals safely away from dust. Do not seal colored drawings; otherwise, they will bleed together after drying up and look like one big blur.
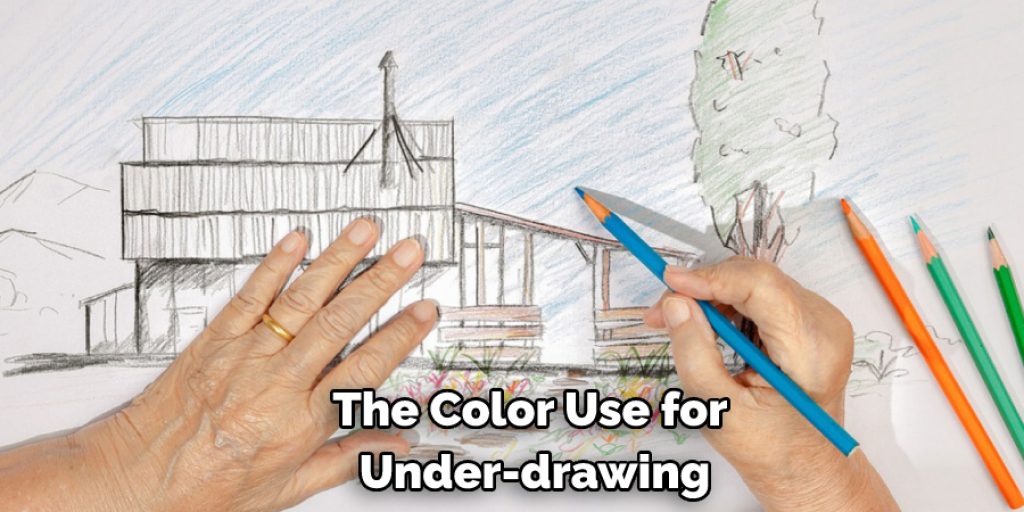
In case of any mistake in your drawing, use light shades of pencil for under-drawing instead of going over what you had drawn previously. It has been observed that the color used for under-drawing can sometimes seep through the sheet and make a slight difference in the colors of your drawing.
Solid colored pencils give a glossy finish to the drawings, but there are times when you want it to be dull. In that case, use a softer lead and tiny bits of wax paper between each color layer for a nice dull finish in your drawings. Also, only use thin layers of color; if too much is applied at one time, it will cover up and not show through other colors underneath.
Wipe your hands with a clean cloth to protect them from lead dust. First, apply binding gum to the back of the drawings, then shellac for easier drawing removal at the time of framing.
You Can Check It Out to Frame Charcoal Drawings
Why Do You Need to Seal Pencil Drawings?
Sealing pencil drawings is important to protect your artwork from wear and tear. The sealing process adds a protective layer over the drawing that helps it withstand any bumps, scrapes, or smudges that may occur during its lifetime. In addition to protecting your work, sealing it can also help you achieve certain effects when working in sections and layers that you weren’t able to achieve before.
Frequently Asked Questions:
Why Would You Want to Seal Your Drawings?
If you plan to frame your drawings and hang them up on the wall for display, that is definitely one reason you would want to seal them. You will probably also want to seal pencil drawings if they are original works of art and not just copies or reproductions of existing art pieces. Seal with care so as not to damage paper or words.
The sealing process may cause paper or ink to become grey in color. Please note: Sealing may cause images to shrink slightly, which does not affect their quality and would not be noticeable with most artwork. Artwork will not shrink if sealed before framing.
It is always best to test any sealing process on a sample in an inconspicuous area first. Also, remember that we do not accept any responsibility for the results of what you do with your artwork once it leaves our premises.
This person is a graphic artist and teacher who has some experience with sealing and protecting pencil artwork. They say that this information may be helpful for understanding the process, but it’s not professional advice.
Why Do You Need to Seal Drawings That Will Be Framed?
A sealed drawing has several advantages over an unsealed one when framing and hanging up the artwork on a wall. It is much easier for you to use non-tacky glue for mounting if the drawing is sealed first rather than having it stuck directly onto the glass pane of a picture frame without sealing. Sealing helps protect your pencil drawings from sun fading as well, which would otherwise happen faster with un-sealed drawings.
In addition, sealing gives your artwork more depth and dimension because gluing pieces of glass together results in shadows at regular intervals along its surface area. In contrast, the seals within shadowed areas with no glass panes will appear darker, thus increasing the contrast between light and dark.
The sealant within shadowed areas helps bring out the richer texture of your pencil drawing and makes it more three-dimensional. You can seal only certain areas of a drawing that need special attention without altering the texture or color of other parts.
A sealed drawing also appears more professionally framed with glass panes when compared to an unsealed drawing hung up on a wall in the same way. Unsealed drawings look dull and unfinished when placed in picture frames with glass panes, whereas sealed ones appear bright and vivid.
The seams are much less visible if your drawing has been sealed properly than if it hasn’t been sealed at all. Sealing gives your artwork strength, which is always desirable, especially if the drawings are often handled as part of your everyday life.
Some Expert Tips:
If you are sealing your drawings on A3 size, then use 2 kgs of shellac for every 50 sq. cm. The ratio should be the same for other sizes as well. Before using it, dampen a cloth in warm water (40 degrees C to 60 deg C) and keep it damped until needed again later in the process.
It is better to set up a space where there is ventilation because shellac gives out fumes while drying up, so do not seal your drawings in an enclosed space without any windows or doors open. Instead, keep the objects or things around that need protection from the fumes away from sealed drawings.
Add ⅛th to ¼th tsp. of ‘Building Shellac’ in 100 ml of alcohol, and it works as a good solvent for binding the powder together. This mixture will be used to seal your drawings.
Use your fingers (clean ones) to apply shellac on the back of the drawings, and use a small sponge or brush to spread it evenly. You should apply layer after layer of shellac until you feel that there is no more solid surface between them; otherwise, air bubbles get trapped inside during the drying up process. Dry each layer using clean cloths damped with warm water before applying another set coat later.
After 2-3 layers are completed, remove excess shells from dried-up surfaces by using a clean rag or brush depending on paper thickness.
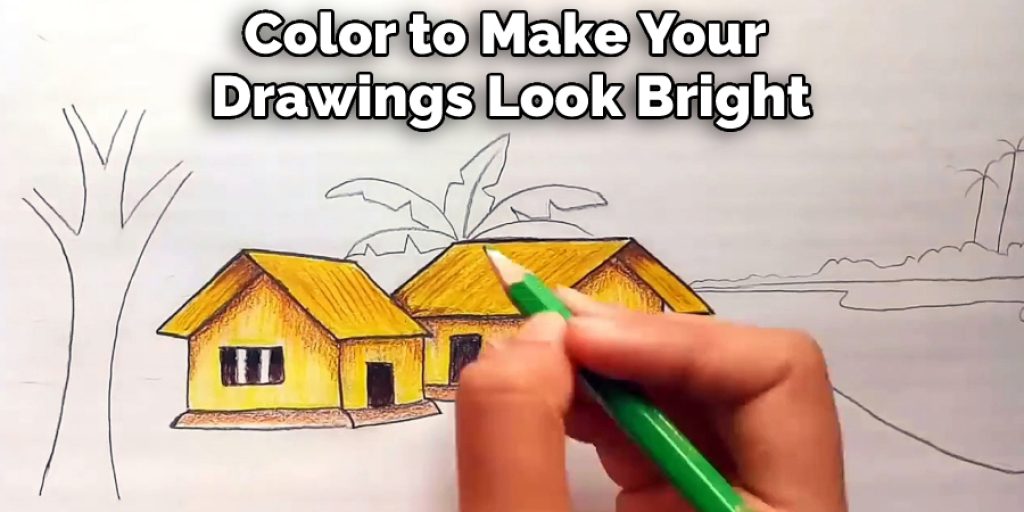
Use shellac in color to make your drawings look bright; otherwise, they will look dull and grey. A trick to stick colors together is using a little bit of white shellac before applying other colors over them. It helps the colors last longer because they are fused when dried up that way. Unfortunately, Shellac causes slight yellowing of colored paper, so you will notice that your drawings look darker than what they really are after sealing on paper.
Conclusion:
I hope this article has been beneficial for providing all the relevant information on how to seal pencil drawings on paper. Thank you and have a nice day!
Elizabeth Davis
Elizabeth is a creative writer and digital editor based in the United States. She has a passion for the arts and crafts, which she developed from a young age. Elizabeth has always loved experimenting with new mediums and sharing her work with others. When she started blogging, she knew that DIYquickly would be the perfect platform to share her tutorials and tips. She's been writing for the blog from the beginning, and her readers love her helpful advice and easy-to-follow instructions. When she's not writing or editing, Elizabeth enjoys spending time with her family and friends.


