How to Solder Metal Crafts for Art
Do you like making your jewelry or other metal crafts? If so, you may be wondering how to solder metal crafts. Soldering is a great way to connect two pieces of metal, and it’s not too difficult to learn. Solder is an essential tool for the metalworking, and it can be used to create beautiful pieces of art.
You’ll need a soldering iron, solder, flux, and a metal project to work on. With these tools and techniques, you can create your own beautiful metal art pieces. In this post, we’ll teach you the basics of soldering and show you how to solder metal crafts for art. Let’s get started!
Step by Step Guide: How to Solder Metal Crafts for Art
Step 1:
Before you begin soldering, make sure to read your project instructions carefully and see if it includes any additional recommendations for tools or materials. For example, some projects will require a pickle pot to remove oxidation from the metal after soldering is complete. While this isn’t the only heat source available, it is one of the more common options.
Step 2:
A pickle pot can be made simply by putting a piece of wire across two supports and suspending the metal to be cleaned in their container (usually steel or aluminum) containing a mixture of baking soda and water. Place this on top of your heat source, usually a propane torch.
Step 3:
Start heating the piece until you see the outermost layer of oxidation starts to turn red or pink. At this stage, you can remove it from the pickle pot and wipe it down with steel wool or an abrasive pad. This will expose clean metal ready for soldering.
Step 4:
Now that your piece is clean, it’s time to begin the soldering process. Make sure you have all of your tools and materials within easy reach. If you’re working with silver, gold, or other precious metals, consider investing in some soldering picks – the sharper, the better.
Step 5:
Start by heating all of your pieces to be soldered evenly. Once they are hot enough, touch them together so that one begins to form around the other and help it flow into all the correct spaces. Heating too much or for too long can melt or burn your material so pay careful attention to heat levels throughout this process.
Step 6:
Once you’ve got things moving in the right direction, move on to adding any additional solder that may be needed. Silver solder is traditional for most projects, but other options depend on the metal and desired outcome. Be sure to follow your instructions as closely as possible for the best results!
Step 7:
When soldering is complete, wash your piece in cold water; never use hot or even warm water as this can cause stress fractures and other unwelcome issues. After washing, pat it dry with a soft cloth and inspect it for any problems. If everything is good, move on to the next step, oxidizing your metal craft!
Step 8:
Place your piece in an airtight container (usually steel or aluminum) with a mixture of baking soda and water. Close the top tightly and shake vigorously. This will produce a chemical reaction that helps to develop the desired oxidation color. Continue shaking until the piece has reached your desired look, then remove it and wash it with soap and water. If you want, you can also spray it down with an acrylic sealer at this point for added protection.
Step 9:
If you are happy with the results, carefully dry your metal craft with a soft rag and move on to any additional buffing needed to produce a polished finish. Once you’re finished, consider setting up an area in your studio to regularly clean and pickle your metalwork after soldering.
Step 10:
To give your project an even more professional look, consider using a buffer to produce a nice shine. This can be done by hand or with an electric drill depending on preference and the desired level of shine you are reaching for!
A Few Extra Tips to Consider
1. Solder is always applied in liquid form so try not to stress about melting the entire piece when soldering.
2. Once the piece is soldered, heat can be applied via torch or blowlamp for more precise areas to be worked on (such as wire edges of a bit). A graphite stick was used here instead of a standard metal file due to the closeness of the flame.
3. If you’ve overheated an area, use steel wool to remove the oxidation and expose the original metal.

4. Always quench in water or fine grain soldering flux (if using) after soldering for a cleaner finish.
5. If you’re not completely happy with your piece, start again! Creating can be frustrating at times, but it will be worth it in the end.
6. Be persistent! If you make a mistake, remove/correct it and start again until you are satisfied with your piece.
7. Experiment with different techniques and materials! You never know what you might discover along the way.
8. Remember, even the most minor mistake will stand out when photographing your pieces, so don’t be too hard on yourself if you’re not getting it right straight away! Just keep practicing, and it will come with time.
Can You Solder Metal Art
There is a lot of interest in metal art but very little information about how to solder metal crafts for art. Most books and websites on the topic don’t mention soldering at all! The methods needed for soldering metals can be easily mastered by anyone with a bit of patience and a willingness to learn. The first thing needed is a well-ventilated space that can be relatively free of airborne dust and particles.
A basement or garage is usually best for this purpose. Next, you need one (or more if you like) good workbench with a large vise mounted securely to the top and possibly an additional small vise attached to the front edge of the workbench for holding pieces in place.
Finally, an alcohol lamp or blow torch with a large tank of fuel is needed to heat the metal when soldering, and an adjustable gas flame unit is necessary if you’re using anything other than charcoal for your soldering fire.
You can also check out to Make Art Books
How Do You Solder Wire for Crafts
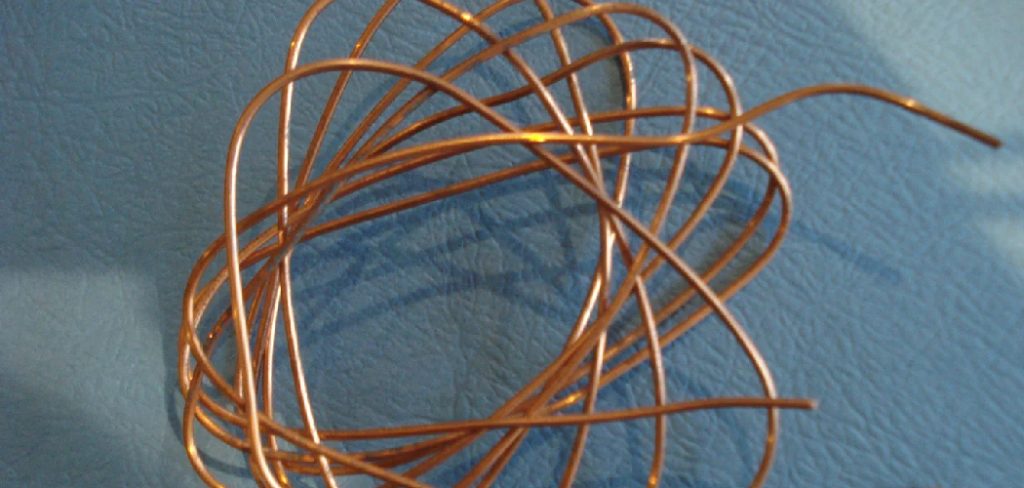
Soldering wire for crafts is similar to soldering metal, but the solder itself tends to be much thinner and sometimes even made of plastic. Use craft wire instead to prevent yourself from using regular solder that will not work with your projects. Craft wire comes in many thicknesses and types, such as silver or copper.
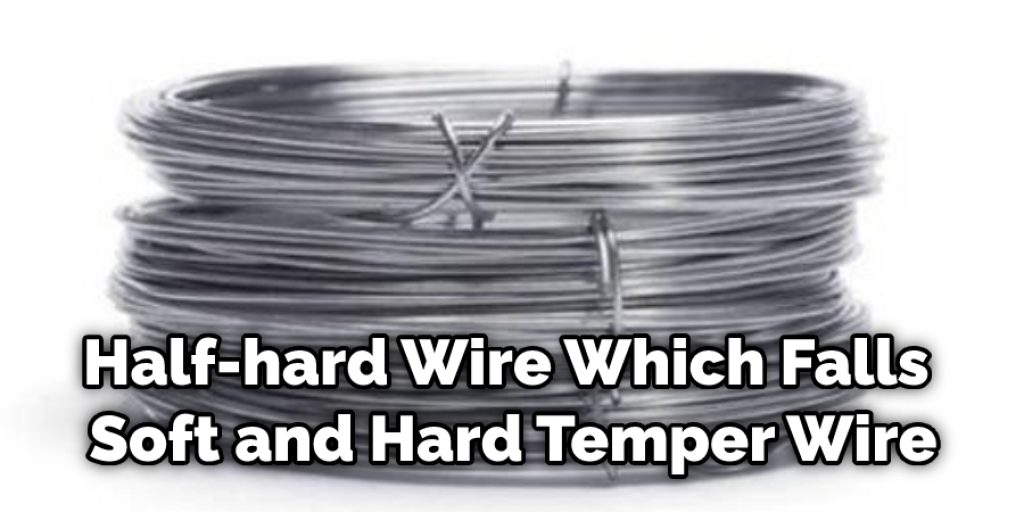
The thickness you choose will come down to personal preference, but the most common thickness is 24 gauge wire. The second thing you need to know about craft wire is it comes in different temperaments or hardness of the metal itself. Soft temper wire has a lower level of hardness and can bend very quickly, whereas hard temper wire has a high level of hardness and can hold its shape better.
There is also half-hard wire, which falls between soft and hard temper wire. The final difference you should know about craft wire is it sometimes comes wrapped around a spool or can come on a straight piece of wire without any protective coating.
Does Solder Hold Metal Together
Metalworking is the art of shaping metal into valuable objects. Welding, cutting, and fastening are some of the most common ways to join pieces of metal together. But did you know that you can use a different method to put your creations together?
Soldering involves melting an alloy with lead or tin on top of two parts that you want to join together. Then, the alloy fuses the two pieces and gives them a smooth and shiny finish.
Soldering can be used to connect metal wires, braid strands of wire together, or even create one piece out of several different types of metal. It’s an excellent option for art and crafts because it gives you more options than welding does. Soldering is also perfect if you want to add some design elements to your project.
How Do You Make Two Pieces of Metal Stick Together
It is not an easy task. If you break a metal piece, it will usually break all the way through and will add weight to your work if you solder it back together. Soldering means that you melt two or more pieces of metal together at high temperatures. You can even attach water pipes with soldering techniques, but the process is a little trickier and more time-consuming.
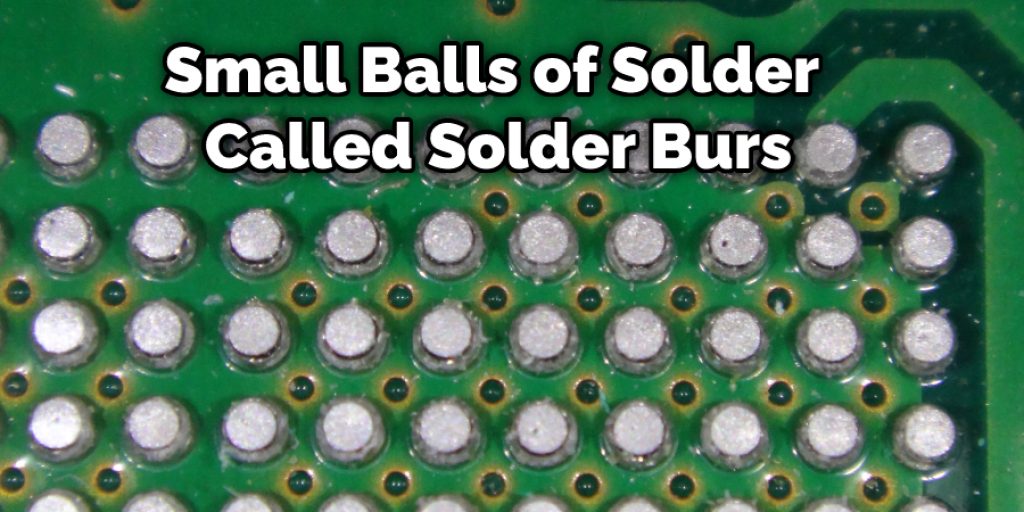
The best way to solder metal pieces together, in most cases, is to use small balls of solder called ‘solder burs.’ These are created by melting the same metal you intend to solder together and collecting it when molten. Of course, you can create your own, so your soldering cost comes down. But still, burs are much more expensive than solid wire, so make sure it’s worth your time before you start soldering.
Conclusion
The best way to create a soft appearance is by using an off-white or cream color. This will give your art just the right amount of warmth and balance that it needs while not looking too washed out. For example, if you want to paint something red, choose a shade of red that has some gray in it, like burnt sienna.
Similarly, when painting with blue colors such as ultramarine or cobalt blue, use white mixed into the paint for more muted tones. Finally, don’t forget about texture!
An artist can easily add dimensionality and interest by incorporating brush strokes on canvas paper or surface onto wood panels. We hope this blog post on how to solder metal crafts for art has been helpful. If you have any questions or want to know more, then feel free to comment below!
Elizabeth Davis
Elizabeth is a creative writer and digital editor based in the United States. She has a passion for the arts and crafts, which she developed from a young age. Elizabeth has always loved experimenting with new mediums and sharing her work with others. When she started blogging, she knew that DIYquickly would be the perfect platform to share her tutorials and tips. She's been writing for the blog from the beginning, and her readers love her helpful advice and easy-to-follow instructions. When she's not writing or editing, Elizabeth enjoys spending time with her family and friends.