How to Add a Second Light Switch Without Wiring
Everyone’s home could use a little more lighting in certain rooms, but adding light switches can be intimidating. If you think wiring up your electrical circuits are overwhelming and out of the scope of your abilities, fear not! There are ways to add an extra switch without pulling any wires through walls or ceilings.
It is important to know how to add a second light switch without wiring. It can be done quickly and easily with minimal tools. In this blog post, we’ll explore how to install a second light switch so you can enjoy additional lighting wherever you need it. Read on and find out all the steps involved in adding that new switch in just a few simple steps.
Tools You Will Need
- Philips head screwdriver
- Wire strippers
- Two 3-way switches
- Optional: Electrical tape or wire connectors
7 Easy Steps for How to Add a Second Light Switch Without Wiring
1. Turn Off the Power Supply
For safety reasons, make sure you use a circuit tester to make sure there is no electricity flowing before proceeding.
Taking the time to double-check before you begin a project can help ensure your safety and prevent dangerous accidents. When completing any electrical project, it is important to always start by turning off the power to the room or area in question. After shutting off the power, you should use a circuit tester to confirm that all of the electricity is off and that it’s safe to proceed.
Doing this step will make sure you won’t be surprised by live wires during your project, while also allowing you to work without worry.
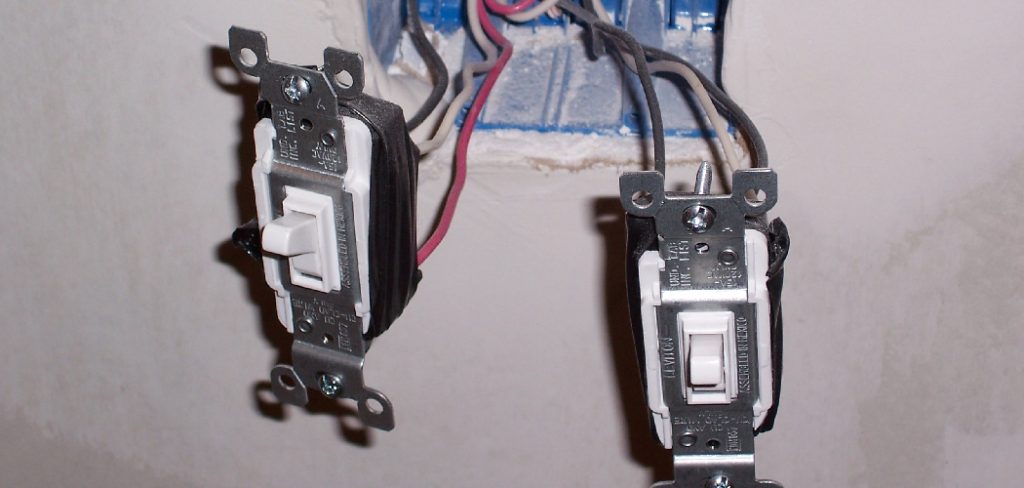
2. Take Off the Covers
Before installing the new dimmer switch, it is important to safely remove both existing light switches. Start by taking off the covers of both light switches and then disconnecting all associated wires from each of them.
Make sure to exercise caution throughout this process to avoid an electrical overload or shock. With the wires safely disconnected, you can then proceed with removing both light switches. The result should be two clean empty switch slots where the new dimmer switch will be fitted in shortly after.
3. Install 3-way Switches
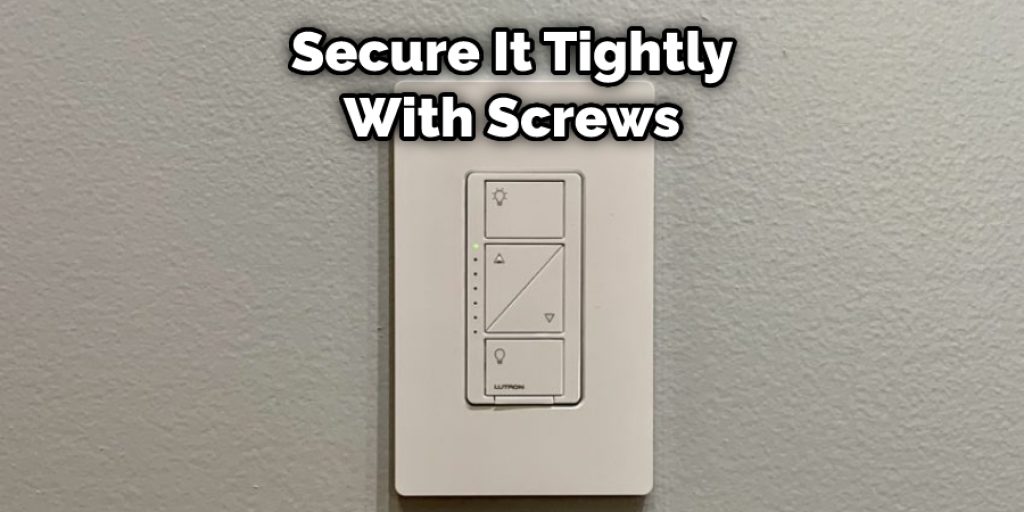
Make sure to secure it tightly with screws so that it won’t come loose easily.
Adding a second switch to your electrical system can seem daunting, but it doesn’t have to be. With the right tools and supplies – two 3-way switches in particular – anyone can install one in place of an existing one with ease.
Be sure to follow the directions written on the packaging or manual for each switch and make sure you secure each one tightly with screws so it won’t come loose through vibrations or misuse. With that little bit of extra effort, you’ll have your second switch ready to use in no time!
4. Attach Them to a Wall
After preparing the wires and attaching them to the switch, it’s time to hang the switch on the wall. Start by determining where you would like your second light switch to be installed so you can mark the spot accordingly.
Once that is marked, take a drill with a proper bit size and make holes exactly where you marked. After that is done, use the screws that come with the switch and fasten it securely to the wall. And now you are ready to install your second light switch!
5. Connect the Wires From Your Existing Wiring
Connecting your wires can be a simple yet important task and is key to the proper functioning of the system. Begin by taking one wire at a time and connecting it to the existing wiring. It is best, to begin with, the black wire.
It usually indicates “hot,” then moves onto white which typically signifies “neutral” and lastly, finishes with green which generally denotes “ground.” Taking a moment now to ensure your wires are connected properly will save you time in the long run. Don’t forget to make sure that each connection is secure before moving on to the next wire.
6. Secure the Wires in Place
Securing the wires in your project can be important for ensuring it functions correctly and for a long time. Electrical tape and wire connectors can be used to secure the wires together so that they don’t move or come loose. Tape is an easy solution.
It can easily wrap around the wires, but if you need a more permanent connection, connectors are more suitable. Installing electrical tape or connectors may take some time upfront, but they can ensure the durability of your project in the long run.
7. Replace the Two Switch Covers
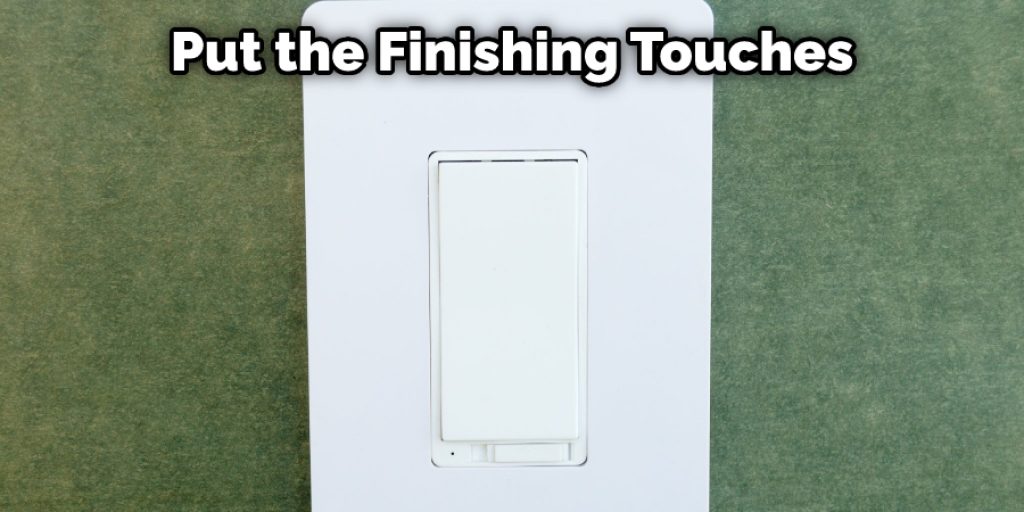
With the additional wire connected to the new light switch, it is time to put the finishing touches on this project. Carefully screw in the two switch covers, making sure not to over-tighten them. Once you have finished and all looks secure, flick both switches on, expecting a result from each of them as you test if your new second light switch is working properly.
If successful, your two light switches will give you control of two different devices providing the comfort and convenience that come with having accessories divided into two separate entities within one room.
You should now have a fully working second light switch without having to pull any wires through walls or ceilings!
With the right tools and following the steps outlined above, you should be able to install that extra switch in no time. Happy lighting!
You Can Check It Out To Bypass Washing Machine Water Level Sensor
9 Tips For Adding a Second Light Switch Without Wiring
- Decide where you want to place the new light switch. The location should be convenient for you and your family, and it should also make sense given the layout of your home.
- Choose a light switch that will match the style of your other light switches. This will ensure that your new light switch looks like it belongs in your home.
- Remove the cover plate from the electrical box where the new light switch will be installed. Be sure to turn off the power to this circuit before beginning any work.
- Use a voltage tester to verify that the power is off before proceeding.
- Disconnect the wires from the old switch and remove them from the electrical box.
- Install the new switch in the electrical box and connect the wires to it according to the manufacturer’s instructions.
- Replace the cover plate on the electrical box and turn on the power to the circuit.
- Test the new switch to make sure it is working correctly.
- If you are not comfortable working with electricity, hire a licensed electrician to do this work for you.
Frequently Asked Questions
What is the Easiest Way to Add a Light Switch?
When adding a light switch, the job is a lot simpler than most people think. First and foremost, you’ll want to turn off your main power source before working on any electrical wiring.
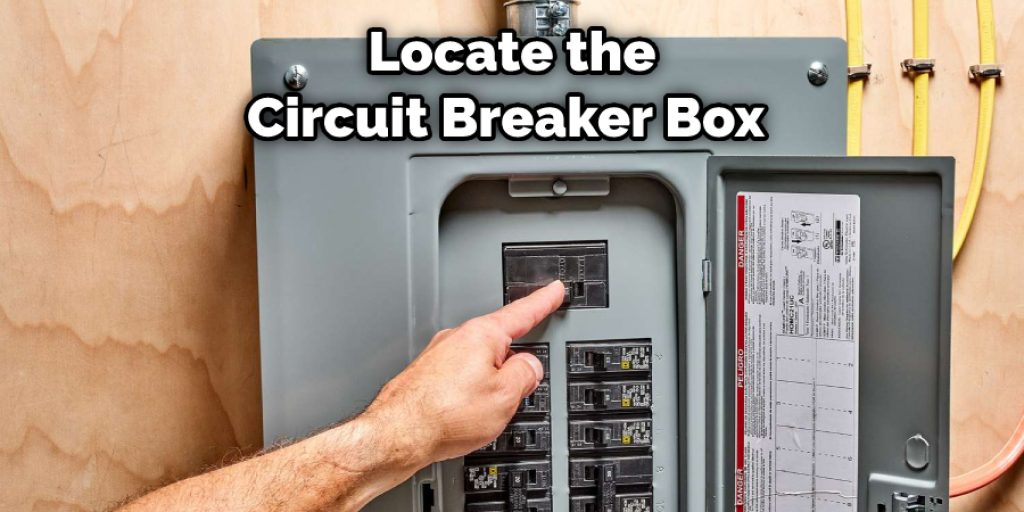
Once that’s done, locate the circuit breaker box or fuse box of your home, isolate the circuit by turning off its particular switch, and then loosen the screws which secure the plate cover. Those are usually located near a doorway for convenience.
Afterward, remove the old switch from the wall by opening up its housing unit at the back with a screwdriver. Disconnect it from the wires.
Finally, connect your new switch as described in your manufacturer’s instructions and replace it by reattaching its housing unit. And with that last step completed, don’t forget to turn on your circuit again and make sure everything is working correctly.
How Can I Install a Light Switch Without Tearing Down Walls?
Installing a light switch without tearing down walls is achievable, even without professional help. Although it’s impossible to give detailed instructions without knowing the specifics of your home or wiring system, some general principles and tips can help with the process.
For example, make sure you turn off all power to the circuit before beginning; make sure the right wire gauge and type of switch are used, and review your local regulations regarding necessary permits.
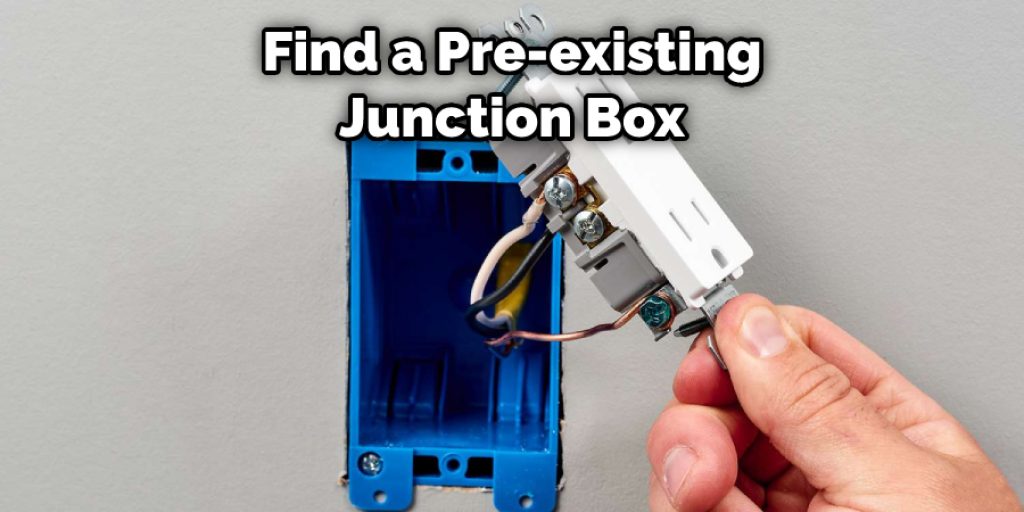
Additionally, if possible try to find a pre-existing junction box to make the job easier. With adequate research and preparation, it’s possible to install a light switch quickly and safely without having to destroy walls.
You Can Check It Out To Reset Electrolux Washing Machine
Conclusion
Now that you’ve learned how to add a second light switch without wiring. Although it may seem like a daunting task to add an extra light switch, it is quite simple if you follow the proper instructions. With a few tools and some careful planning, you can have an extra light switch installed in no time.
Just be sure to take all safety precautions while working with electricity. Have you ever added an extra light switch? What tips would you give to someone who is attempting this for the first time?