How to Change a Table Saw Blade
Changing a table saw blade is a fundamental skill that every woodworking enthusiast should possess. A table saw blade needs to be replaced periodically due to wear and tear or when switching to a different type of blade for a specific woodworking task.
However, the process of changing a table saw blade can seem intimidating for beginners or those unfamiliar with power tools. With the right tools, safety precautions, and step-by-step instructions, changing a table saw blade can be a straightforward and manageable task.
In this article, we will provide a comprehensive guide on how to change a table saw blade safely and efficiently. We will cover the necessary tools, safety measures, and step-by-step instructions, empowering you to confidently and successfully replace the blade on your table saw for accurate and efficient woodworking.
Which Way Do You Remove a Table Saw Blade?
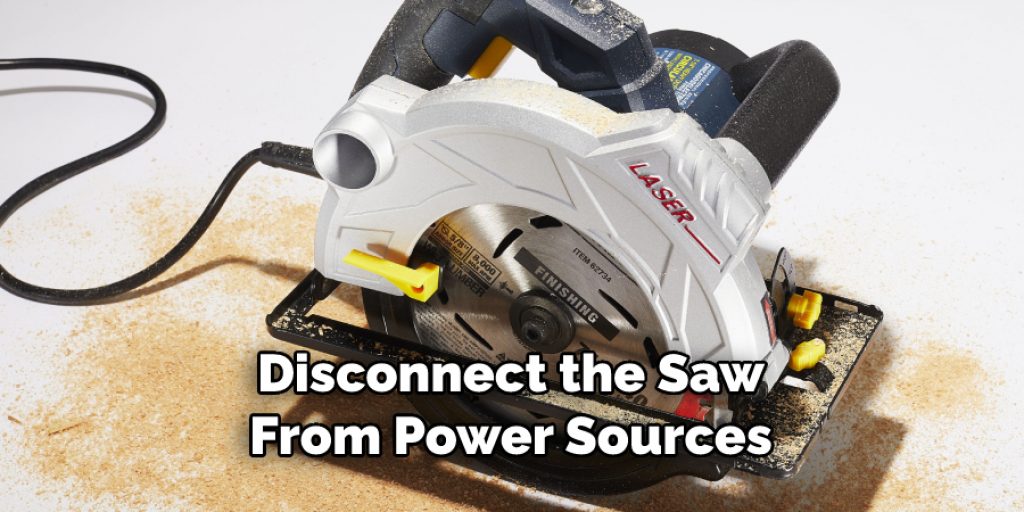
Removing a table saw blade is an important step in the process of changing it. Before you begin, make sure to disconnect the saw from power sources. Doing so will ensure that no accidents occur while removing and replacing the blade.
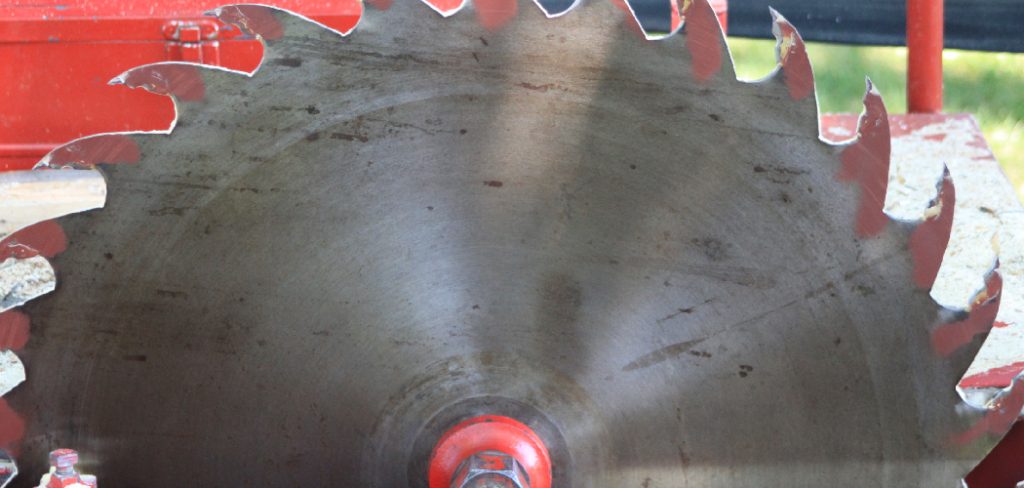
The direction in which you remove a table saw blade depends on your specific model of saw. Generally, most models have an arbor nut that is loosened with either a wrench or an Allen key. Once this nut is loosened, you can carefully pull out the old blade.
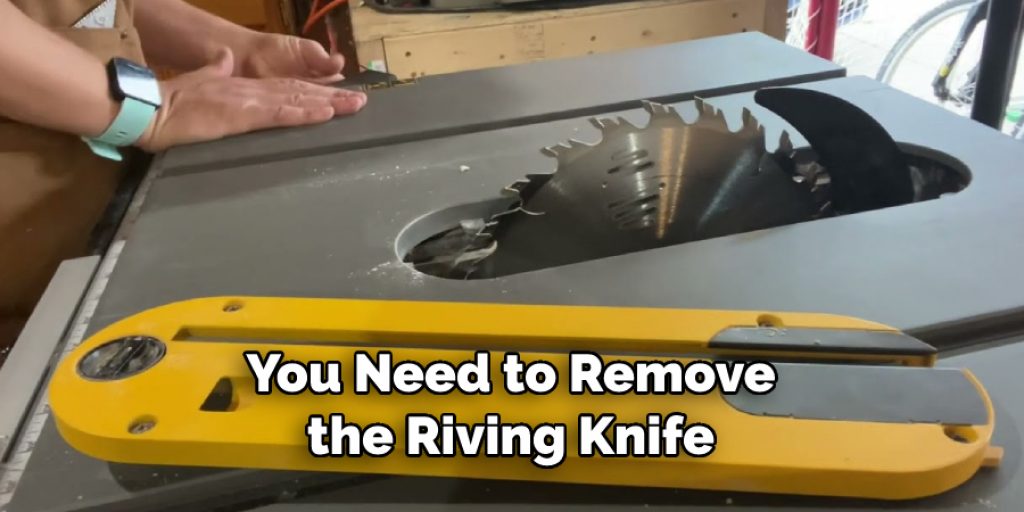
Some newer models have splitter guards or riving knives that must be removed first before you can loosen the arbor nut. If your model has one of these features, simply use a screwdriver to carefully remove the guard or knife before you proceed to remove the blade.
Once the blade is removed, you can install the new one in a reverse process. Start by sliding it onto the arbor and then firmly tighten the arbor nut with either a wrench or an Allen key. Make sure to keep your fingers away from any moving parts during this step.
10 Steps How to Change a Table Saw Blade
Step: 1. Gather the Required Tools
Before starting, ensure that you have the necessary tools ready, including a wrench or socket wrench, a blade-changing tool (if provided with your table saw), and possibly a screwdriver. If you need to adjust the height and angle of your blade, then make sure you have a hex key wrench or an Allen wrench set.
While you can use a pair of pliers, it is best to have the right tools for the job. To make the job easier, you can also wear safety gloves and glasses. However, these are not necessary if your blade-changing procedure does not involve any risk.
Step: 2. Turn Off the Table Saw
Always prioritize safety and make sure the table saw is unplugged and powered off before attempting to change the blade. This prevents any accidental start-ups during the blade replacement process. Make sure the saw is cooled down after recent use before handling.
If the blade is still spinning, use a push stick to slow it down until it stops. Wear protective gloves when handling the saw blades, as they can be very sharp. Though most circular saw blades have a plastic or rubber coating for protection, the edges of the teeth can still be dangerous.
Step: 3. Remove the Blade Guard and Riving Knife
Depending on the type of table saw, you may need to remove the blade guard and raving knife to access the blade. Follow the manufacturer’s instructions for your specific table saw model. On some models, you may need to loosen a few screws or knobs and remove the guard.
For other models, you might be able to simply raise the guard to access the blade. If you need to remove the riving knife, simply unscrew it from a handle and pull it off from the saw table. While these components are off, take the opportunity to inspect them for wear and tear. Replace any damaged parts as needed.
Step: 4. Lock the Blade in Place
Use the blade-changing tool or a wrench to lock the blade in place by engaging the arbor lock or blade lock mechanism if your table saw has one. This prevents the blade from turning while you are tightening or loosening the nut.
If your saw does not have this mechanism, use a small scrap of wood to hold the blade in place. Insert it between the teeth of the blade and use a clamp or vise grip to hold it in position. While the lock is engaged, make sure not to move the blade before proceeding with step 5.
Step: 5. Loosen the Arbor Nut
Use the wrench or socket wrench to loosen the arbor nut that holds the blade in place. Turn it counterclockwise to loosen it, being careful not to damage the blade or the arbor. You may need to use a breaker bar or long pipe wrench if the nut is particularly tight.
Once it has been loosened, you can unscrew it and remove it. However, do not remove the blade yet. While the arbor nut is off, take this opportunity to clean any sawdust or debris that has been collected on the arbor. This will make it easier to install the new blade.
Step: 6. Remove the Blade
Once the arbor nut is loose, carefully lift the old blade off the arbor and set it aside in a safe location. Be sure to use caution when handling the blade and be aware of its sharp edges. Avoid contact with skin and take special care to keep it away from children.
Dispose of the old blade properly, either by recycling or taking it to your local solid waste disposal center. Though it is not necessary to do so, you may want to wear protective gloves while handling the blade. To help ensure safety, you may also want to wear safety glasses.
Step: 7. Clean the Arbor and Blade Area
Before installing the new blade, take the opportunity to clean the arbor and the surrounding blade area from any sawdust or debris using a brush or compressed air. Doing so will reduce the risk of friction and overheating when the new blade is installed, as well as eliminate any potential sources of corrosion.

Once you are finished cleaning the area, carefully install the new blade. Make sure to double-check that it is aligned correctly and properly secured with the arbor nut. While tightening the arbor nut, use a wrench to hold the blade in position. Finally, check the alignment one more time before turning on the saw and cutting with the new blade. With all of these steps completed, you should now have a correctly installed and aligned table saw blade.
Step: 8. Install the New Blade
Carefully place the new blade onto the arbor, aligning the blade teeth with the table saw’s drive mechanism. Make sure the blade is fully seated onto the arbor. Secure the blade with a single wrench or two wrenches.
Tighten the arbor nut until it is firmly in place. Make sure not to overtighten it, as this can damage the blade and the arbor. When the blade is fully secured, test the blade by spinning it with your hand. If it spins freely, the installation is complete.
Step: 9. Tighten the Arbor Nut
Use the wrench or socket wrench to tighten the arbor nut securely, turning it clockwise. Be cautious not to overtighten, as it can cause damage to the arbor or the blade. If the blade wobbles, loosen and retighten the nut.
Once tightened properly, double-check the arbor nut for tightness by attempting to rotate the saw blade. If it moves, tighten it again. Finally, turn on the saw and make a test cut to ensure that everything is working properly.
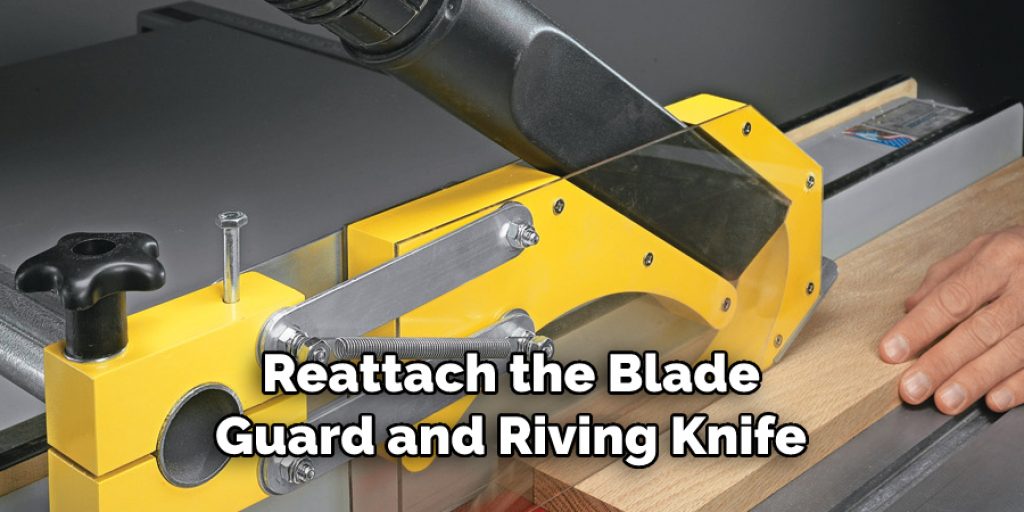
Step: 10. Reinstall the Blade Guard and Riving Knife
Once the new blade is securely in place, reattach the blade guard and riving knife according to the manufacturer’s instructions. Double-check that they are properly aligned and functioning before proceeding.
If the blade guard and riving knife are not correctly aligned and/or functioning, shut off your saw and double-check that they are installed properly. Never operate the saw without these safety components in place! After they are both secure, you can turn your table saw back on and begin cutting.
It’s crucial to follow the manufacturer’s instructions and safety guidelines when changing a table saw blade to ensure a safe and successful blade replacement process. Always wear appropriate personal protective equipment, such as safety goggles and gloves, and double-check that the blade is installed correctly before using the table saw again.
Conclusion
In conclusion, changing a table saw blade is a fundamental skill that all woodworkers should possess. By following proper safety precautions, such as disconnecting power, wearing appropriate protective gear, and handling the blade with caution, you can confidently and safely change the blade on your table saw.
We hope this guide on how to change a table saw blade was helpful. Please share it with your friends on social media if you find it useful. And be sure to check back here soon for more informative guides like this one.