How to Cover Wrinkles With Airbrush Makeup
Airbrush makeup is a great way to cover up wrinkles and skin blemishes. If you have problem skin or simply want to cover up your age spots, then airbrush makeup is the right choice.
This article will teach you how to cover wrinkles with airbrush makeup. We will also discuss the benefits of airbrush makeup and show you how to choose the right airbrush foundation for your needs. So let’s get started!
What Materials You’ll Need
- Makeup sponges
- Translucent face powder
- Loose or compact setting powder
- Airbrush makeup
- Powderpuff
- Cosmetic wedges
Step by Step Guide: How to Cover Wrinkles With Airbrush Makeup
Step 1: Apply a Moisturizer
Before applying your makeup, apply a moisturizer. This is very important because it will make the skin hydrated and hold any makeup. It will also help your makeup last for a longer time without it sliding off the skin and settling into wrinkles or creases.
Step 2: Apply a Primer
Primers are like a extra boost of moisture for your skin. Most primers contain silicone that helps create an even surface before applying foundation. It will also help the foundation last longer on the skin and give a more flawless finish to your makeup look.
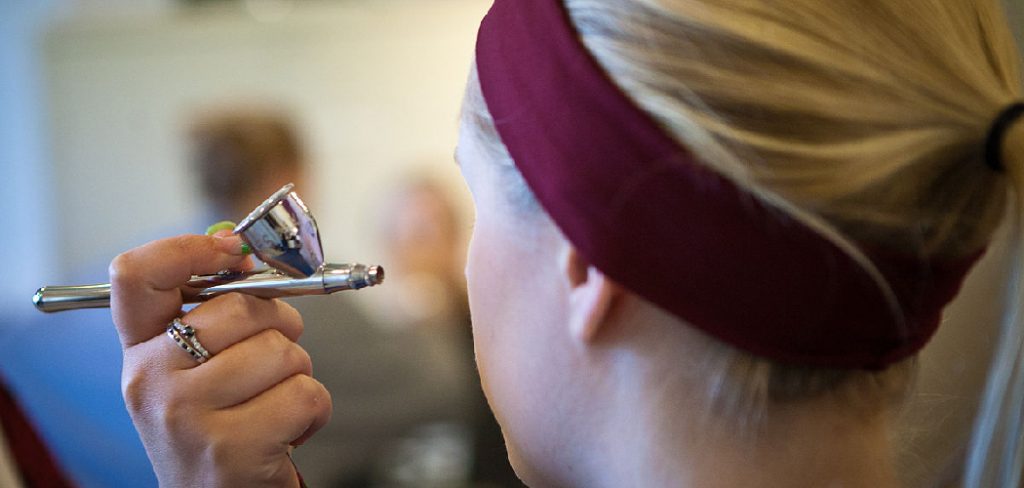
Step 3: Apply Your Foundation
Start by mixing your foundation with a little bit of primer, and then shake the bottle thoroughly until the foundation and the primer are well combined. Make sure that your moisturizer and your primer have completely set into the skin, or this will affect the outcome of your final makeup look.
Step 4: Focus on Specific Areas

Focus on the areas where you need the most coverage, like around your mouth and nose area. This will help you avoid putting too much foundation onto the skin and causing it to look cakey or overdone. Of course, you can always add more makeup, but it is much easier to avoid putting too much on in the first place.
Step 5: Apply Setting Powder
After applying your foundation, most people recommend using a setting powder or ‘finishing powder.’ It gets applied very lightly with a brush, just on the areas where you have applied too much foundation. This will help set the makeup and reduce the oil that can seep through and cause breakouts.
Step 6: Apply Concealer
After you put on the setting powder, you might need to put on some concealer. Put it on the places where you need it, but don’t put too much on, because then it will look like there’s too much makeup on, and that’s not very attractive.
Step 7: Set Your Concealer With Powder
The final step is to apply more powder. This time, only use the powder where you have applied too much concealer or foundation, like under your eyes and around the corners of your mouth. Setting these areas with powder again helps prevent creasing in those specific areas, which will help the wrinkles look less noticeable.
Step 8: Apply Powder to Entire Face
Finally, apply a powder all over your face with a big fluffy brush. This will eliminate any shine that might be on your skin and set everything into place for the final result. This can be done with an airbrush makeup kit or a large translucent setting powder.
You can also check it out to Do Makeup Without Foundation
Does Airbrush Makeup Cover Wrinkles
Yes, airbrush makeup covers wrinkles very well. You could say that airbrush makeup was made to cover wrinkles! There’s a reason for this: as time goes on and we age, our face loses its natural elasticity. Bags under the eyes make us look tired; grey hair makes us look older, but nothing ages us quite like wrinkles.
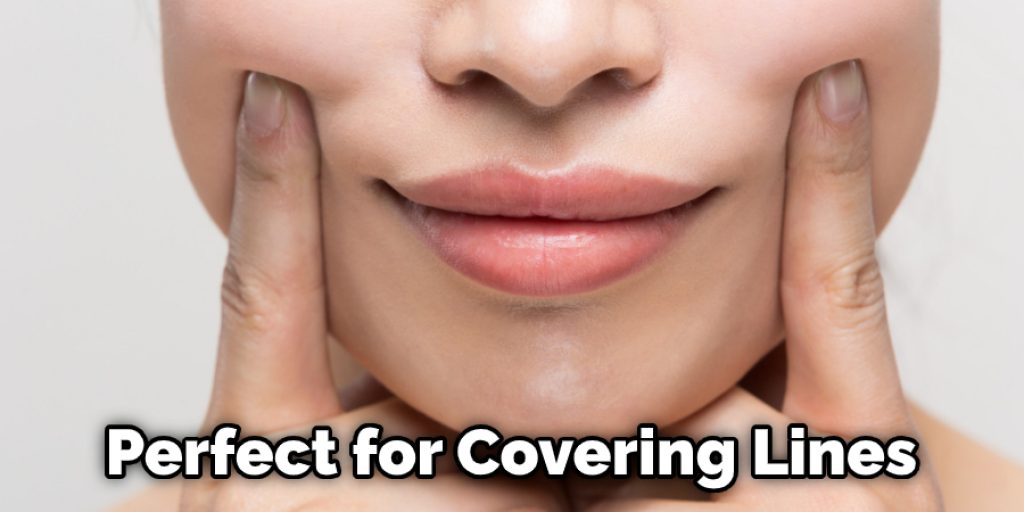
Wrinkles happen when we smile or laugh, and airbrush makeup is perfect for covering these lines and giving your face a smooth, even texture that makes you look younger and well-rested. It’s the best way to cover up pesky facial features that don’t add anything to your day.
What Is the Difference Between Using a Regular Powder Foundation and Using an Airbrush Foundation With a Brush
Regular powder foundation can give your skin a matte, flat finish. Airbrush foundation, on the other hand, can provide full coverage while still making your skin look radiant and natural. When you use regular powder foundation to cover up skin imperfections, the skin can sometimes look cakey and creased because the powder has dried onto the skin.
The airbrush technique moisturizes the skin before it applies the foundation, giving the skin a dewy look, making it natural and healthy.
Airbrush makeup sets quickly. It won’t come off when you touch your face or hug someone because there are no oils in airbrush makeup like with regular powder foundation. Because of this fact, the airbrush makeup doesn’t rub off on clothes or pillows.
How Can I Get the Best Results From Airbrush Makeup
Choosing the right products is important if you want your airbrush makeup application to last. First, you’ll need to work with a foundation or tinted moisturizer that has an excellent staying power.
Make sure it contains polymers and light diffusers so that it not only aesthetically enhances your skin but locks in moisture and hides fine lines and pores as well. To achieve the most flawless finish, you will also need to invest in a good primer. This smooths the skin and helps to fill in any fine lines or creases, and reduces shine for a more matte finish.
You Can Check It Out to: Put on Mime Makeup
Conclusion
You may have heard of makeup for covering wrinkles, but what you might not know is that there are different types. Airbrush makeup can cover up the most difficult type of wrinkle with ease and natural looking results.
It’s also a great choice if you’re in front of the camera or want to look your best without too much fussing around with foundation, brushes, powders! We hope this blog post on how to cover wrinkles with airbrush makeup has been helpful. If you have any questions or want to know more, then feel free to comment below!
Jane Hubbard
Jane has always been passionate about hair and beauty. After many years of working as a hairdresser specialist, she decided to start her own consultancy business. She is an experienced haircare and beauty consultant, and she loves helping others find the perfect look for them. She has been writing articles for DIY quickly for over 3 years. In her free time she enjoys keeping up with the latest news in the industry, practicing yoga, and spending time with her friends and family.