How to Hang Wood Panel Art
When you think of art, what comes to mind? Paintings? Drawings? Photographs? All of the above? While those are all common forms of art, a lesser-known type might be perfect for your next project: wood panel art. Wood panel art is exactly what it sounds like: panels of wood that have been carved or painted to create a work of art.
It can be used to create everything from traditional pieces to more contemporary designs, and it’s a great way to add some personality to your home. So if you’re interested in learning more about wood panel art and how to hang wood panel art, read on! We’ll cover everything you need to know.
Wood panel arts are a fantastic way to add extra personality to your home. Whether you want to go for a traditional look or something more modern, wood panel art is the way to go. And, once you know about hanging wood panel art, it’s not that difficult! Just follow these simple steps, and you’ll be well on your way to creating your work of art.
What You’ll Need:
- Tape measure
- Pencil
- Level
- Hammer
- Nails or screwdriver (depending on your wall type)
- Poster putty or command strips (optional)
A Stepwise Guide on How to Hang Wood Panel Art
Things You Need to Take Into Account Before You Start Hanging Your Panel Art
- The Weight of the Artwork: Most importantly, you need to make sure that your wall can support the weight of your artwork. If you’re unsure, err on the side of caution and go for smaller pieces or use poster putty or command strips instead.
- The Type of Wall: You’ll also need to consider what type of wall you’re working with. If you have drywall, nails should do the trick. But if you have plaster walls, you’ll need to use screws instead so that the art doesn’t fall off later.
- The Location: You’ll want to decide where you want to hang your artwork before you start measuring and hammering away. Keep in mind furniture placement, light sources, and traffic patterns. You don’t want your artwork to be in a place where people are constantly bumping into it or where it’s going to get covered in shadows.
- The Size of the Artwork: Obviously, you’ll need to make sure that the artwork you’re hanging will fit in the space you have available. But it would help if you also took things like matting and framing into account. If you’re using a frame, add an extra few inches on all sides so that the frame doesn’t cover up any of the artwork itself.
Step 1. Location, Location, Location
Before you even start thinking about how to hang your wood panel art, you need to decide where it will go. The location of your artwork will have a significant impact on the hanging hardware you use and the amount of wall space you’ll need. Here are a few things to keep in mind when choosing the perfect spot:
- If your art is going in a sunny spot, UV-resistant glazing can help protect it from fading.
- If your artwork is in a high-traffic area like a hallway or staircase, ensure it’s securely mounted, so it doesn’t get damaged.
- Keep in mind the orientation of your artwork when choosing a location. For example, if it’s a landscape painting, you’ll probably want to hang it horizontally.
Step 2. Choose the Right Hanging Hardware
Once you’ve selected the perfect spot for your wood panel art, it’s time to start thinking about how to hang it. The hanging hardware you use will depend on the weight and size of your artwork and the wall material. Here are a few common types of hanging hardware:
- D-rings: These metal loops are attached to the back of your artwork with screws and can be hung from nails or hooks. They’re ideal for lightweight paintings or smaller pieces of art.
- Picture Hanging Wire: This type of hardware consists of a length of metal wire attached to the back of your artwork with D-rings or sawtooth hangers. The wire is then looped around a nail or hook in the wall. Picture hanging wire is ideal for heavier artwork that might not be able to support the weight of d-rings alone.
- French Cleats: These L-shaped brackets are mounted to the back of your artwork and screwed into the wall. They’re incredibly sturdy and can support heavy art pieces, but they’re also more challenging to install than other types of hardware.
Step 3. Install the Hanging Hardware
Once you’ve selected the proper hanging hardware for your wood panel art, it’s time to install it. If you’re using d-rings, picture hanging wire, or sawtooth hangers, screw them into the back of your artwork. If you’re using a French cleat, start by attaching the bottom part of the bracket to the back of your artwork with screws. Then, hold the artwork up on the wall and mark where the top part of the bracket will go. Screw the top part of the bracket into the wall, and voila! Your artwork is now securely hung.

There you have it! Now that you know how to hang wood panel art, it’s time to get started on your project.
Tips:
- If your artwork is particularly heavy, you may want to use two hangers for extra support.
- Always use the appropriate type of hanger for your wall surface.
- For example, if you have plaster walls, use picture hangers specifically designed for that surface.
- When in doubt, consult a professional before attempting to hang anything on your walls.
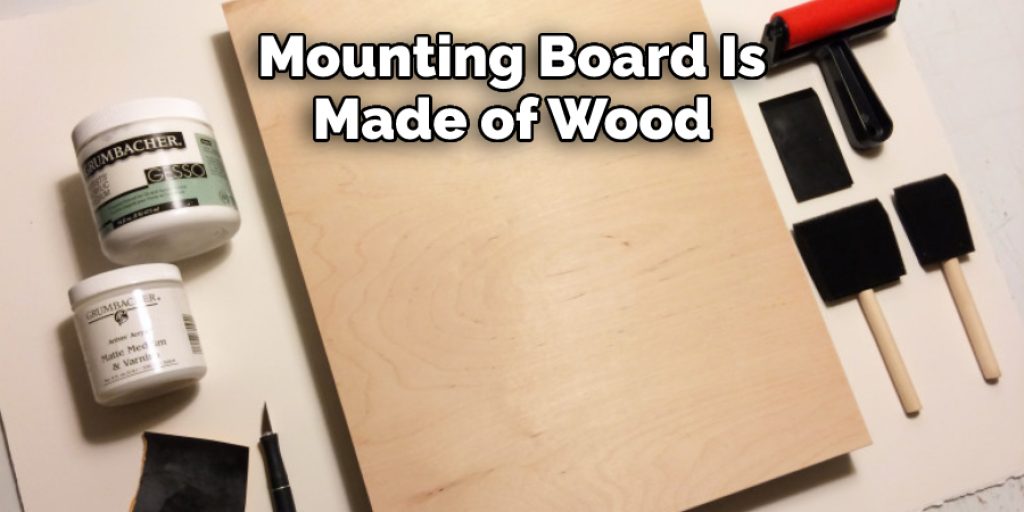
What Is Mounting Board Made of?
As the name suggests, the mounting board is made of wood. It has a smooth surface that is ideal for displaying artwork, photos, and other flat objects. The mounting board comes in various sizes and thicknesses, so you can choose the one that best suits your needs.
When hanging wood panel art, it’s essential to use the proper mounting hardware. Picture hangers are available in various sizes and styles, so you can find the ones that best suit your artwork and your wall. For heavier pieces of artwork, you may need to use more than one hanger.
Conclusion
So, there you have it! Everything you need to know about how to hang wood panel art. By following these simple steps and using the right tools, you can avoid common mistakes and ensure your artwork looks great on your walls. So, have fun with it and enjoy the process of selecting the perfect piece of art and displaying it in your home.
Elizabeth Davis
Elizabeth is a creative writer and digital editor based in the United States. She has a passion for the arts and crafts, which she developed from a young age. Elizabeth has always loved experimenting with new mediums and sharing her work with others. When she started blogging, she knew that DIYquickly would be the perfect platform to share her tutorials and tips. She's been writing for the blog from the beginning, and her readers love her helpful advice and easy-to-follow instructions. When she's not writing or editing, Elizabeth enjoys spending time with her family and friends.