How to Make a Space Shuttle Model for School Project
Introduction
Many techniques can be sued to make the space shuttle model. It is better to use cardboard and papers for this process. Today we will discuss a method on how to make a space shuttle model for a school project. The process is explained below.
Procedure
For making a space shuttle model for a school project, you will need some materials. You have to start with some cardboards. These cardboards should be bendable. Then you will need some cartridge paper that can be easily folded, and the thickness should be slightly more than regular papers. You will also need a glue gun. Then you will need a silver-colored paper. You will also need a cutting mat. For drawing the parts of the different parts of the rocket, you will need a pencil, ruler, and a compass, and for cutting the drawings, you will need a scissor.
Once you have managed all these, the task can be started. The first that you have to do is draw the different parts of the space shuttle. You have to begin drawing the details of the external tank and the solid rocket boosters. For this, you have to draw two circles for each of them, and you have to carve them out. You will need one ring made of paper and the other made of cardboard. And for the body of the tank and the boosters, you can use rectangular papers. Now you have to take the rectangular pair and then fold it into a cylinder. Then you have to use a hot glue gun to attach it.
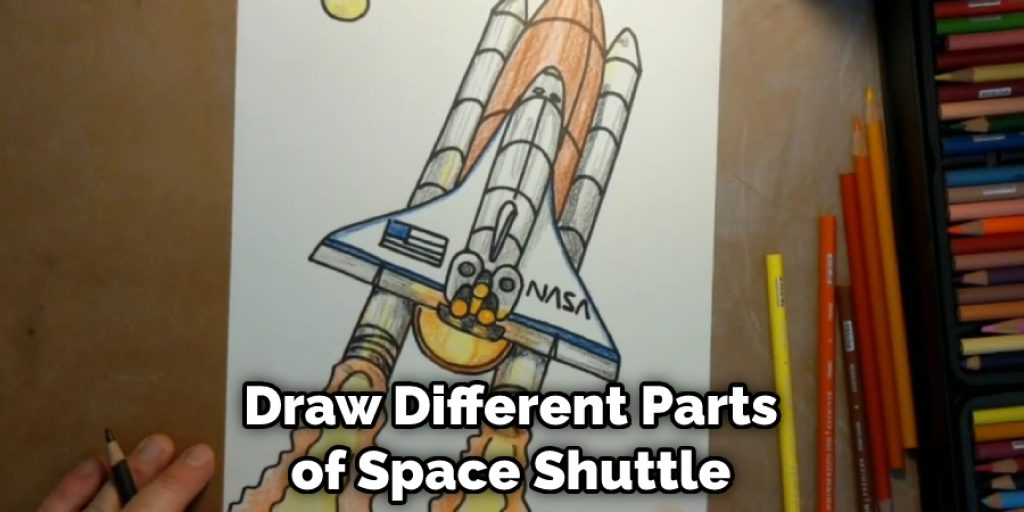
To make the leading shuttle, first make a paper circle and make a cone out of it. Attach it to the top of the tanker. Then attach two cones at the top of each booster. Make a cube out of cardboard and attach it at the base of the two boosters. To attach all these parts, use a hot glue gun. Cardboard material is suggested for the tanker, and regular paper can be used for the boosters. Once these are made, write your necessary notations on the tanker and in the boosters.
To make a space shuttle for a school project, you will need to cut smaller pieces of the same shape as the shuttle. You will also need to take the conical top and connect it to the body using a hot glue gun. Next, you will need to cut two wings and attach them to the side of the body. Once you have done this, you will need to cut a small strip of silver paper and attach it to the head of the shuttle. This will give the shuttle the appearance of having a glass window. Finally, you will need to make a base out of cardboard and attach the whole system to the bottom.
Final Thoughts
Lastly, we hope that the process we have stated will be much applicable for making space shuttle out of cardboard, and you can quickly get a realistic appearance by this. Thank you for your time. Have a nice day.
you may also read now