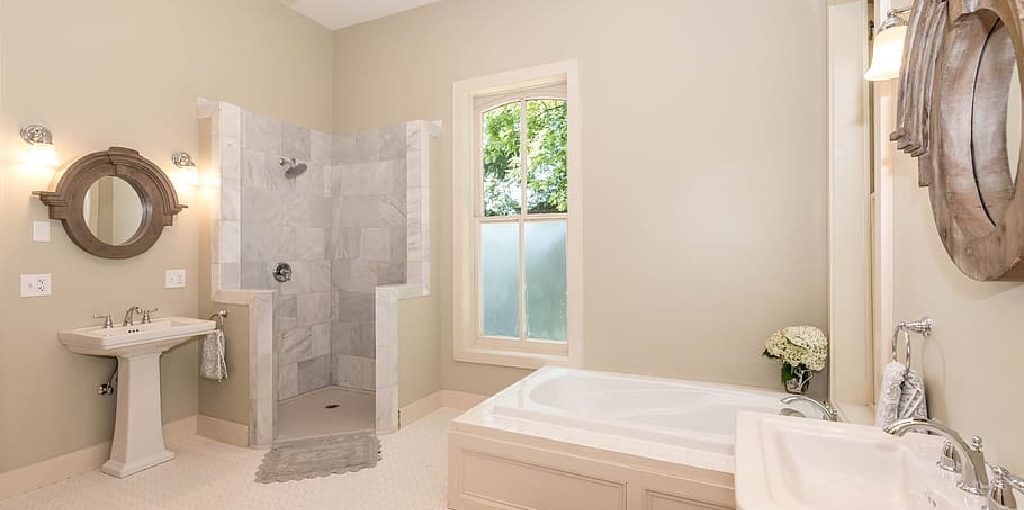
How to Paint Shower Walls
If you’re tired of the same old boring shower, but don’t want to spend a lot of money on remodeling your bathroom, then here are some DIY painting tips for the shower walls. We’ll show you how to paint shower walls without spending too much time or money. Paint is not just for the walls. It can also be used to cover up and color your shower or bathtub.
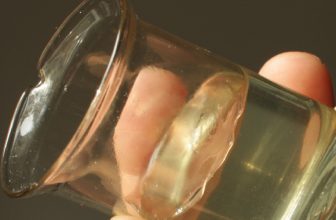
The best way to paint a shower wall is with a roller, although you could use a brush. Apply two coats of primer before painting to get the best coverage possible. If you want more shine, add some semi-gloss latex paint onto your roller before applying it to the wall. You can also add glitter if you want something fancy! Read on to know more!
10 Reasons Why Paint on Shower Walls?
1. To Get a Refreshing Look:
One quick coat of paint can brighten up your bathroom and change your mood instantly. It can also refresh your bathroom’s look, making it appear more spacious and open.
2. To Cover Ugly Tiles:
Shower stalls are often built with outdated, dull tiles that detract from the room’s entire look. If you don’t have the budget or time to change the tiles completely, cover them up with a fresh coat of paint, and you’re good to go!
3. To Upgrade Your Shower:
You can use tons of cool colors and innovative designs as inspiration for your shower wall painting project. You’re sure to get a refreshing new look that will upgrade your shower, whether it’s colorful polka dots, graphic designs, or marble/wood tiled walls.
4. To Prevent Scratches and Marks:
Shower stalls and tiles tend to get wet all the time, leading to rusting and chipping over time. A nice coat of paint will help cover up any potential wear-and-tear spots on your tiles or walls. If you don’t want to do a complete reno, this is a great way to prolong the life of your shower.
5. To Conceal Your Shower Curtain:
Having a shower curtain in your bathroom is great for privacy, but it can get in the way when you’re showering. In addition, painting your walls with dark colors makes it difficult to see if the curtain is sticking out too much, while light paint colors make it easier to spot problems like water stains and leaks.
6. To Hide a Crude Shower Door:
If your door to the shower isn’t closing correctly, painting it with a dark color will help conceal the door’s existence and any problems you might have with it. Just make sure to paint from top-to-bottom so that any water doesn’t seep through.
7. To Keep Cleaning to a Minimum:
Showers are damp and humid, which can sometimes lead to mold. If you want to keep your shower clean for as long as possible, painting the walls is one of the easier ways to go about it. It might not be super effective against mold, but it will prevent mildew and bacteria.
8. To Increase Your Curb Appeal:
If you’re selling your house, the appearance of your bathroom is one of the first things a potential buyer will notice. It could be a deal-breaker if they don’t like what they see. So redo your shower walls with a nice coat of paint to give your bathroom a brand new look that appeals to buyers.
9. To Prevent Water Damage:
Water damage is one of the most expensive problems you can have in your home. If you’re tired of having to replace damaged baseboards, flooring, and even entire walls due to water damage, painting your shower wall can prevent future damage.
10. To Save Some Money:
Painting your shower walls is a lot cheaper than you would think! It’s far more affordable than replacing old tiles and the cost of calling in a contractor for a complete bathroom reno or even installing a new shower door. And if you hire out the project a professional, you can save some money too!
Step by Step Guide: How to Paint Shower Walls
If you’re interested in painting your shower walls yourself, follow these simple steps on how to paint shower walls.
Step 1: Cleaning
First things first! Clean the surface of your shower with water and dish soap before you start painting so that no leftover dirt or grime can contaminate your paint color or interfere with the paint adhering to the surface.
Step 2: Prep Work
Most walls are covered in a “grout,” which is essentially just thin tiles covering the wall’s surface, so you’ll want to remove grout before you start painting. You can use a scraper and sandpaper to remove grout. If you’re painting the ceiling of your shower as well, we recommend removing the grout from that surface, too, so it’s easier to paint and ensures there are no lines between the old and new colors.
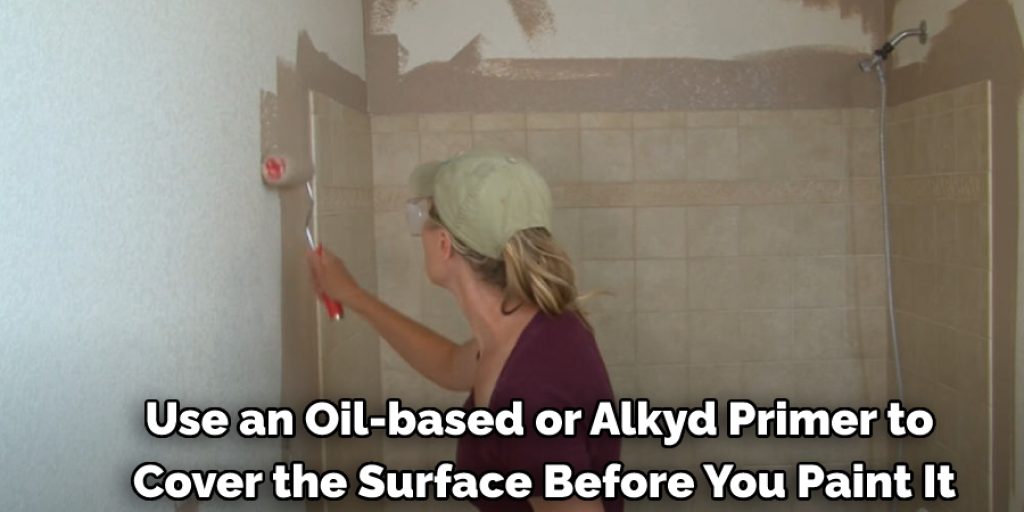
Step 3: Priming
Use an oil-based or alkyd primer to cover the surface before you paint it. Not only does this ensure that your new paint will adhere well to the wall and create a durable, waterproof finish, but it also acts as a sealant for any tiny cracks or holes in the surface of your shower wall or ceiling that could potentially allow water to seep through and damage your shower after you’ve repainted it.
Step 4: Painting
Once your primer is dry, you can start painting the wall with a high-quality paint sprayer. If your shower is small, one coat of paint should be enough for an even color. However, if your shower is large or has intricate designs that will require touching up, you may need multiple coats.
Step 5: Clear Coat
When you’re done painting and the paint has dried for several hours, spray a layer of clear coat over the surface to protect your new color and add another element that shimmers in the light. The final color should be uniform across your shower’s surface, and the surface should look smooth and free from cracks or rough patches.
If you follow these steps carefully, you should be able to achieve a new color on your shower walls that match the rest of your bathroom. For more painting tips and tricks, keep reading this blog post on how to paint shower walls.
Some Tips and Tricks:
1. Use a paint sprayer instead of a roller to apply paint to your shower wall. A paint sprayer is the only way to ensure that you get an even coat of paint on your shower wall.
2. Clean the shower thoroughly. If you are painting over dried acrylic wall paint, make sure to sand down the surface.
3. Check your local hardware store for chemicals that will remove old tile adhesive from the shower walls before you start tiling. This will give you a smooth surface to apply new wall tile or other wall treatments, such as metal studs.
4. Use a primer that is specifically suited for painted surfaces. This will ensure that the top layer of your paint job will last as long as possible and not peel off easily after time has elapsed and the surface begins to wear down.
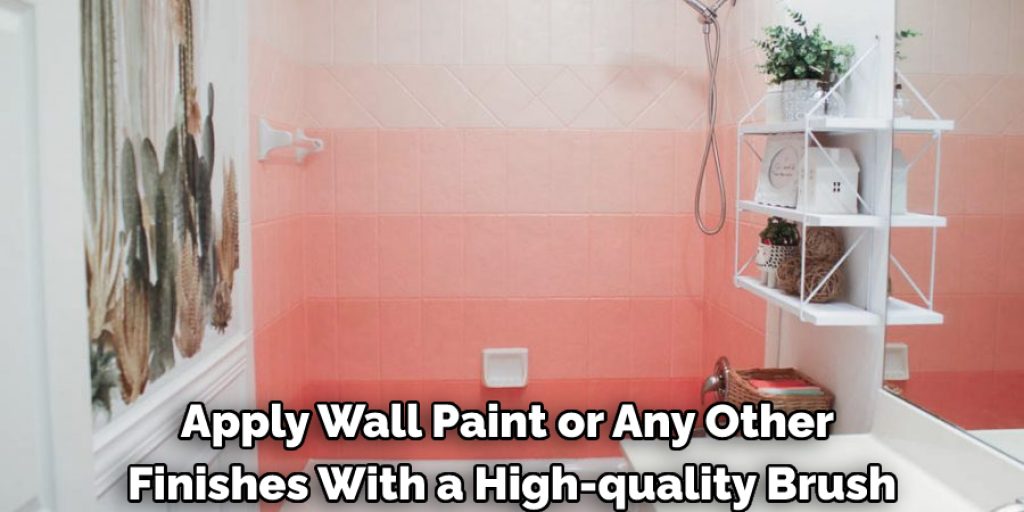
5. Apply wall paint or any other finishes with a high-quality brush, roller, or paint sprayer. High-quality tools will ensure an even coat of paint on your walls and that no ridges or other marks are left behind.
6. When painting over the grout, thoroughly clean the grout before applying your wall paint. This is particularly important if you plan to tile the shower area after painting it.
7. Before you start painting the shower, check to see if any electrical outlets or other accessories in your shower might need to be removed before painting can begin. Also, disconnect the water supply, so the paint doesn’t get washed off while being applied to the walls.
Conclusion:
The final step is to apply a sealant. This will protect the paint from moisture and dirt, which can both damage it over time. Apply two coats of your chosen sealant for this process to be most effective. Allow the first coat to dry before applying the second one, but do not leave too much time between coats, or you may see discoloration on your walls when you start painting again next year!
You don’t want any water seeping through that could cause mold growth underneath your new paint job. Make sure all surfaces are thoroughly dried before sealing with paper towels. If necessary, then enjoy having beautiful clean shower walls! We hope this article has helped you understand the basics of how to paint shower walls. If you have any questions or need help with your project, please don’t hesitate to contact us.
Angela Ervin
Angela is the executive editor of DIY quickly. She began her career as an interior designer before applying her strategic and creative passion to lifestyle and home. She has close to 15 years of experience in creative writing and online content strategy for housekeeping, home decorations as well as other niche efforts. She loves her job and has the privilege of working with an extraordinary team. She lives with her husband, two sons, and daughter in Petersburg. When she's not busy working she spent time with her family.