How to Stain a Picnic Table
Are you looking to add a layer of protection and style to your picnic table? Staining your picnic table is a great way to make it look better, last longer, and stay clean. You’ll need to take a few steps, but overall it isn’t a difficult process.
Staining a picnic table is not as hard as it may seem. With the right tools and supplies, you can easily transform your outdoor dining area into an attractive space for entertaining family and friends. This guide provides step-by-step instructions on how to stain a picnic table so that you can enjoy its beauty for years to come.
Whether you have a wood or metal picnic table, this article will show you everything you need to know about efficiently staining it. So let’s get started!
What Will You Need?
To get started, you’ll need the following supplies:
- Staining product of your choice
- Paintbrush or sprayer
- Sandpaper (optional)
- Protective gear, such as gloves and goggles
- Clean cloths or rags to wipe off excess stain
- Drop cloth for catching any drips or spills
- Small paint brushes for getting into tight spots (optional)
Once you have gathered all the necessary supplies, it is time to start staining your picnic table.
10 Easy Steps on How to Stain a Picnic Table
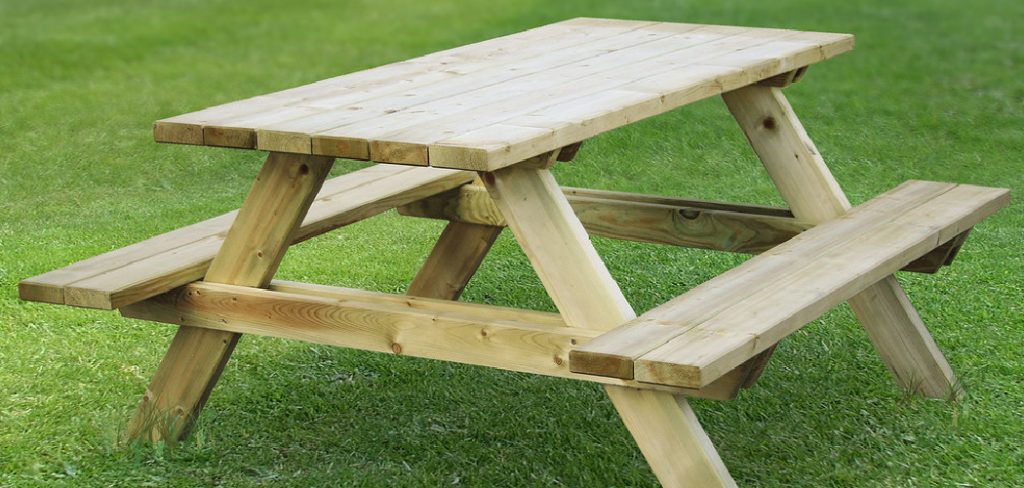
Step 1: Prepare Your Picnic Table for Staining
The first step is to prepare your picnic table for staining. Remove any dirt and debris from the surface of the table with a broom or vacuum cleaner. If you have an old picnic table, you may need to sand down parts of it in order to ensure that the stain will adhere properly.
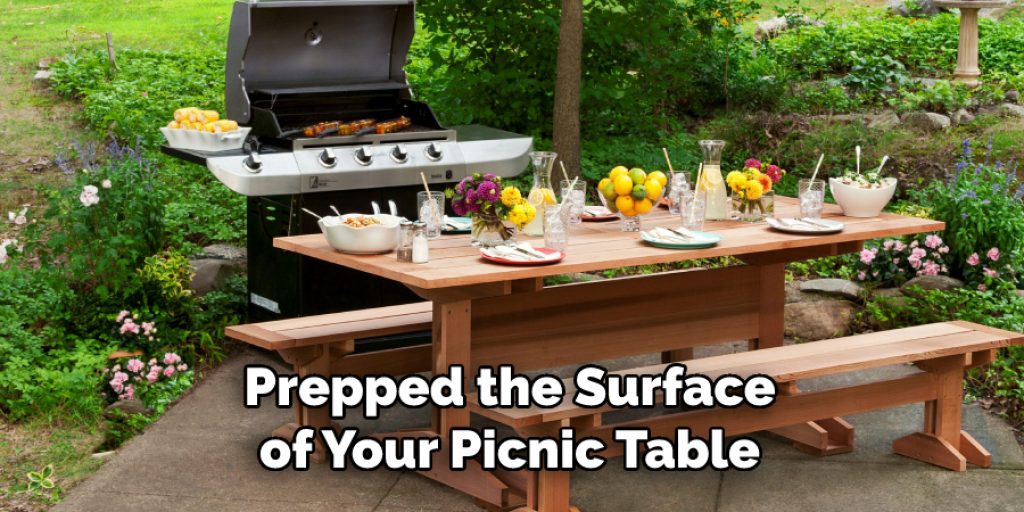
Step 2: Apply Stain
Once you have prepped the surface of your picnic table, it’s time to apply the stain. If using a brush, use long strokes and work in small sections at a time. Make sure that each section is completely covered before moving on to the next one. Consider using a sprayer for larger surfaces, such as benches or tables. This will make it much easier to achieve an even coat.
Step 3: Let the Stain Dry
Let the stain dry for the length of time indicated on the product label. This can range from a few hours to overnight. Do not apply additional coats until the previous one is completely dry.
Step 4: Sand and Wipe Away Excess
Once your picnic table has completely dried, it’s time to sand down any rough patches or drips that may have occurred during staining. Use fine-grit sandpaper and lightly rub over uneven areas until smooth. Then, use a clean cloth or rag to wipe away any excess dust or debris.
Step 5: Apply a Top Protective Coat
Once you have sanded and wiped away any excess stains, it’s time to apply a protective top coat. This will help the stain last longer and prevent weathering or wear and tear damage. Apply a single layer of clear finish over the entire surface of the picnic table. Let this dry for the length of time indicated on the product label before moving to the next step.
Step 6: Let Dry Again
Let your picnic table dry completely again before continuing with staining. This may take several hours or overnight, depending on your area’s temperature and humidity levels. Once dry, lightly sand any rough areas that may have occurred during top coating. Then wipe off any excess dust and debris with a clean cloth or rag.

Step 7: Reapply the Stain and Top Coat
Reapply the stain and top coat to any areas that may have become dry or weathered since the previous application. Remember to follow the same steps as before, including sanding, wiping, and applying a protective top coat. Let all of these applications dry completely before continuing.
Step 8: Sand One More Time
After completing your final staining and top coating, you should lightly sand again with a fine-grit sandpaper. This will help even out any inconsistencies that may have occurred during the process. Once finished, wipe away any dust or debris with a clean cloth or rag.
Step 9: Seal It Up
Once your picnic table is completely dry, it’s time to seal the entire surface. Apply a single layer of sealer or polyurethane over the entire picnic table. This will help protect the stain and make it last much longer.
Step 10: Enjoy Your Newly Stained Picnic Table
After following all of these steps, you should have a beautifully stained picnic table that is ready for use! With proper care and maintenance, your stained picnic table should last years and provide you with plenty of outdoor dining enjoyment. Remember, if you ever need to stain your picnic table again, simply follow these steps for the best results.
By following these steps, you should now have a great-looking picnic table that is ready to be enjoyed. Enjoy your newly stained picnic table, and make sure to show it off to your friends and family!
5 Additional Tips and Tricks
- Make sure to allow enough drying time for your new stain – if you rush it, the stain may not adhere properly and be prone to peeling.
- Be aware of windy conditions – wind can cause unwanted dust particles to settle onto wet stains, tainting the wear layer and affecting the overall finish.
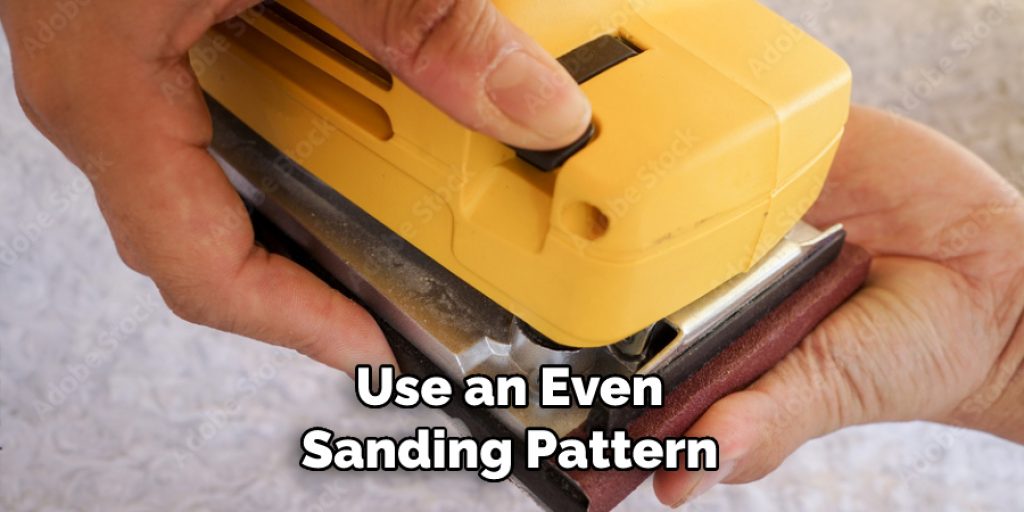
- Aim for a consistent finish – use an even sanding pattern when prepping your picnic table surface before applying the stain.
- Know exactly what kind of wood type your picnic table is made of to know which kind of staining products are best suited for it.
- Use an old cloth or brush to apply the stain evenly across all surfaces of the picnic table – this will help create a consistent finish.
By following these tips, you should be able to stain your picnic table with ease and confidence successfully.
5 Things You Should Avoid
- Don’t start staining on a hot day – the heat will cause the stain to dry too fast and not adhere properly.
- Avoid over-sanding the surface of your picnic table – this could result in uneven surfaces, which will affect the end result of the stain job.
- Don’t underestimate how much time you need to spend prepping the wood before staining – it’s important to work through all steps meticulously in order to get a great finish.
- Do not mix different types of stains together– using two different stains on one surface can lead to an uneven, patchy look that won’t be aesthetically pleasing.
- Never apply a second coat right after applying the first coat – allow ample time for the first coat to dry before you start on a second layer.
By following these tips, you can stain your picnic table and successfully achieve an amazing result. With the right preparation and application methods, you can create a beautiful lasting finish that will last for years to come!
What is the Best Stain for a Picnic Table?
The best stain for a picnic table will depend on the type of wood your picnic table is made from. For example, if you have a cedar picnic table, an oil-based stain would protect and enhance its natural beauty. On the other hand, if you have a pine or spruce picnic table, then a water-based finish might be better suited for protecting it from moisture damage. No matter which type of wood your picnic table is made of, make sure to use a high-quality stain designed for outdoor use – this will ensure maximum protection and longevity.
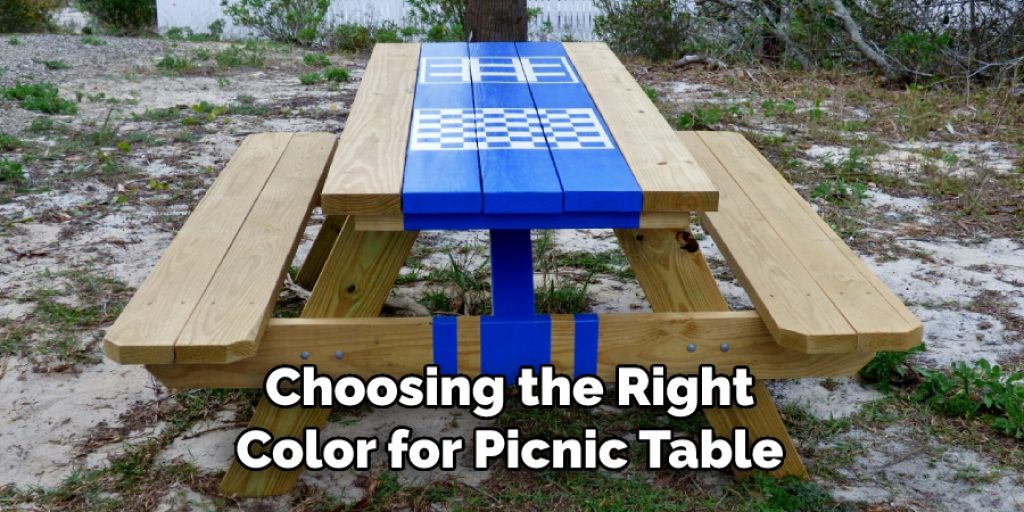
It’s also important to remember that each staining job requires different steps and techniques to achieve the desired look. Additionally, choosing the right color for your picnic table can make a huge difference. A light stain will bring out the natural beauty of the wood, while a darker shade can add a dramatic look to your outdoor space.
Ultimately, there is no single “right” answer when it comes to staining a picnic table. The perfect stain will depend on the type of wood it is made from and what kind of finish you prefer. Be sure to follow all instructions carefully when applying the stain, and use high-quality products in order to ensure that your picnic table looks great for years to come!
Conclusion
Staining a picnic table is an easy and rewarding project that can be done in no time with the right preparation. By following our tips and tricks, you will be able to stain your picnic table with ease and confidence successfully.
It’s important to choose the best type of wood for your specific project as well as find a high-quality stain suited for outdoor use if you want it to last. With the combination of proper prep work, application techniques, color choice, and quality products – you should have no problem achieving an amazing result!
Hopefully, these tips have helped you better understand how to stain a picnic table and give you the confidence to take on this project. Good luck with your staining adventure! With the combination of proper preparation, application techniques, color choice, and quality products – you should have no problem achieving an amazing result with your stained picnic table.
Angela Ervin
Angela is the executive editor of DIY quickly. She began her career as an interior designer before applying her strategic and creative passion to lifestyle and home. She has close to 15 years of experience in creative writing and online content strategy for housekeeping, home decorations as well as other niche efforts. She loves her job and has the privilege of working with an extraordinary team. She lives with her husband, two sons, and daughter in Petersburg. When she's not busy working she spent time with her family.