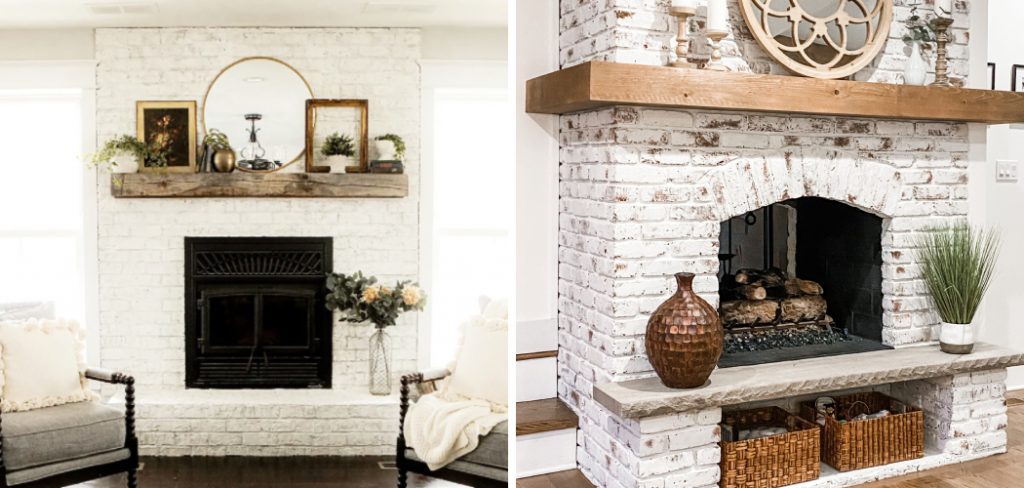
How to Whitewash a Fireplace
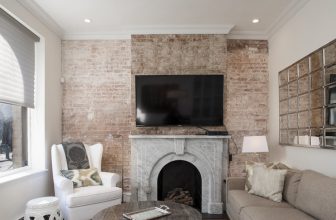
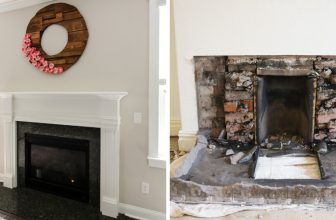
Are you looking to brighten up your living room with a beautiful whitewashed fireplace? Then, you have come to the right place! If you’ve ever wanted to learn how to transform a dark or dated fireplace into something fresh and modern – here’s your guide. You’ll be amazed at the transformation that can happen in just a few easy steps.
With this tutorial, we will walk you through the entire process of how to whitewash a fireplace – from prep work through applying an even coat of white paint so you achieve professional results. Let’s get started!
Supplies You Will Need to Whitewash a Fireplace
- White paint
- Paintbrushes, rags, and roller
- Masking tape
- Drop cloths or old newspaper
- Sandpaper (or sanding block)
- Vacuum cleaner with a hose attachment
- TSP cleaner (a heavy-duty cleaner to remove dirt and grime)
Step-by-step Guidelines on How to Whitewash a Fireplace
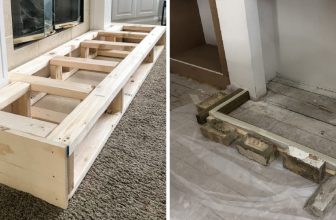
Step 1: Preparing the Fireplace for Whitewashing
The first step is to prepare the fireplace for whitewashing. Start by placing drop cloths or old newspaper around the area to catch any spills or splatters of paint. Next, use masking tape to cover all areas you don’t want painted, such as the mantel and the floor in front of the fireplace.
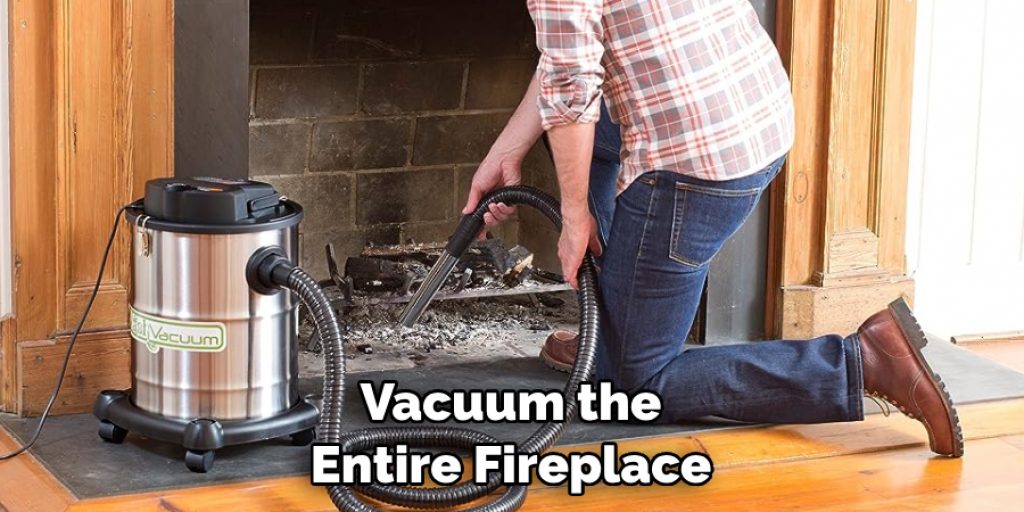
Next, vacuum the entire fireplace with a vacuum cleaner to remove any dirt and debris. Then use a TSP cleaner (or a heavy-duty cleaner) to deep clean all surfaces. Once you are satisfied with the cleanliness of your fireplace, it is time to start sanding.
Step 2: Sanding the Fireplace for Whitewashing
Using sandpaper (or a sanding block), start by lightly sanding the entire fireplace. This will help to create a smooth surface for the paint to adhere to and also help remove any unwanted residue. For best results, use a finer grit paper for this step.
Once you have finished sanding, vacuum one final time to make sure all dust has been removed. Then wipe down the fireplace with a damp cloth to eliminate any remaining dust particles.
Step 3: Applying the Whitewash Paint
Now that your fireplace is prepped and ready for painting, it’s time to apply the whitewash paint. Using a brush or roller, start by applying an even coat of white paint to all surfaces of the fireplace. Make sure you cover all areas and apply a second coat if necessary.
Once you have finished applying the paint, give it some time to dry before touching or moving anything in the area. Once it is completely dry, your newly whitewashed fireplace is ready for use!
Following these steps will help you transform your dark and dated fireplace into something much more modern and bright. With a little effort, you can achieve professional-looking results with minimal experience! We hope this guide helped help you learn how to whitewash a fireplace. Have fun and happy painting!
Additional Tips and Tricks to Whitewash a Fireplace
- For best results, use a high-quality paintbrush specifically designed for whitewashing. This ensures that the paint is evenly distributed and that any hard-to-reach areas can still be addressed.
- It’s important to remember not to overwork the brush strokes; this can lead to a streaky finish rather than an even one.
- If you are having difficulty getting the right level of whiteness, you can always add a few drops of white paint to your mixture. This will lighten the shade and give you more control over the color.
- When working with brick or stone surfaces, it’s important to be gentle with the brush strokes so that you don’t damage the surface. Working slowly and carefully will help you get the best results.
- Whitewashing your fireplace can be a great way to freshen up an old, worn-out look – but it’s important to remember that the process does take time and effort. Make sure to plan enough time for the project so that you don’t rush through it and end up with a poor finish.
- Once you’re done whitewashing, it’s important to seal the surface. This will help protect the fireplace from wear and tear in the future and keep it looking fresh for years to come.
- Finally, don’t forget to accessorize your newly whitewashed fireplace! Add candles or a framed photo for a touch of personality to your project – it’s sure to be a showstopper in any room.

Following these tips and tricks will help you get the best results when whitewashing your fireplace. With a bit of patience and some careful preparation, you can transform an old, outdated fireplace into a beautiful and modern feature!
Things You Should Consider to Whitewash a Fireplace
- Choose the right whitewash product for your fireplace. There are different types of whitewash available to choose from and some are better suited for certain types of fireplaces than others.
- Make sure that the surface of the fireplace is clean and dry before applying the whitewash. This ensures that you will get even coverage and a more professional-looking result.
- Use a brush or roller to apply the whitewash, depending on the surface of the fireplace and the size of the area you are covering.
- Allow your whitewashed fireplace to dry completely before using it for entertainment purposes, as this will prevent any accidents.
- If you want to add some extra color or texture to your whitewashed fireplace, you can do so with a paintbrush or spray bottle.
- Lastly, take care of your whitewashed fireplace by cleaning it regularly. This will help keep it looking great and prevent any unnecessary damage or wear and tear over time.
Following these considerations can help you achieve a professional-looking whitewashed fireplace with minimal effort and maximum effect. There’s no need to be intimidated by the process – it’s quite simple and rewarding! And when done right, your whitewashed fireplace will become the envy of all who visit your home.
Precautions Need to Follow for Whitewashing a Fireplace
- Before you start whitewashing your fireplace, make sure that the wood and other materials used are treated with a flame retardant. This will help ensure the safety of you and your family.
- Once you have checked that all components are fire-safe, take off all objects from around the fireplace such as furniture, carpets, or curtains.
- Carefully brush off the fireplace to get rid of any dust or debris.
- Prepare the whitewash mixture by mixing one part lime with two parts water in a plastic bucket. You can also buy pre-mixed whitewash from stores.
- Put on safety gear such as gloves, goggles, and a breathing mask before you begin to apply the mix onto the fireplace.
- Using a brush, apply the whitewash mixture in thin layers onto the surface of your fireplace. Let each layer dry before you add another one on top.
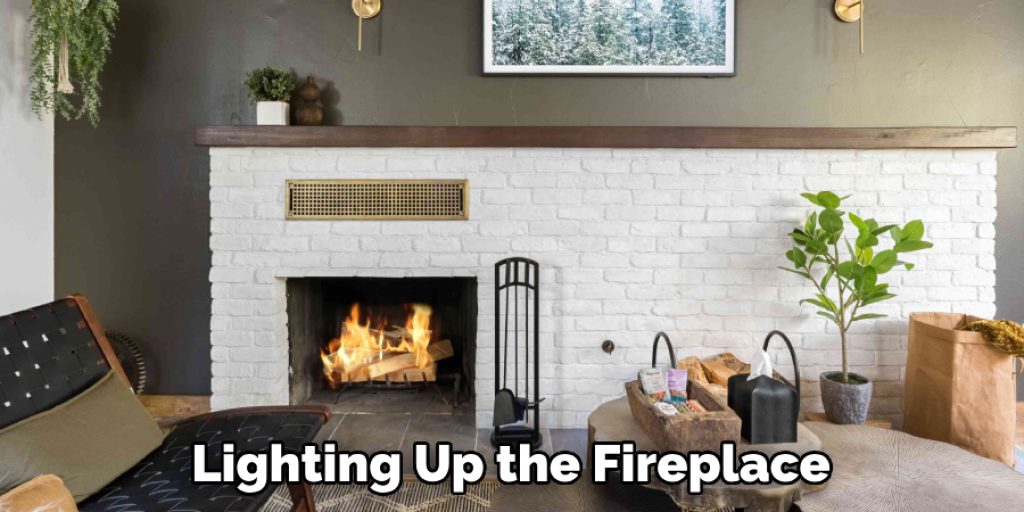
- When all layers are done and the entire area is covered, wait for it to dry completely before lighting up the fireplace again or adding any decoration pieces around it.
Following these precautions before you whitewash your fireplace will ensure the safety of you and your family while also giving it a new and stylish look. Be sure to use quality materials and tools for the job as well. With some patience and dedication, you can easily transform your old fireplace into something new!
Frequently Asked Questions: Whitewashing a Fireplace
Are There Any Safety Precautions to Keep in Mind When Whitewashing My Fireplace?
Yes – it’s important to use caution when dealing with any type of caustic chemicals or paints. Wear protective gear, such as gloves and a mask, to protect yourself from potentially harmful fumes. Make sure you are in a well-ventilated area (preferably outside) when you are whitewashing your fireplace. If at any point the material becomes too overwhelming, make sure to take a break and get some fresh air.
Can I Use Whitewashing on Other Types of Stones?
Yes – whitewashing is also suitable for other types of stones, such as limestone and sandstone. You may need to adjust the ratio of water to paint depending on the type of stone you are working with. To test how the material will react, try applying a small amount of whitewash to an inconspicuous area before beginning the entire project.
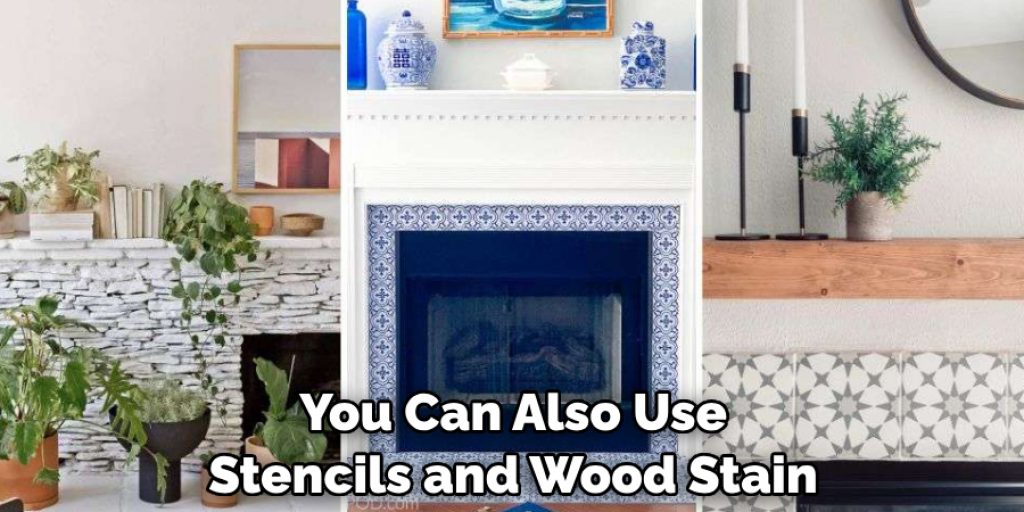
What Are Some Alternatives to Whitewashing My Fireplace?
If you don’t want to use whitewash, there are many other options for updating your fireplace – from changing up the tile surround or mantel to painting the brick or stone itself. You can also use stencils and wood stain to create a unique pattern on the fireplace or add a few elements of texture with wallpaper. There are many possibilities for giving your fireplace a fresh new look!
Conclusion
With the above outline, you can easily learn how to whitewash a fireplace. Whitewashing is a great option for giving your fireplace an updated look, but be sure to follow the necessary safety precautions when working with paint and other materials. You can also explore different alternatives if you’d prefer another type of update. With a few simple steps, your fireplace will soon have a beautiful new look!
You Can Also Check This Out to Eliminate Brush Strokes When Painting
Angela Ervin
Angela is the executive editor of DIY quickly. She began her career as an interior designer before applying her strategic and creative passion to lifestyle and home. She has close to 15 years of experience in creative writing and online content strategy for housekeeping, home decorations as well as other niche efforts. She loves her job and has the privilege of working with an extraordinary team. She lives with her husband, two sons, and daughter in Petersburg. When she's not busy working she spent time with her family.