How to Fix Acrylic Nails That Lift
If you are reading this article, the chances are that you have at least one nail with acrylic polish that is peeling off from the surface of your nail. How frustrating! Acrylic nails should last a long time and not be so easily damaged. Here we will discuss how to fix acrylic nails that lift, as well as some other causes for possible lifting and what you can do to prevent it in the future.
Summary: If acrylic nails lift, there are a few things you can do to fix the problem. The most common cause of acrylic nails lifting is moisture buildup on the nail surface. To prevent this from happening, make sure to keep your nails clean and dry. Additionally, you can try using a nail primer before applying your acrylics to help reduce the chance of lifting. If these measures don’t work, you may need to have the nails replaced.
Reasons Why Acrylic Nail Lifting
Nail lifting is more common with acrylic nails, and there are a few reasons why it happens. We have mentioned them here:
- One of the main causes of this problem can be your hands not being in good condition. Depending on what you do all day long will dictate how much moisture will make up part of your nail bed and cuticles.
- It’s also possible that nails can be lifted due to the nail plate not being thick enough.
- If you have long nails and they’re not properly filed down, then this can be a problem as well.
- There’s also a chance that the acrylic nails were not applied properly, or you may have had too much of an acetone-soaked cotton ball on your nail before it was put in the gel.
- Another possible cause could be that the acrylic nails were applied too close to your cuticle, making it difficult for them to dry properly.
Instructions: How to Fix Acrylic Nails That Lift
Step One:
The first thing to do is let your nails breathe. When you paint them, it can cause acrylic nail tips to lift off the nail bed and form an oval shape that leaves a small gap between the two points when they are dry. This means that there isn’t enough product holding onto the top layer, so it’s time to let your nails dry.
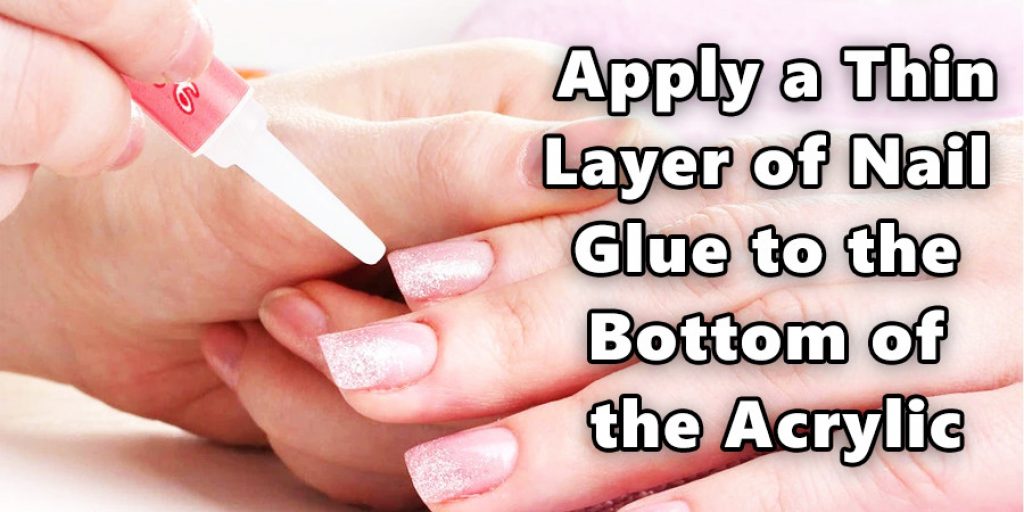
Step Two:
Once your nails are dry, apply a thin layer of nail glue to the bottom of the acrylic and wait for it to get tacky. This will help you adhere it back on top where it needs to be. Make sure you file down any sharp edges or rough surfaces to avoid damage when pressing the acrylic back down on your nail.
Step Three:
After you have done this, allow the glue to dry for an hour. Apply another thin layer of glue to ensure everything is sealed. You may need to do a few layers, but it will be worth the wait.
Step Four:
File your nails down and remove any extra nail glue with acetone or polish remover so that you don’t have to worry about them sticking up when they dry again!
Step Five:
Apply a strengthening base coat to your nails and wait for it to dry before applying any polish.
Step Six:
Apply the desired color of nail polish on top of your glue-sealed acrylic fingernails. You may need more than one layer by repeating this step until you get the desired effect that you want!
Step Seven:
Apply a top coat to your nails to make them extra glossy and protected! Wait for the polish to dry before handling anything, as touching things too soon may cause glitter or other particles in the nail polish to scratch off and ruin your manicure!
Tips To Prevent Acrylic Nails From Lifting
There are some tips you can follow at home to help your acrylics last longer.
- First off, make sure you’re using the right top coat! Using a regular nail polish as the final layer will create moisture that may cause your acrylics to lift and peel more quickly.
- Cut the tips of your nails: if you have long nail beds, it’s a good idea to cut them short because they may cause the edges of your acrylics to lift.
- Nail dehydration is another factor that can lead to lifted nails, so make sure you’re not overdoing it with the acetone and that you’re moisturizing your hands.
- You can also try using a different adhesive to keep them on better, such as bonding glue or nail resin.
- Using a textured nail file instead of your regular one might also help to keep them in place.
Frequently Asked Questions:
Q: How Do You Fix a Lifted Nail?
A: The best way to fix a lifted nail is by using acrylic powder. You can either purchase it or make your own from scratch. Once you have the product, you will need to mix it with an activator before application. It’s important to apply a thick layer on top of the nails and let them cure for at least thirty minutes before painting over them again in order not to peel off later.
The main downside to this method is that if you overdo it, you could end up removing all the polish, rather than just filling in any gaps left by lifted edges (which could lead to more peeling). Also, this technique should only be used once every few weeks, as opposed to daily fixes, because there are many potential risks, such as deterioration of the nail plate and potential discoloration.
Check It Out ot Learn to Make Reusable Nail Stencils.
Conclusions:
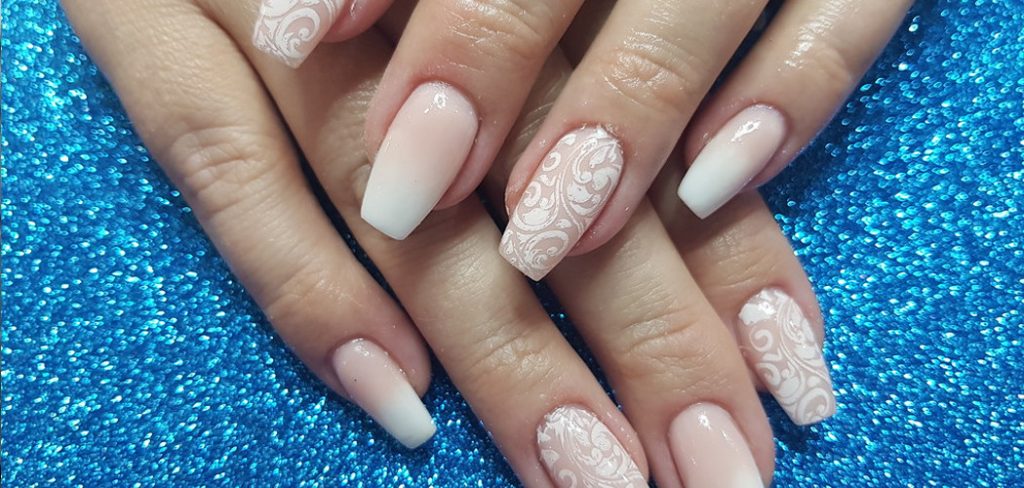
Acrylic nails are fake nails that people put on their real nails to make them look longer or nicer. They are made of a plastic called acrylic, and they can last for weeks if you take care of them. But sometimes they start to lift away from the skin around them after just a few days. If this happens, you can usually fix it by buying a product from a drugstore or salon.
You may just need some additional product like an adhesive gel or new tips to get back on track with perfect-looking hands again, and soon enough, they’ll be as good as new! So if you’ve had trouble keeping your manicure on point lately, here’s we have given some instructions on how to fix acrylic nails that lift at home. You may find yourself going through this process more frequently than usual at first, but after a while, it should become less frequent depending on how hard you are on your nails!
Nancy Behan
Nancy is an embroidery artist, fashion blogger and a full time editor at DIY quickly. Nancy edits the fashion section on DIY quickly, focusing on the embroidery and cross stitch articles, alongside with fabric and other costume design elements. She graduated from the University of Michigan with a Bachelor of Arts in Art History. She loves to work on her own projects, read books and watch romantic movies in her spare time.