How to Make a Black Flame Candle
Flames emit heat and light, and that’s why it is quite impossible to create black fire. But there is a way to create black fire by controlling the wavelengths of absorbed light. Do you know how to do that?
To make a black flame candle, you will need: a black candle, a lighter, and a bowl of water. First, light the candle with the lighter. Then, hold the candle over the bowl of water and let the wax drip into the water. The wax will start to smoke and the flame will turn black.
Summary: Making a black flame candle is simple and requires just a few supplies. First, gather some wax melts and a wick. You can find these items at most craft stores. Next, measure out the amount of wax you need and place it in the melting pot. Turn on the heat to low and wait until the wax begins to melt. Once it’s melted, add the wick and stir carefully to make sure it’s coated in wax. Keep the flame low and let the wax melt until it reaches the desired consistency. Pour the molten wax into a container and let it cool. Once it’s cooled, you’re ready to create your black flame candle!
Things You Will Need
- Some tape
- A sheet of white tissue paper
- A piece of printer paper or card stock
- Parchment paper
- A six-inch pillar candle
- Some ribbons (optional)
- A glue gun
- A hairdryer
How to Make a Black Flame Candle
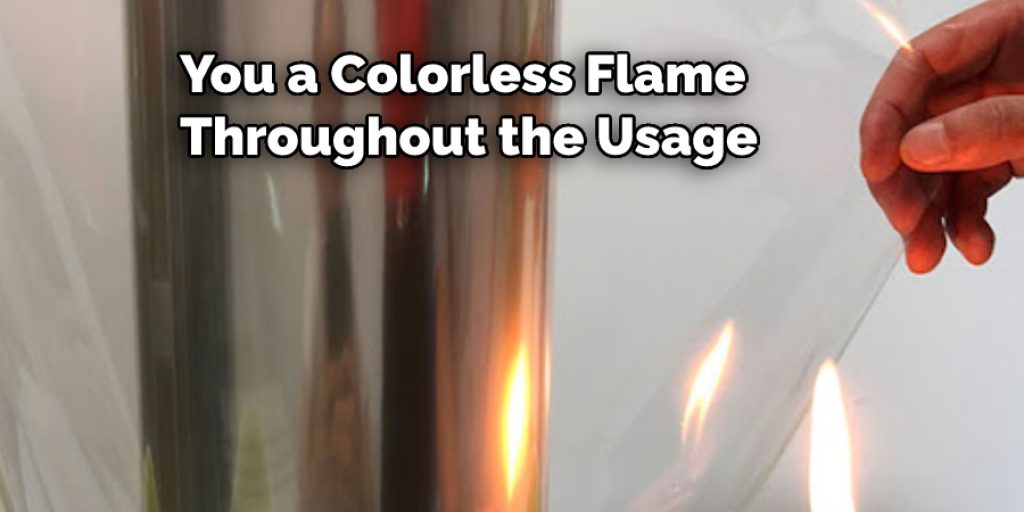
Let’s start by trying some Alcohol. It’s a great flame fuel and offers you a colorless flame throughout the usage. Okay, now let’s make some decorations. You have to take a tissue paper and place a piece of paper over it. Make sure to use a tissue paper that is slightly bigger than the paper piece.
In order to make a spooky candle, first fold the residual part of the tissue paper and tape it down. Make sure everything is folded nice and even. Next, print some spooky quotes on this paper. Cut that out according to the measurement of the candle.
Wrap it around your candle and rub some alcohol, ethanol, or methanol on it. When you light the candle, you will get a blue or dark flame. If you have any alcohol lamp, you can directly go for it. The salt solution is also good for this type of project. So, you can also try that out.
Step by Step Guide: How to Make a Black Flame Candle
Step 1: Prepare Your Work Area
Clear your work area and ensure nothing flammable nearby, such as paper or cloth. Also, make sure that your workspace has adequate ventilation to disperse the toxic fumes from the melting wax and burning wick.
Step 2: Pick Your Container
Choose a heavy-bottomed pot for melting your candle wax. It should be roughly 3x larger than the size of your candle wicks. The bottom of the pot should be at least 2 inches from the top of the lip of the pot, with a reasonable clearance around it for maneuvering a wick through.
Step 3: Prepare Your Wick
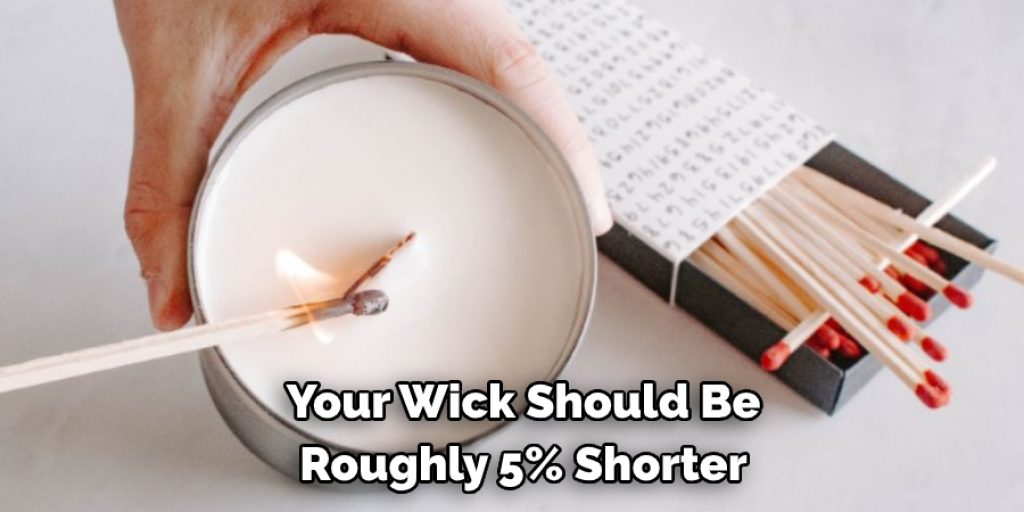
Cut a piece of cotton cord that is long enough to reach from one side of your pot’s lip, down through the center of your candle pot (to where you plan to pour in the melted wax), and then out the other side onto an area that is not on fire. The length of your wick should be roughly 5% shorter than the height of your container (for instance: a 2″ tall container requires a 1.9″ tall wick). Thread your wick through the hole you drilled in the candle pot’s lid, and tie a knot at the bottom. The knot should be tight enough to prevent the wick from coming out of the hole, but loose enough to allow the wick to rotate.
Step 4: Melt Your Candles Wax
Fill your pot most of the way full with water, and then place it on a stovetop. Turn the heat up as high as you can without making the water boil (which is counterproductive), until you see steam rising from the water’s surface. Once your pot is steaming, turn the heat down to low and place the bowl on top of the pot. Cover it with a lid, making sure that the lid does not actually touch the water inside the pot (this could cause water to drip into your bowl).
Add in one of your candles and wait until it dissolves completely. If the candle doesn’t dissolve after 20 minutes of boiling, you may need to add more water or increase the temperature.
Step 5: Pour in Melted Wax
When the candles have dissolved into a clear wax, carefully pour it into your pot through a tea strainer (to remove any impurities). It is best to do this with a helper on the other side of the pot, feeding you more wax as you need it (otherwise: pour and wait). Do not let the wax sit for too long before you pour it in, or else it will solidify in the pot and be difficult to remove.
Step 6: Prepare Your Wick for Embedding
When you have nearly finished pouring your wax, gently push one end of your wick down into the center of your pot (it should previously be resting on a surface with no heat). Then move the other end of the wick over to hang off the edge of your container.
Step 7: Pour in the Remaining Wax
Slowly pour in the rest of your melted wax, ensuring that it does not overflow any of the sides. Keep an eye on both ends of your wick to ensure that they are submerged into the wax. If you see bubbles or notice that one end is not below surface level, carefully remove some wax from the pot to correct the problem.
Step 8: Let it Cool
Let your wax cool until you are sure that it has completely solidified (check with a heat sensor if you have one). Once cooled, remove the wick from the bottom of your candle by pulling sharply on the top half and letting go of the bottom half. Please do not pull the wick out by hand, as it may stretch and break.
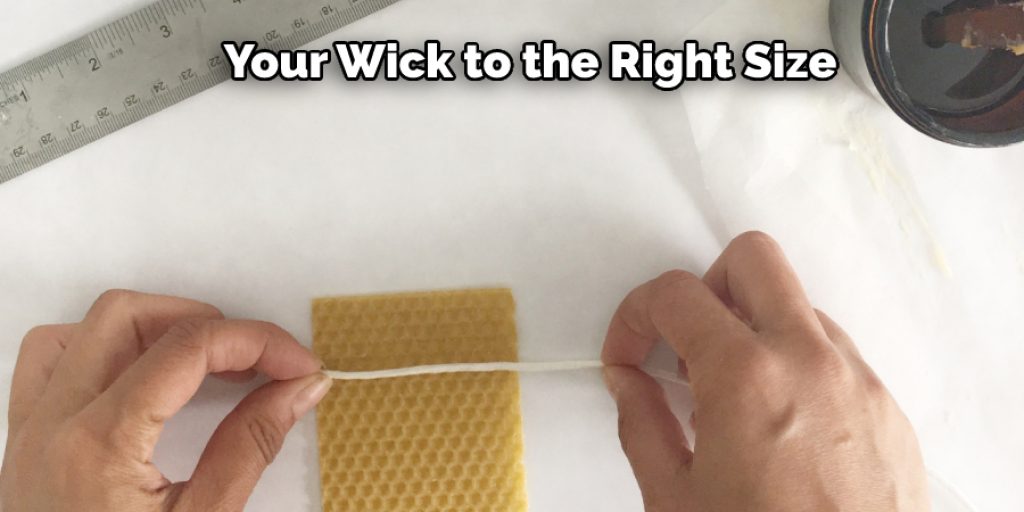
Step 9: Cut Your Wick to the Right Size
Trim your wick down so that it is just below the surface of where you plan on setting your candle (so that you do not burn yourself or set fire to things when lighting). If this means cutting off the top of your candle, so be it. You can always decorate around the flat surface with wax or glue, but you cannot reattach a wick to a too-short wick.
Step 10: Light Your Candle and Enjoy!
Your flame should burn black at first until the wick has had time to soak up enough wax to reach the surface. Then, after a few minutes of burning, you should have no problem getting a nice clean flame going.
Some Helpful Tips and Tricks:
1. The black color results from incomplete combustion, which means that you need to keep a cool draft away from your candle. Your wick must be centered, and you will also want to trim the wick every few hours during burn time to maintain an even flame.
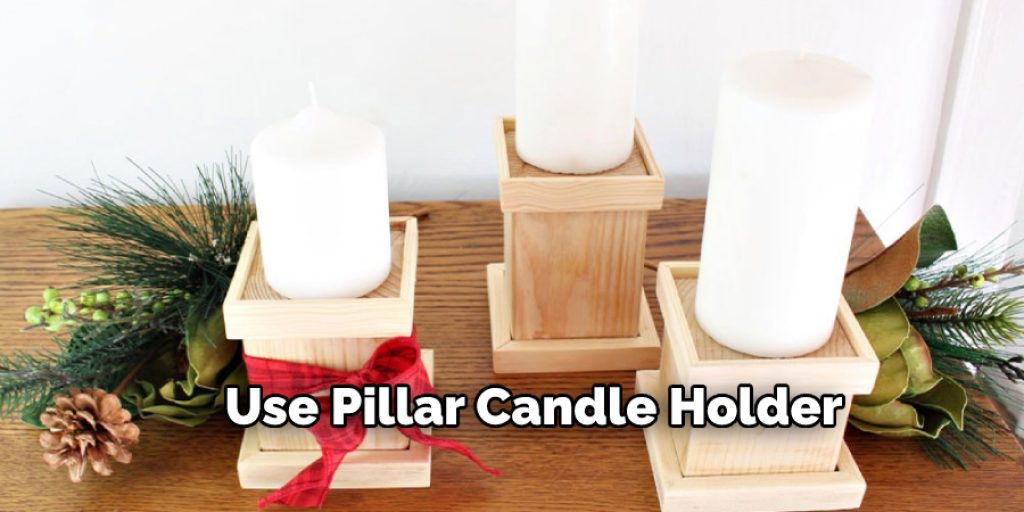
2. The key to keeping the flame burning slow and steady is using a pillar candle holder. The container of a pillar will keep the heat from your flame from dissipating so quickly, allowing it to burn for a very long time.
3. Be sure that you are using the appropriate kind of wax. The best wax for making black candles is paraffin, but soy can also be used to obtain the same effect.
4. Adding iron oxide or carbon will help darken your candle faster. You can find them at your local craft store; ask for powdered metallic dye or lamp black. They should be added at about 1/8 teaspoon per pound.
5. Avoid using dye in your wax if you want to obtain a black color with carbon because the dye will lessen the opacity of the black mixture resulting in a greenish hue rather than pure black. If you are trying to achieve a specific shade of black, I would recommend that you do not use dye. However, you can use color blocks or liquid candle dye to achieve the color you are looking for.
6. When your candle is finished, fill it with cold water and let it sit for about 12 hours to re-harden. Doing so will prevent air bubbles from forming in between layers of wax after it has thoroughly cooled.
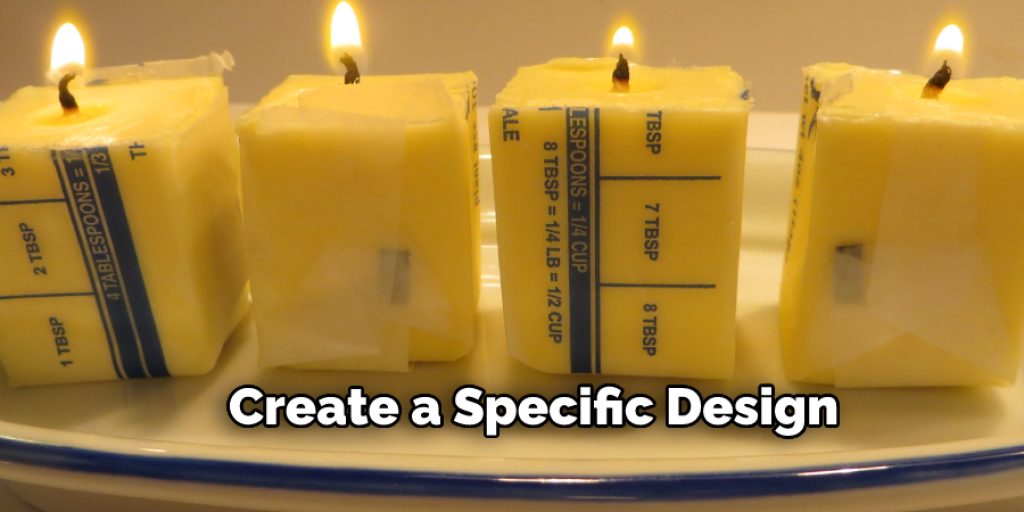
7. Finish your candle with a drizzle of paraffin over the top to give it a glossy finish. Use a wooden skewer or toothpick to draw it in before your wax sets to create a specific design.
How to Create a Hocus Pocus Candle Craft?
Creating your own Hocus Pocus candle craft is an easy and fun way to add a bit of magic to any space. This craft is especially great for Halloween but can be used throughout the year. First, you will need a glass jar, white wax flakes, food coloring, scissors, wicks, and essential oils of your choice. Begin by melting the white wax in a double boiler. Add drops of food coloring until you reach the desired color.
Cut one of the wicks to fit around the glass jar’s inside circumference without overlapping. Dip one end into the melted wax and secure it in place at the bottom of the jar with a piece of tape or glue. Next, carefully pour the melted wax into the jar, leaving about an inch at the top. Allow the wax to cool completely before moving on to adding essential oils drop by drop so that their scent intensifies with each layer added.
Frequently Asked Questions
Are Black Flame Candles Real?
There are a lot of black flame candles available in the market. The problem is that not all of them are real. Real black flame candles have been scientifically proven to be 100% genuine and safe for use.
Who Can Light the Black Flame Candle?
It is a long-standing belief that the holder of the black flame candle can light it at any time. The candles are traditionally lit by the Guardian, who is chosen to represent humanity in this regard. In The Lord of the Rings, Gandalf lights one of these candles on Frodo’s birthday.
Can You Have a Black Flame Candle?
A black flame candle is a type of ritual candle used in ceremonial magic and occultism. The candles are typically made of cast iron or other heavy metal, with a wick that is visible through the thin surface of the metal. They are designed to produce a bright blue flame (not necessarily black) and have no glass cover over the wick, which would allow the flame to touch any surface below it and cause damage.
It’s not possible to have a black flame candle because they are meant for rituals.
What Is the Black Flame Candle Made of?
The black flame candle is made of pure, high-quality beeswax. The wax has been scented with various oils, which are the main ingredient in creating the wonderful aroma emitted from the candles.
You may also read now: