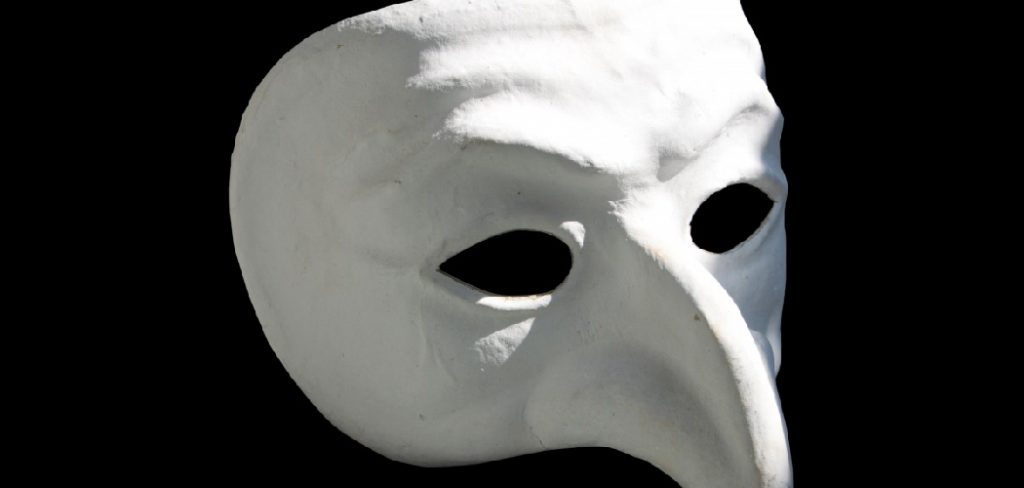
How to Make Phantom of the Opera Mask
Opera masks are not just for Halloween anymore. Here is a guide on how to make a phantom of the opera mask that is both easy and affordable. So whether you are dressing up for a party or just want to have a unique costume, this is the perfect project for you.
With just a few materials and a little time, you can have a unique finished product that will turn heads. You will need some basic materials and tools, which are easy to find. With this guide, you can create a spooky masterpiece perfect for Halloween or any costume event! So put on your creative cap and get started.
Summary: In this creative blog post, we learn how to make a Phantom of the Opera mask. First, we need some supplies: scissors, paper, tape, and a black felt tip pen. Next, we need to cut out the mask’s eyeholes and mouth. We then need to tape the eyeholes and mouth closed. Finally, we need to draw a mouth on the mask using the black felt tip pen.
Things Youll Need:
- Computer
- Printer
- Scissors/Exacto Knife
- Measuring Tape, Ruler or any straight edge object
- Paper grocery bags or any paper
Step by Step Guide: How to Make Phantom of the Opera Mask
Step 1: Preparation
Before you begin, there are a few things that you should do ahead of time to ensure the project goes smoothly. The first thing you need to do is print out a copy of the mask template. To create your mask, computer paper or printer paper will work best. You may also use grocery bags, but it is not recommended because it may cause tearing.
Once you have your template printed, measure it to fit your face. Simply cut out the mask and wrap it around your head to do this. Make sure that the back of the mask is on the same plane as your forehead. If you are satisfied with how it fits, make marks where you will need to cut to make the mask fit better.
Step 2: Cutting
For this step, you will need an Exacto knife or any other sharp object that is safe for use on paper. Carefully cut along the marks you made in the previous step until it perfectly fits your face. Next, take a sheet of paper and lay it flat on the table in front of you. Place your mask on top of it, then use some tape to secure it in place. Finally, draw around the entire design onto the paper underneath it.
Step 3: Design the Mask
You are going to start by designing your mask online. First, go onto the internet and search for “phantom of the opera coloring sheet. Make sure to get an accurate picture to know what your mask will look like. Next, open up a word processing application on your computer or use a blank sheet of paper if you do not have access to one. Finally, begin typing to create your composition. It is best to write out the entire poem to understand it before you start drawing it completely.
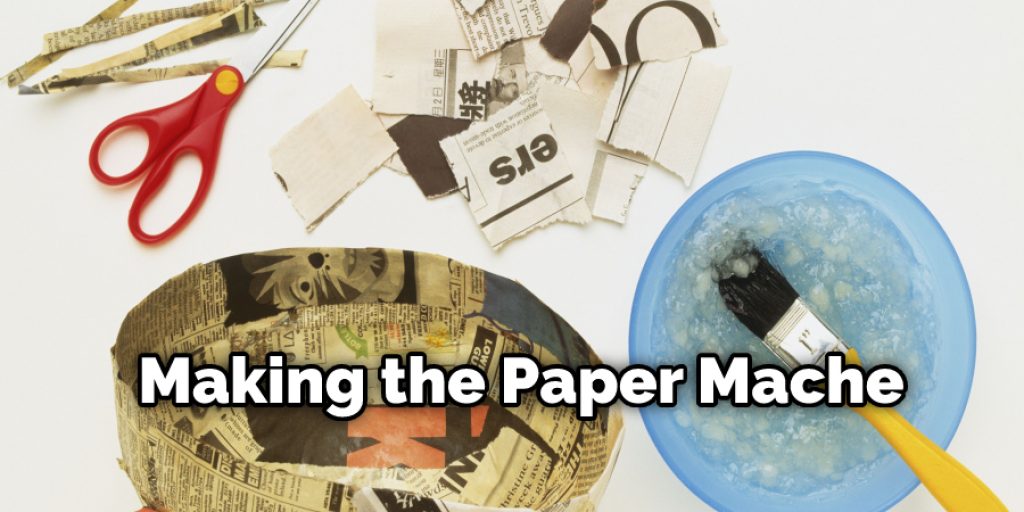
Step 4: Making the Paper Mache
Now that your design is complete, it is time to start making the paper mache. To do this step, you will need some paper grocery bags or any other kind of thick paper. First, tear up your pieces of paper into smaller strips. Then add in a little bit of water and pour it over the top until everything is wet. Next, mix a small amount of flour and water to create the glue mixture. After creating this, add it over the top of your wet paper strips until everything is soaked through.
Step 5: Forming the Mask
Once your paper mache is ready, you can form the mask. Lay down some newspaper on a flat work surface in preparation for this step. Next, pour some of your paper mache mixtures into the bowl and add water until it is thoroughly soaked through. Then take it out and shape it into a specific part of your mask. Repeat this process until you have the entire mask formed, and then allow it to dry overnight.
Step 6: Gluing Together
First, take your dried paper mache and sand the edges down with some sandpaper to make them smooth. Once you are satisfied, take a bag of flour and pour it into a bowl. Then add in a small amount of water and mix it to create your glue mixture. Take this mixture, put it in a bowl, and use it as needed from here on out to keep everything together.
Begin by taking the two large pieces of paper mache you have for your mask and placing them on top of each other. Next, use some of the glue mixtures to attach them together at the edges. Then take some smaller pieces of paper mache and use your fingers to mold them into certain areas needing reinforcement.
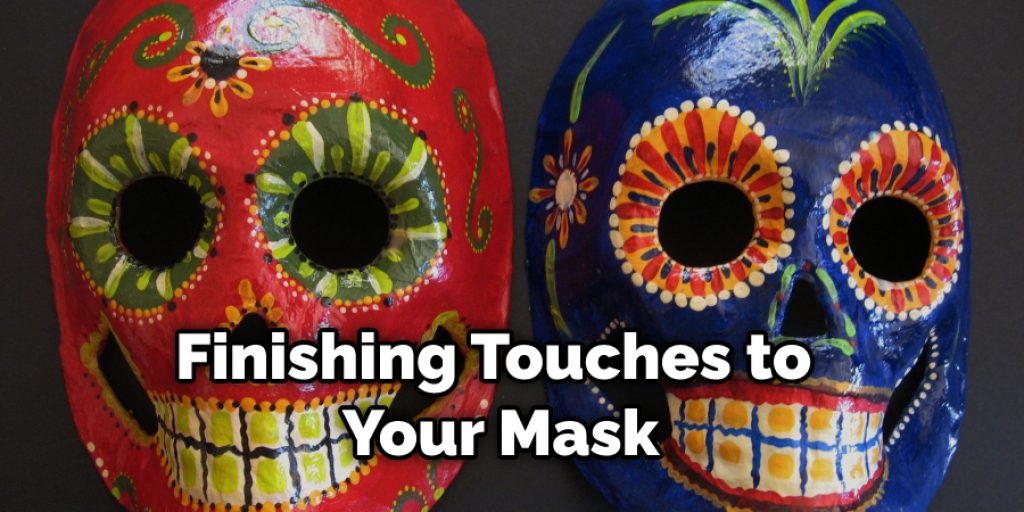
Step 7: Painting
Finally, you can paint your mask with a blood-red color. You may also paint some black around the eyes to make the mask more realistic. After you are finished painting it, allow your mask to dry for a few days with a fan pointed at it to help it dry faster.
Step 8: Finishing Touches/Removal
Once your mask is completely dry, you can attach some string or elastic around the back of your head to keep it in place while you wear it. Next, add on some other finishing touches to make your mask look more realistic. You should also take off the string or elastic if you will be carrying it around with you at a party.
Some Tips and Advice
1. The most important thing about the mask is that you have to know how it fits on your face – so try them out before you make your Phantom Mask!
2. You can use almost anything for the molding of the mask. I used a bandage but if you have a face mold from a Halloween store, use that instead it will make the job easier and faster!
3. You can use any kind of glue for sticking your fabric onto the molding material. I used a mix of school glue and hot glue just because it was the only thing I could find at that moment.
4. You can use any paint you have for the mask; just test if it is suitable for skin use and not toxic beforehand!
5. Add a thin red ribbon around the bottom of the mask to imitate the famous Phantom Mask Red Frill!

Conclusion
The phantom of the Opera mask is a great costume for Halloween or any other event. So whether you want to be more fearsome, mysterious, or just plain creepy this year, we hope that these instructions will help you make an unforgettable Mask of your own!
We hope this blog post on how to make a phantom of the opera mask has been helpful. Follow all safety precautions and never use scissors on anything besides paper because they can easily cut through things like foam board. And lastly, don’t forget to have fun with it! You’ll find yourself singing along in no time.
Nancy Behan
Nancy is an embroidery artist, fashion blogger and a full time editor at DIY quickly. Nancy edits the fashion section on DIY quickly, focusing on the embroidery and cross stitch articles, alongside with fabric and other costume design elements. She graduated from the University of Michigan with a Bachelor of Arts in Art History. She loves to work on her own projects, read books and watch romantic movies in her spare time.