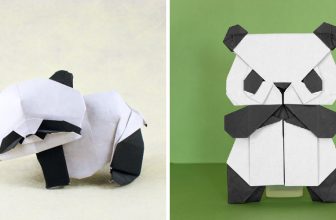
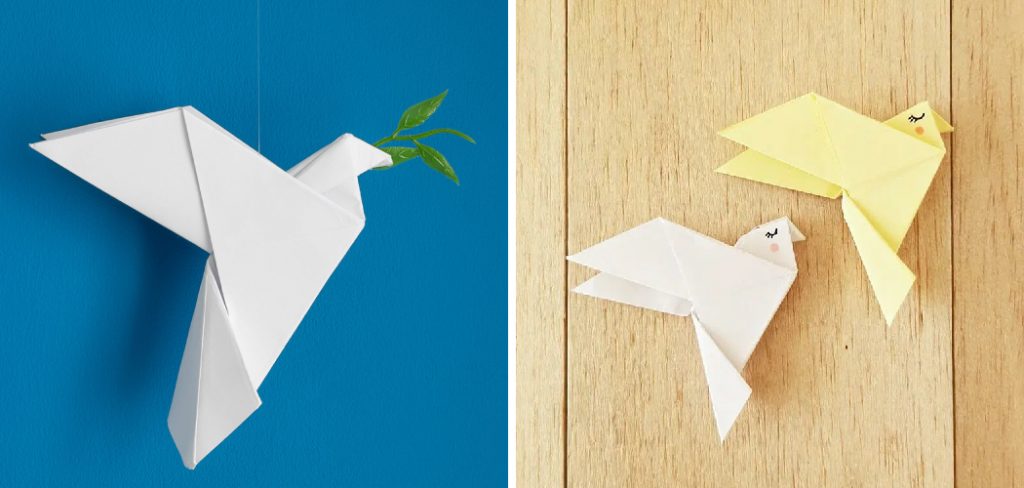
How to Make Origami Dove
Are you seeking a fun and creative way to express your artistic side? Origami is a fantastic way to get your creative juices flowing! It’s an activity that can be enjoyed by both children and adults alike – plus, it’s easy enough for anyone to master.
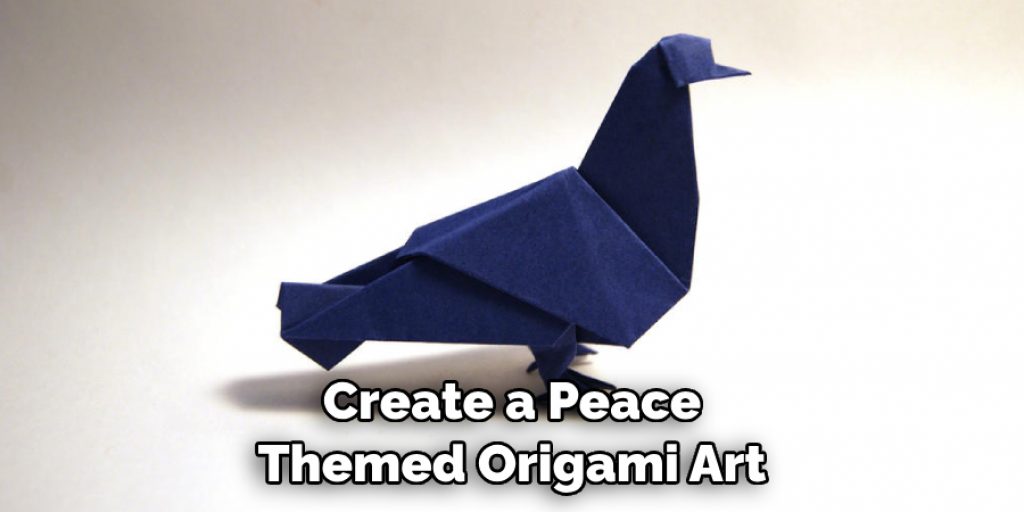
If you’re just starting this craft, we’ve got the perfect project for you: making an origami dove. This classic paper folding design will allow you to put your newfound skills into practice while creating a beautiful piece of art that celebrates peace and hope.
In this blog post, we’ll walk through the steps of how to make origami dove – It is specially designed with beginner-friendly instructions so everyone can take part in the creation process! So grab some paper, take a deep breath, and let’s get folding!
What Will You Need?
- A square piece of origami paper (15 cm x 15 cm)
- Pen
- Scissors
Once you have all the items ready, let’s start folding!
10 Easy Steps on How to Make Origami Dove
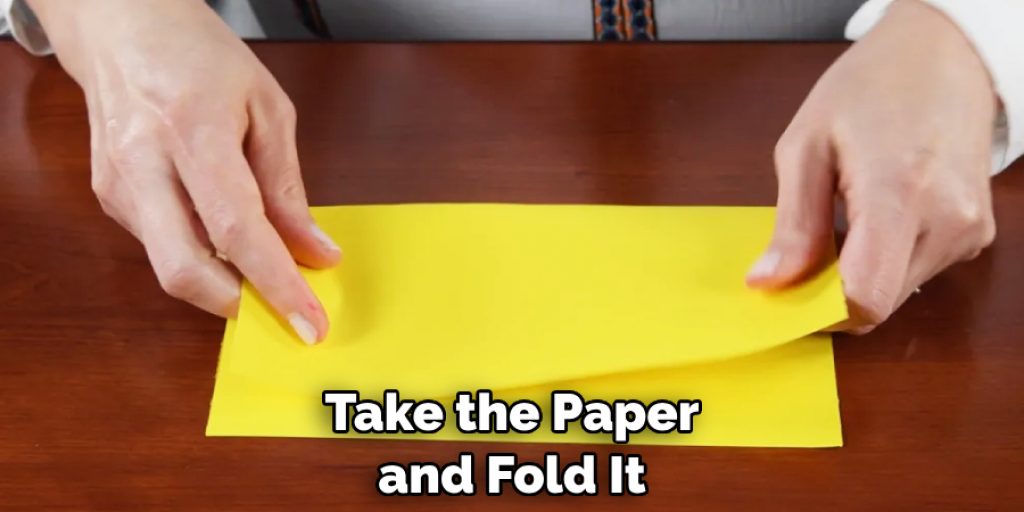
Step 1: Start Folding
Make a vertical and horizontal crease in the center with your square origami paper. This will divide the square into four equal sections. Then, fold each corner towards the center. Make sure to press firmly on each fold so that it stays in place.
Step 2: Prepare the Wings
Flip the paper over and make two diagonal creases from each corner towards the center of the square, creating four triangles. Then, fold each triangle upwards to form a wing shape. Make sure to press firmly on all folds so that they stay in place.
Step 3: Fold Up the Body
Now, take the paper and fold it in half lengthwise. Make sure to press firmly on this fold. Then, fold the two sides of the triangle together to form a diamond shape – make sure that all creases are sharp and pressed firmly into place. Additionally, make sure that the wings are pointing outwards.
Step 4: Create the Tail
Fold one corner towards the center of the diamond shape to create a pointed tail – press firmly on this fold so that it’s secure. Then, repeat this step with the other corner. Make sure to crease all folds firmly into place.
Step 5: Make the Head
Now, fold the top corner of the diamond shape towards the center to form a triangle. Then, take both sides of this triangle and fold them inwards towards each other – make sure that all creases are sharp and pressed firmly into place. This will give your origami dove its head!
Step 6: Finalize the Beak
To create the beak of the dove, take the tip of the triangle you just folded and fold it downwards – this will form a small triangle protruding from the head. Crease this fold firmly to ensure it stays in place. Now, you should see your origami dove taking form!
Step 7: Add Details
To add some detail to your origami dove, draw an eye on each side of the head using your pen. You can also draw feather details on the wings and body. However, remember that the beauty of origami lies in its simplicity, so don’t feel the need to overdo it.
Step 8: Admire Your Work
Now that you’ve completed all the steps, take a moment to admire your creation. You should now have a beautiful, hand-crafted origami dove! Hold it by the body and let the wings flap – you’ve made a symbol of peace with just a piece of paper and a few folds.
Step 9: Practice More
The key to mastering origami is practice. So don’t stop at just one dove! Repeat this process until you’re comfortable with the steps. The more you practice, the better your origami skills will become!
Step 10: Share
After creating your origami dove, why not share it with your friends and family? Or you could make a few more and create a peace themed origami art display. Your handmade origami dove is sure to bring a smile to anyone’s face!
There you have it – now you know how to make an origami dove. With these steps, we hope that you feel confident and inspired enough to create your origami pieces. Who knows – maybe one day, you’ll be the master of this beautiful craft!
5 Additional Tips and Tricks
- Choose the Right Paper: The first step in making an origami dove is to choose the right paper. Opt for lightweight, flexible sheets like origami or printer paper. Both of these options are easy to fold and hold their shape well.
- Practice Makes Perfect: Origami, like any craft, requires practice. When starting, your origami dove may not look perfect, and that’s okay. Keep practicing the folds until they become second nature. Remember, the goal is to create a dove and enjoy the creation process itself.
- Patience is Key: Origami is an art that demands patience. Some folds might be challenging to execute initially, but remain calm and take your time with each step. Remember, even an imperfect dove has its charm.
- Follow a Tutorial: Following a tutorial can be beneficial if you’re new to origami. Plenty of online resources, including video tutorials and step-by-step guides, can instruct you on how to make an origami dove.
- Keep Your Workspace Clean: Origami requires precision. Having a tidy workspace can assist in avoiding mistakes and ensuring your origami dove turns out as perfect as possible. A clean flat surface is ideal for folding.
With the right tools and techniques, anyone can make an origami dove. Let your creative side take over, and enjoy the process of crafting something beautiful! Who knows, maybe one day you’ll even be able to create a 3D version of your origami masterpiece? The possibilities are endless!
5 Things You Should Avoid
- Take Your Time With Each Fold : Take your time with all parts of the process.
- Avoid Using Thick Paper: Heavier types of paper, such as cardstock, are too stiff to make origami. Stick with lightweight papers for the best result.
- Avoid Creasing the Paper Too Much: Creases should be precise and sharp. Avoid over-creasing or pressing too hard, as this can cause the paper to tear.
- Take Your Time With Advanced Projects: If you’re new to origami, start with simple designs and then gradually progress to more complex ones.
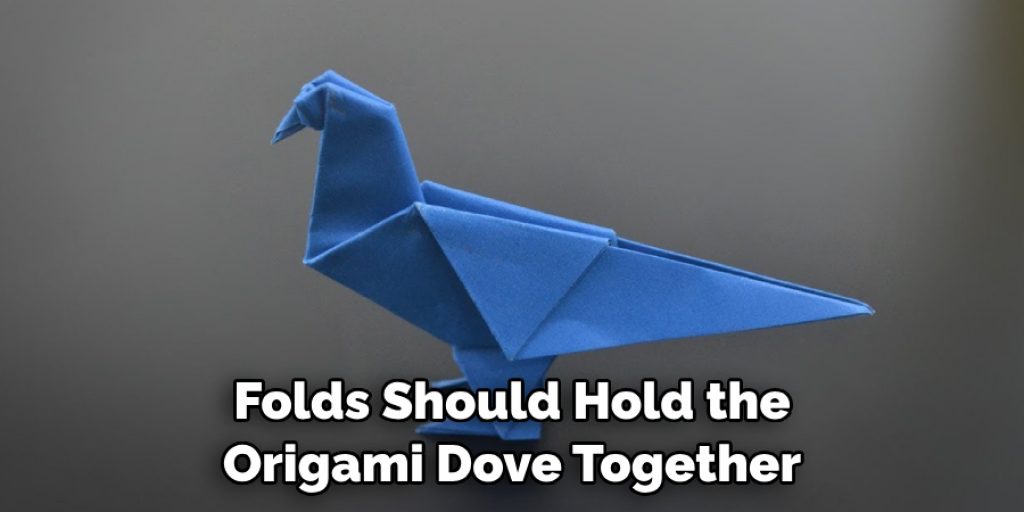
- Avoid Using Glue: Origami is a craft that does not require glue or adhesive. The folds should hold the origami dove together without any additional help.
So, now that you know how to make an origami dove and what to avoid in the process, it’s time for you to get started!
5 Different Design Ideas
- The Classic: Create a simple, classic origami dove with pointy wings and an elegant tail.
- Bird of Paradise: Make your origami dove stand out by adding unique details such as feathers, patterns, and colors.
- Perching Dove: Create a realistic-looking perching dove on a branch or other surface using folded shapes, creating a definition in the wings and tail feathers.
- Two Doves: Make two origami doves side by side, their wings overlapping in a heart shape.
- 3D Dove: Challenge yourself by creating an intricate three-dimensional origami dove to display proudly on your shelf or table.
Now that you’ve learned how to make an origami dove, why not explore further? Try incorporating other origami techniques, such as flapping wings or intricate details, to create a unique design. With practice and patience, you’ll be able to craft beautiful paper birds quickly!
What Kind of Paper to Use?
When it comes to origami, choosing the right paper is essential. It should be thin and lightweight for easy folding but also durable enough for your origami dove to hold its shape after being folded. The most popular types of paper used for origami are printer paper, Japanese Washi paper, and Foil Origami Paper.
Printer paper is a great all-rounder, while Washi paper provides extra durability, and the Foil Origami Paper gives your dove an eye-catching shine. Whichever type of paper you choose, ensure it’s the right size for your origami project.
Another factor to consider is the color of your paper. Opt for shades of white or grey to create a realistic looking dove. However, you can always get creative and choose a more vibrant hue!
What are the Uses of an Origami Dove?
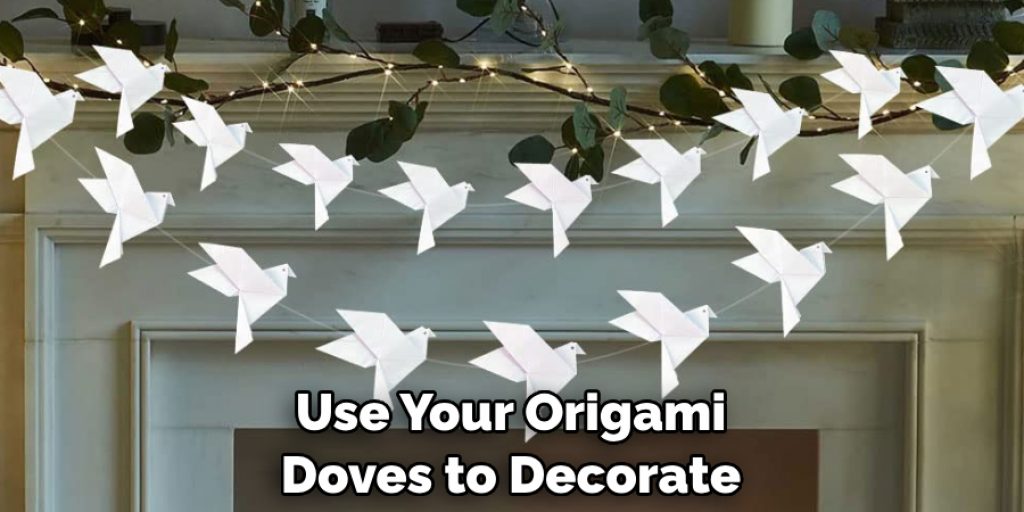
The origami dove is a timeless symbol of peace, perfecting any occasion. You could use your origami doves to decorate special events such as weddings or birthdays. Alternatively, you could share them with friends and family to spread love and joy. They also make for beautiful decorations around the home – hang them from the ceiling, add some sparkle with fairy lights, or place them on a shelf to create a focal point.
So what are you waiting for? Gather your materials and get started on making your origami dove! With practice and patience, there’s no limit to what you can achieve.
Conclusion
Origami doves are a timeless symbol of peace and beauty that can’t be replaced, so why not take some time to create one? How to make origami dove is not hard. All it takes is patience and practice.
With the step-by-step instructions in this post, you should have no problem making your origami dove. Just remember that with enough focus and dedication, anything is possible! So grab some paper, follow the instructions closely, and discover the joys of origami today! Whether you give it away as a gift or keep it for yourself, there’s no denying the stunning effect of this model when done right.
A token of hope that will always give back what was put into its creation: an origami dove – something created by love.
Angela Ervin
Angela is the executive editor of DIY quickly. She began her career as an interior designer before applying her strategic and creative passion to lifestyle and home. She has close to 15 years of experience in creative writing and online content strategy for housekeeping, home decorations as well as other niche efforts. She loves her job and has the privilege of working with an extraordinary team. She lives with her husband, two sons, and daughter in Petersburg. When she's not busy working she spent time with her family.